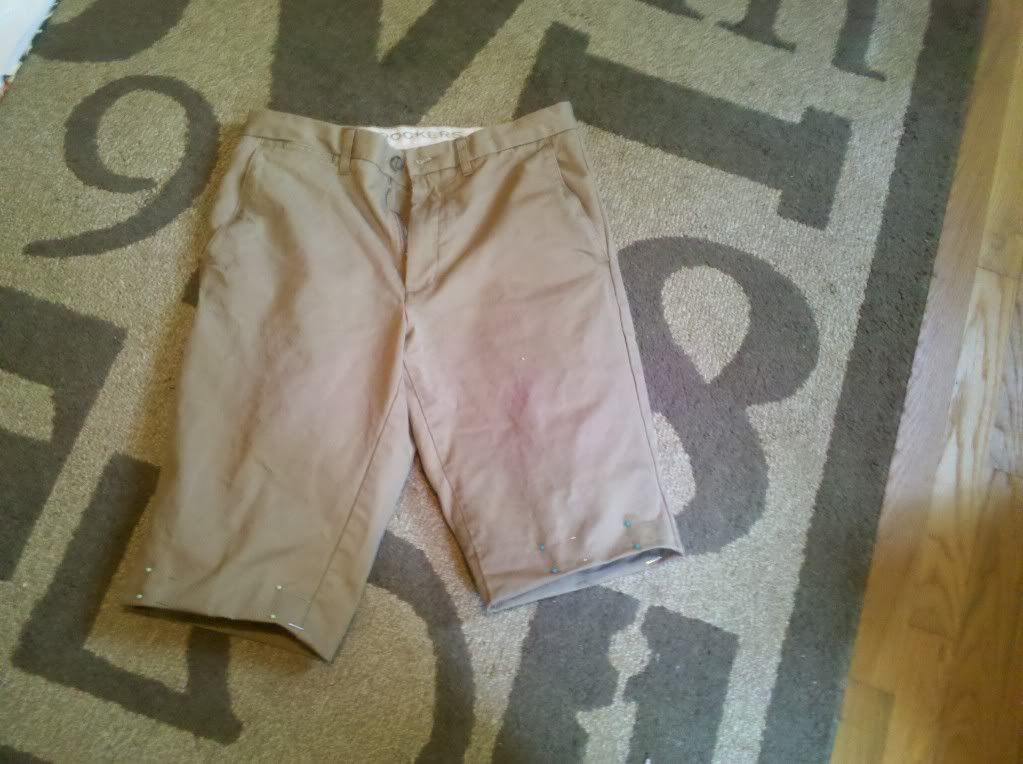
I have been wanting some new shorts for a while now. I've recently lost weight so half of my shorts are far too large now and the other half are big on me. Most shorts that I see for a decent price seem to be the sloppy, cargo pocket type and I wanted something a little different than that. I went to Goodwill one day and found this pair of Dockers that looked brand new, were the perfect size, and cost $2.50! So I snatched those suckers up and took them home to turn them into shorts.
The first thing I did was, of course, wash them. After that I tried them on and figured out how long I wanted them. I just figured out one leg so that I could make sure the other leg was exact. I just pushed the leg into itself because I wasn't ready to commit to cutting them yet.

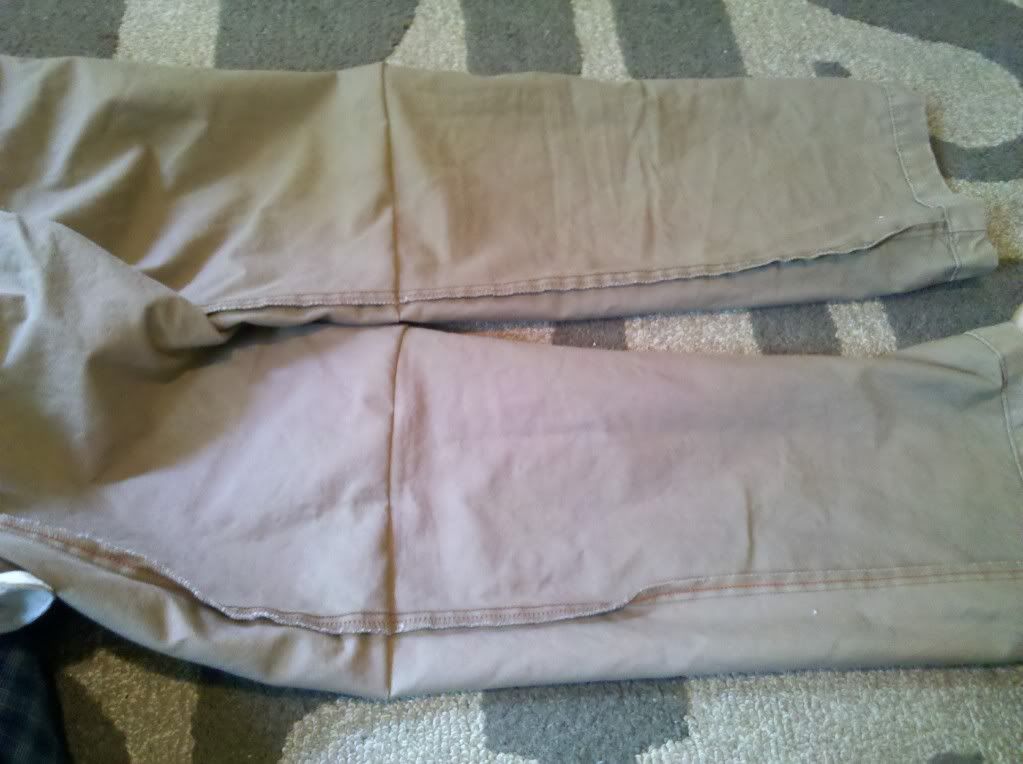
I folded them over and made the other leg even with the first.
Then I unfolded them and realized they weren't even at all. How did that happen? I think I was evening out the bottom without realizing the top wasn't even. Let's try folding them over again.
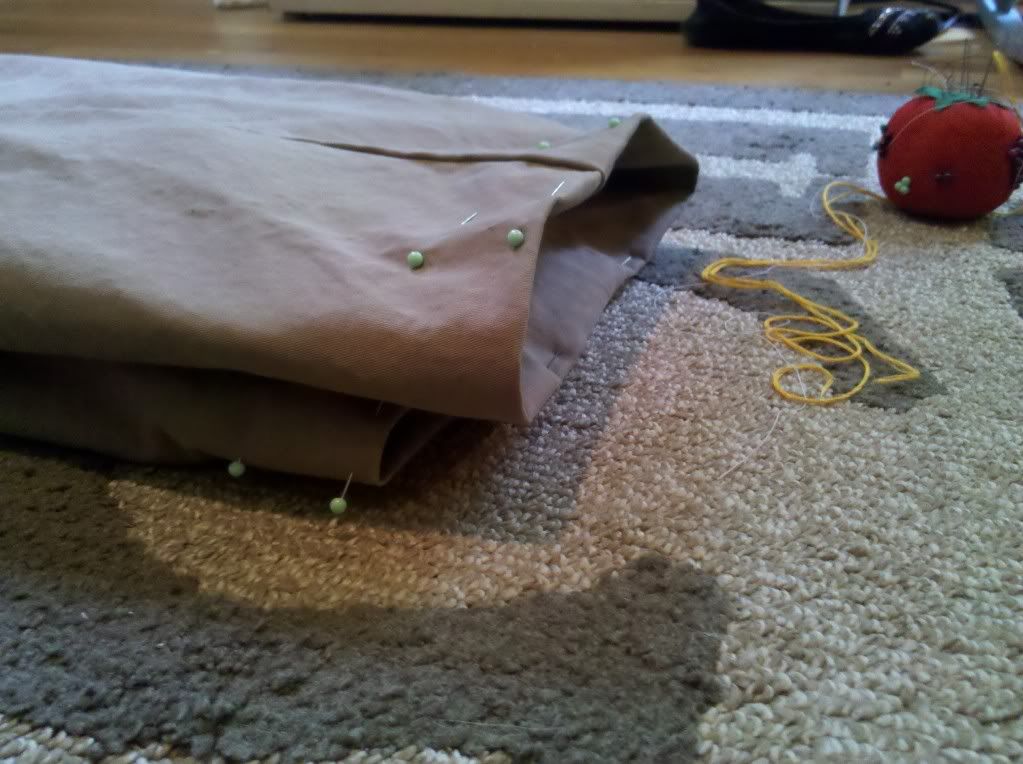 |
| Yep definitely uneven |
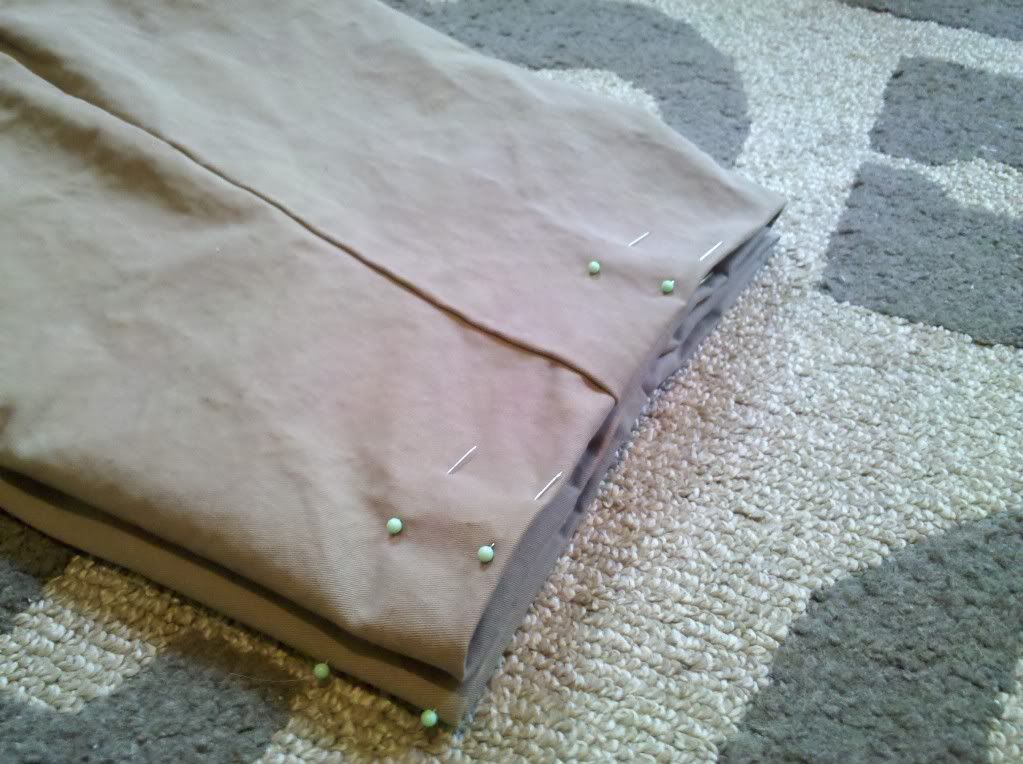 |
| Evened out |
 |
| MUCH better |
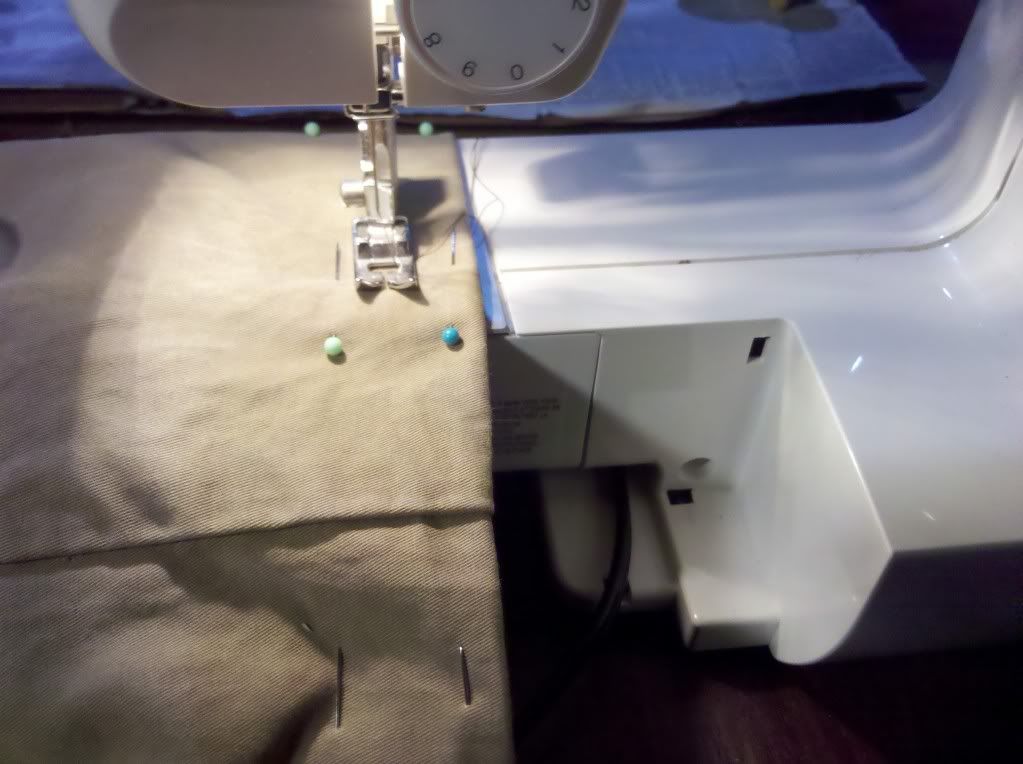
I find that when I change thread on my sewing machine it never works right at first, so make sure you do a test sew. This helps get your adjustments right for that type of fabric as well. Thankfully there's a lot of fabric that's getting cut off so there's plenty of room to test.
 |
| Looks fine on one side |
 |
| Looks icky on the other |
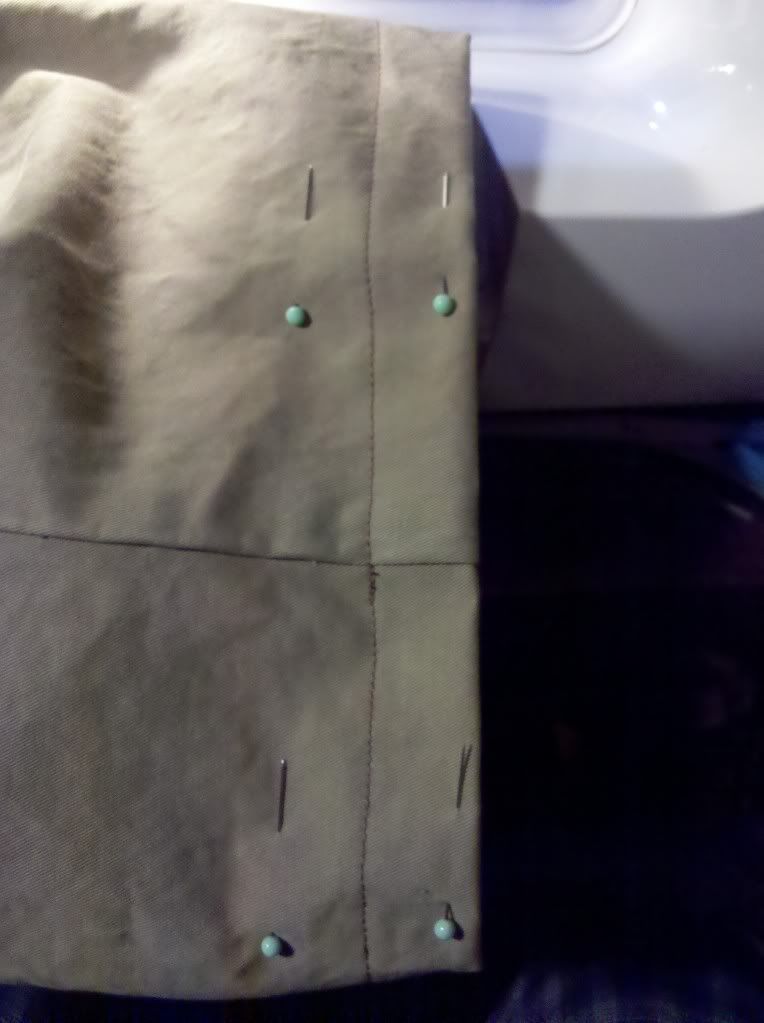
Once I hemmed all the way around I pulled the pant legs back out and cut them off.
 |
| Inside out |
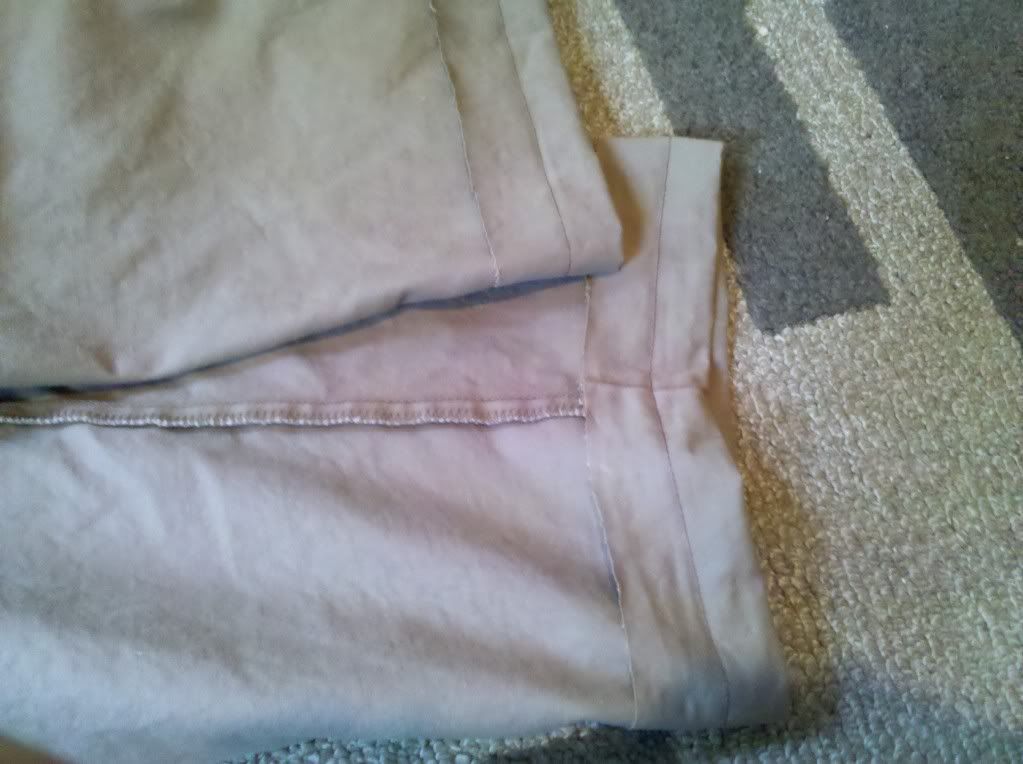 |
| Inside out after cutting off the extra |
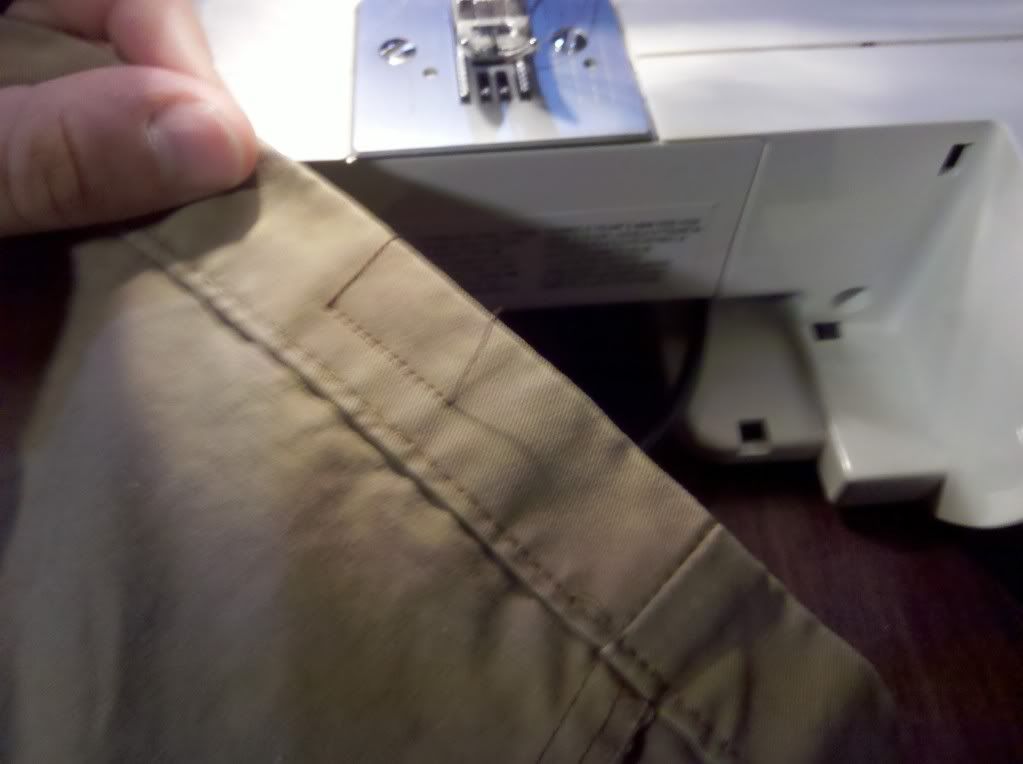
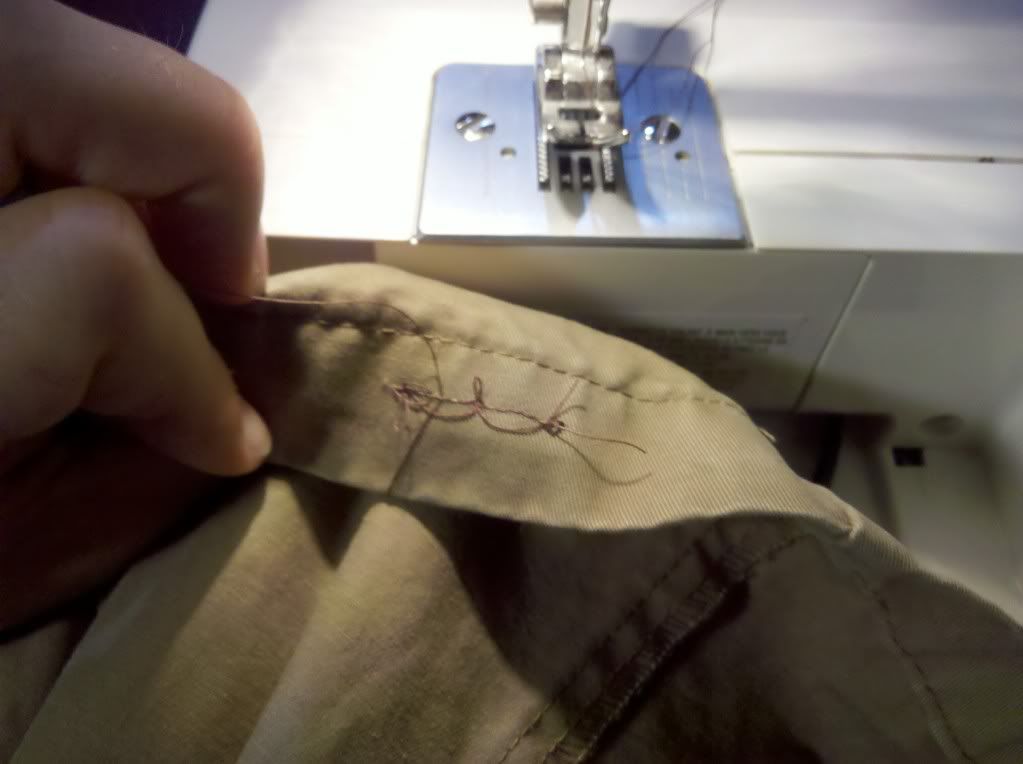
Now, this is the part where I tell you the things I did wrong. I'll start with the simplest first. The first leg that I hemmed I just started sewing without paying attention to where I started. This resulted in having this ugly little stitching in plain view. I'm glad it's at least on the back but still.
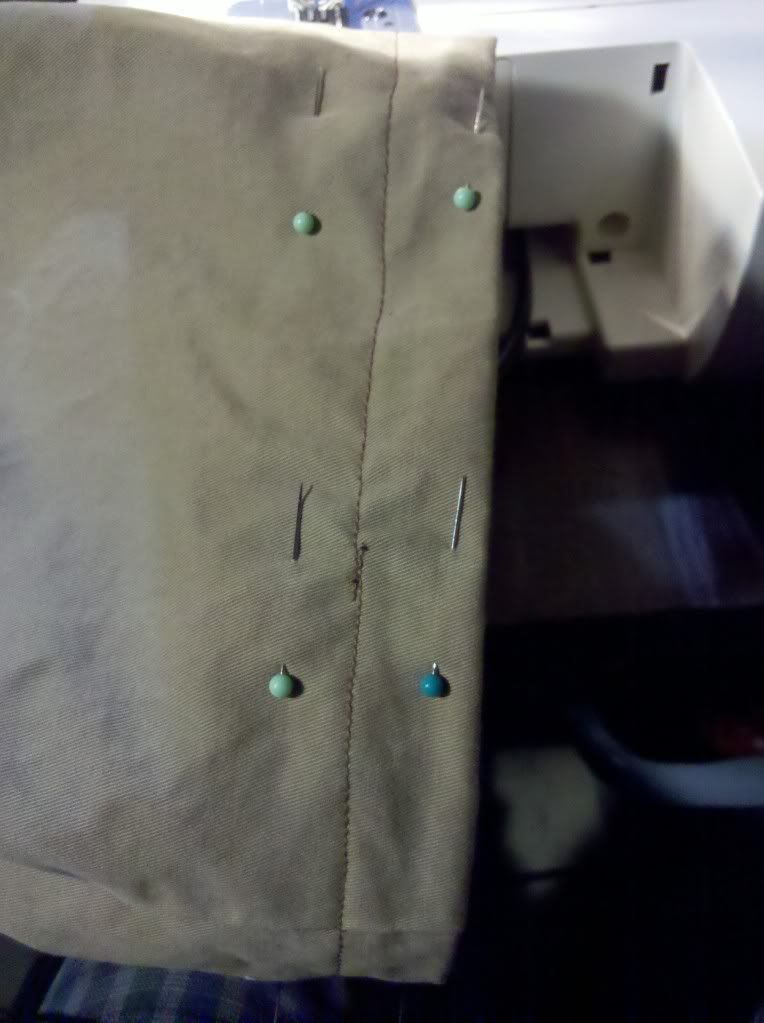
On the second leg I made sure it was near the seam. It's even better if you put it on the inside of the leg... which I didn't think of at the time.
The solution to the other thing I did wrong is a little more involved. When I hemmed the shorts I just folded the pants under and sewed it down. This left an unfinished edge inside. Now it will unravel and probably cause problems in the future. To fix this problem I'll eventually have to take these over to my mom's house and use her surger which will sew the edge and prevent it from unraveling. To demonstrate my point I've created a crude drawing using MS Paint. Yay!
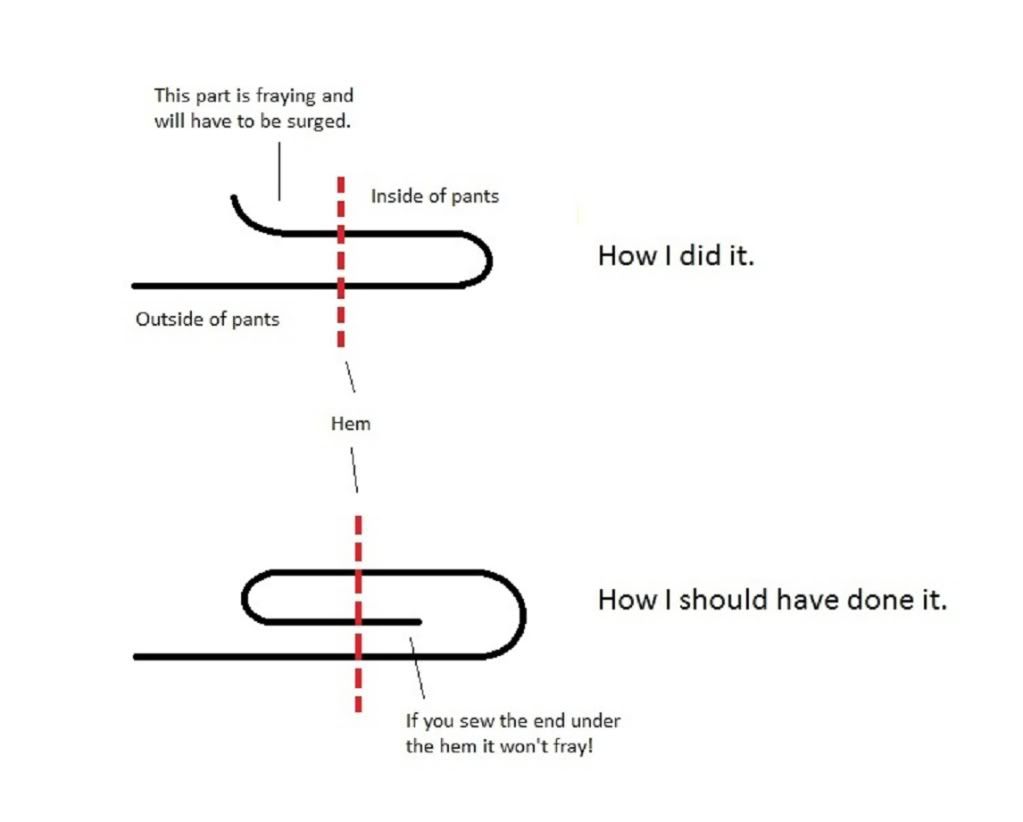
What I should have done is folded the edge under and ironed it down, then folded it over and ironed it again, and then hemmed it. Like the second diagram in the picture.
 |
| Too cool for school. |
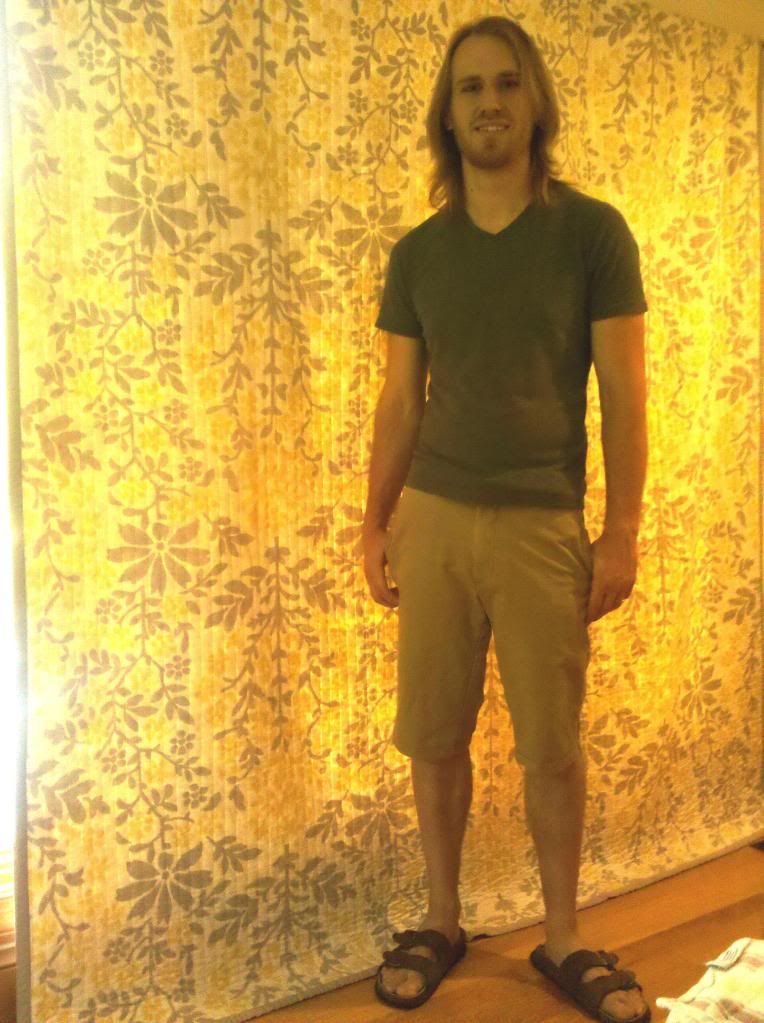
Here I am modeling the result! I'm pretty happy with my new shorts. I'd like to try making some clothes from scratch next. Have you ever made any clothes before?
No comments:
Post a Comment