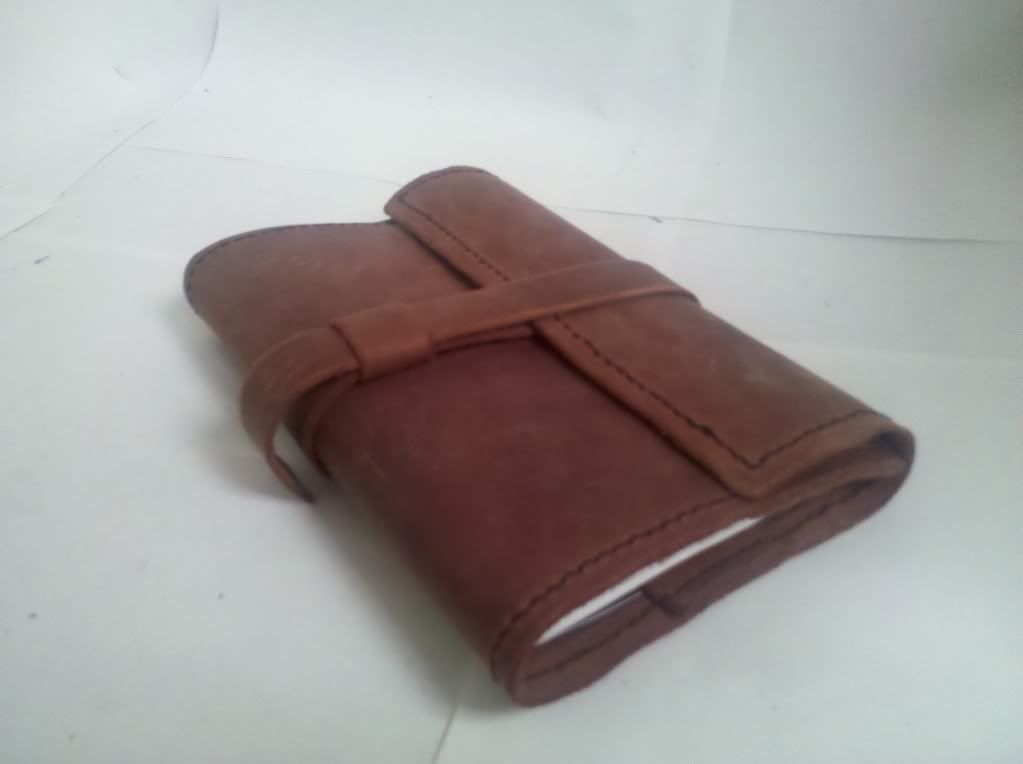
A handmade journal made from leather and recycled paper!
The inspiration for this project came from the huge waste of paper at my office. There are certain processes our system goes through that result in printing off pieces of paper with only a small amount of useless text at the top... which usually get thrown right in the trash. So I figured why waste it when I can use it?!
After collecting enough of these pages I used a paper cutter to trim the printed part off and even out the size a little. The size I decided to go with was 7x9, which would give me a journal page that was seven inches tall and five and a half inches wide.
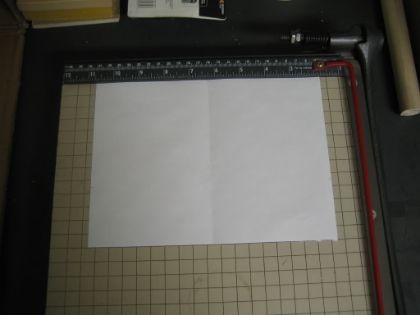
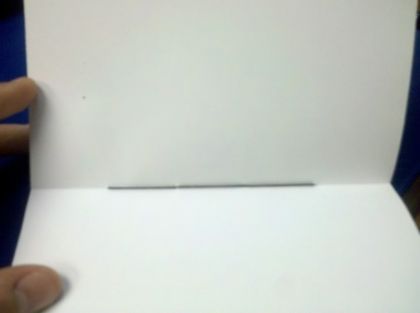
This was my test page that I folded and creased and marked on until it was generally useless for anything other than being a template. I cut about three pages at a time, since if you do more than that the cuts get really ragged. Once you've cut everything to the right size, separate the pages into piles. I did eight piles of six sheets.
Fold each pile in half. 1 page at a time. Yes this takes forever. Here's the end result:
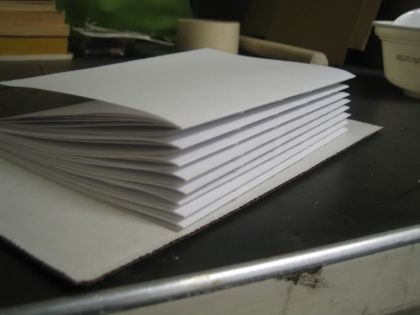
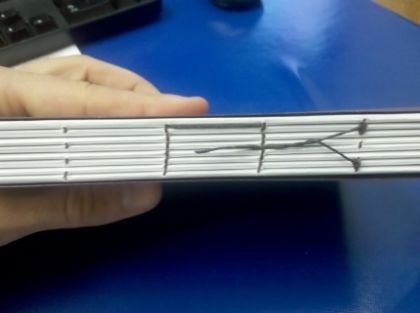
Each folded group of pages is called a signature. I don't know why. Once you've folded them you need to punch holes in the creases so you can sew them together. Punch four holes, spaced evenly apart, along the creases. Make sure it stays in the crease and doesn't stray onto the page itself.
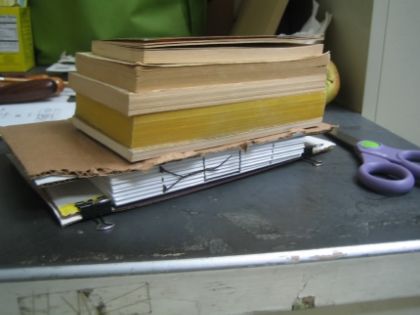
Sew the pages together using a complicated method that's really hard to explain. No really, here's one of the sites I used to figure out how to do it. The site actually explains the way to do the whole binding process in a much more detailed way than I am explaining it so I would recommend using it if you plan on making one of these for yourself. I used a strong waxed thread that I got from my local Tandy Leather store, but you can use any strong thread. If you want to wax it just run it over the bottom of one of those fat candles! This is what mine looked like when I was done with it.
After you've bound the pages the need to be reinforced. You can glue cheese cloth to the back which I haven't done, but would recommend. Then you need to put some sort of cardstock on the outside pages. I used some stuff we happened to have around. I think it's water color paper, but it was stiff enough.
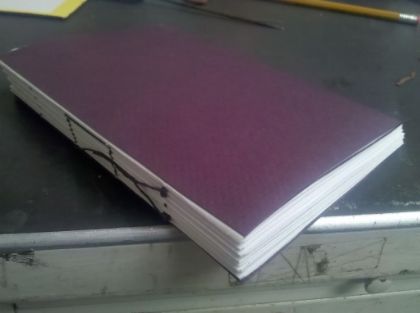
Measure it the same size that you used for the pages (in my case 7x9) and fold it the same way as well. Put a thin layer of glue on one side and fold it over one of the outside pages. After you've glued one side you can glue the other side and then move onto the opposite page of the book. Apply pressure as it dries.
Next measure and cut your leather. I used a pre-dyed leather that I got out of the scrap bin at Tandy.
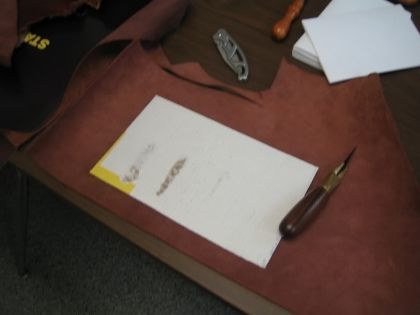
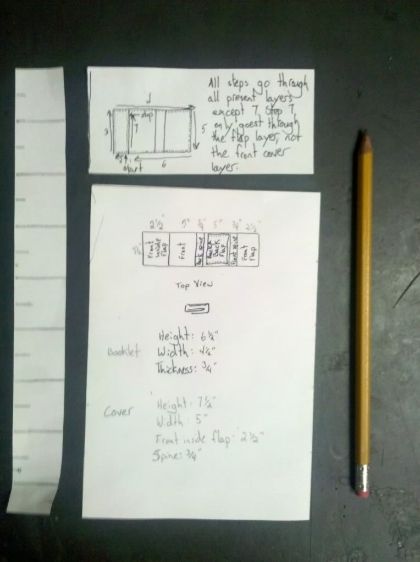
To figure the size I drew some crummy sketches and wrote some tiny numbers.

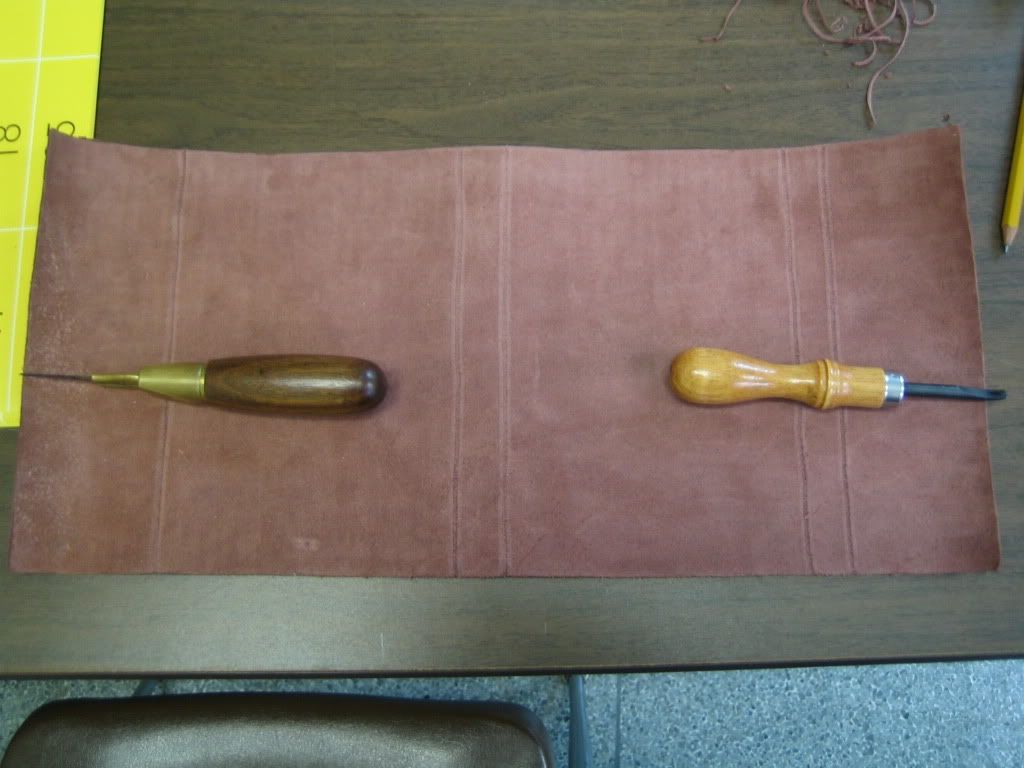
I scored where it needed to folded.
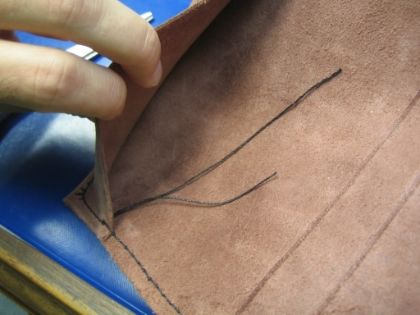
First I wanted to form the inside flap so I folded on my scored line and clamped it down. Make sure you have something in between your clamps and leather so it doesn't make any ugly marks in it.

Using a stitching tool I made the marks I would use when I stitched it.

When you make the stitch marks wet the leather first. It helps the imprints stay. If you don't have a special tool for this don't worry. Wet the leather, and then (using a ruler as a straight edge) run the back edge of a butter knife along your stitch line. Then use a fork to make the stitch marks.
Start sewing.

I used a sewing awl to do the stitching. If you've never used one check out this video. It really was invaluable. The one change I would make to the instructions in the video is that I would figure about 16-18 inches of thread for every 12 inches you sew. Maybe I'm just not good at measuring, but I ran out half way through.
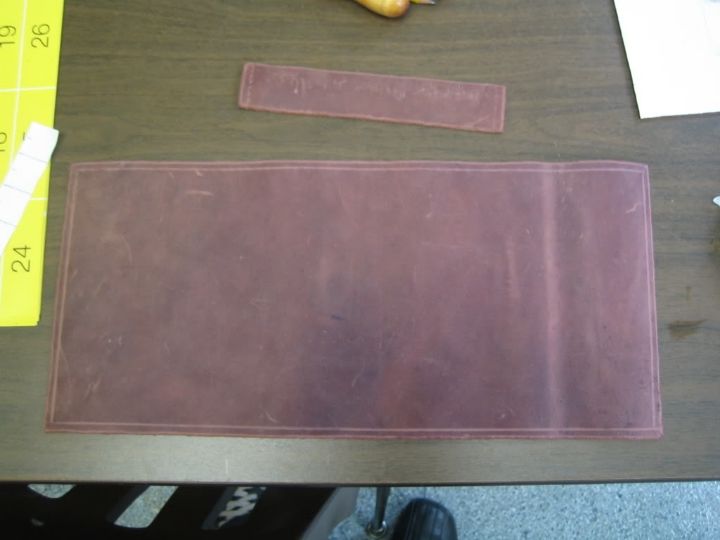
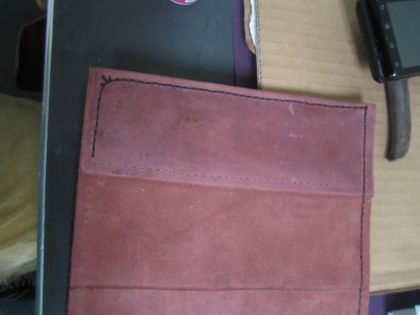
The next step is the strap for the closure. I started with a strip of leather much too long, sewed it on and then cut it down to the size I wanted it. I sewed it to the inside of the flap because that just made the most sense to me. I didn't care what the inside looked like but I did want the outside to look good.
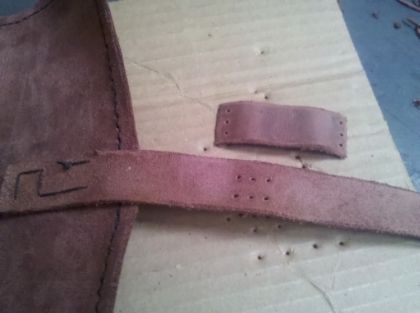
I punched holes into the strap and made a smaller strap out of the excess I cut off which I sewed to the longer strap. This was the hardest bit of sewing I did on this project.
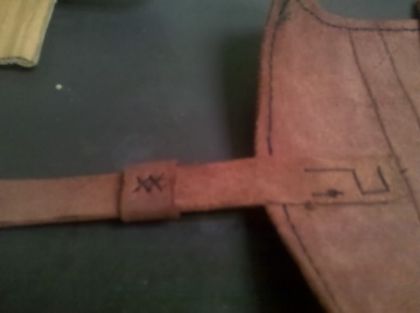

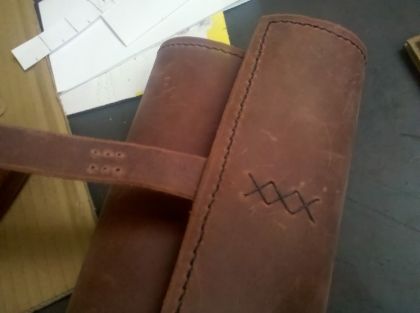
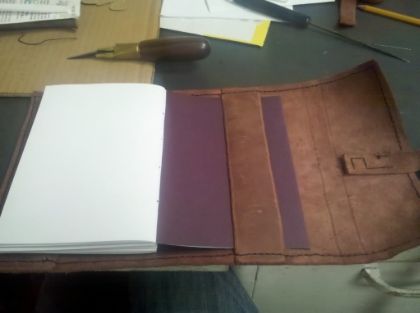
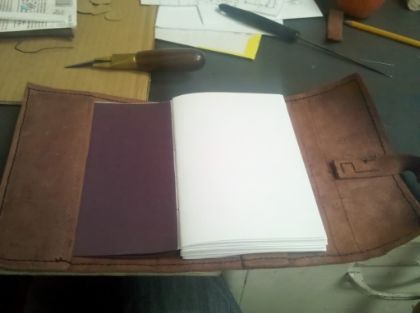
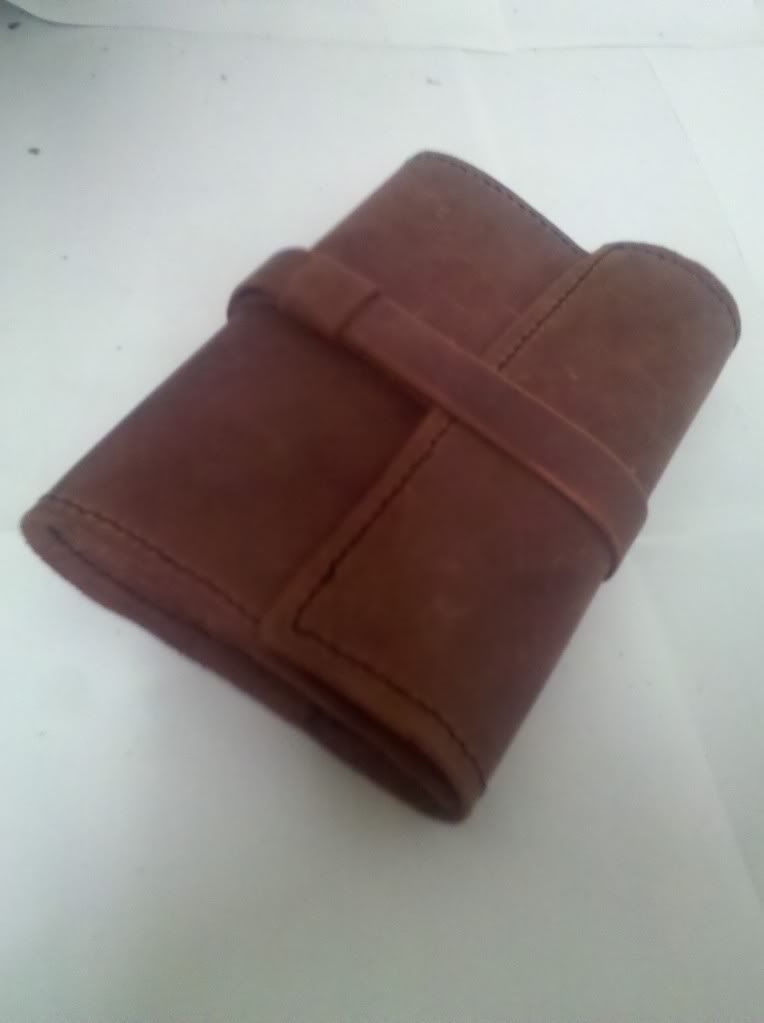
The cover is now done and just needs the booklet inserted. Some people choose to stitch the booklet to the outside cover, but I wanted something I could easily change out when I finished with it, which is why I opted to include the flaps to hold it in. To insert the booklet I slid the back page under the smaller flap as far as it would go, then inserted the front page under the front flap and pushed it in until it was even between the two.
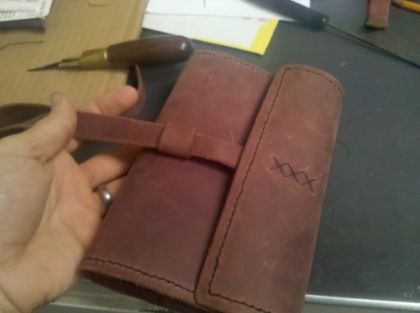
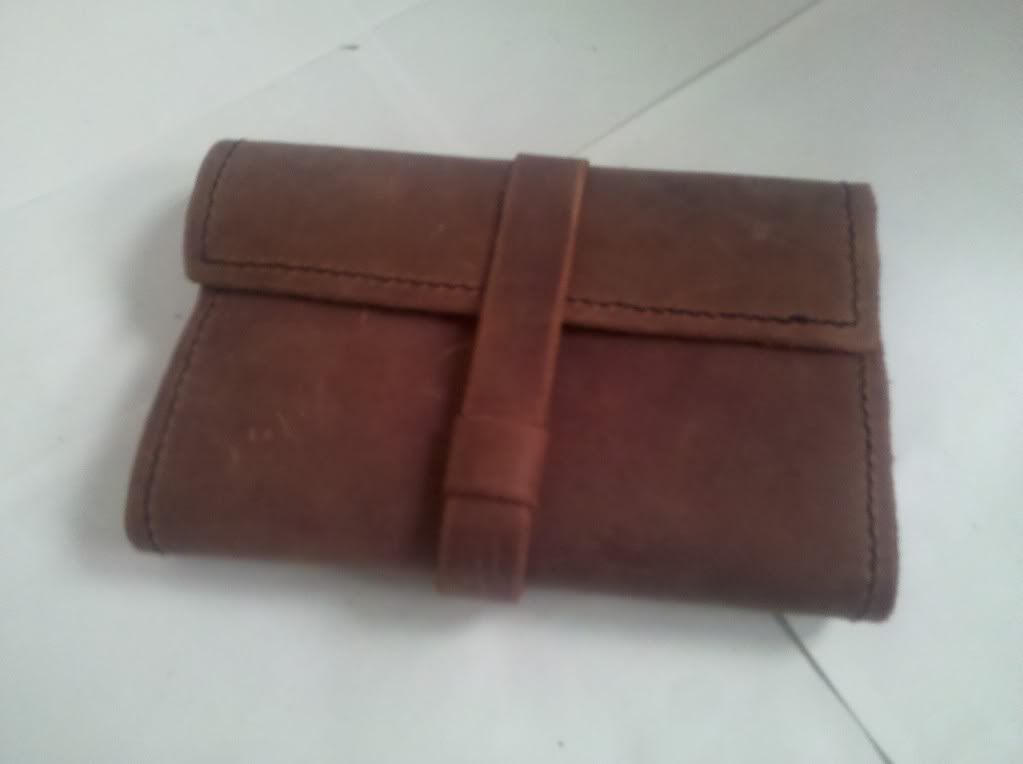
TaDa! Now just wrap the strap around and insert it into the little belt loop thingy!
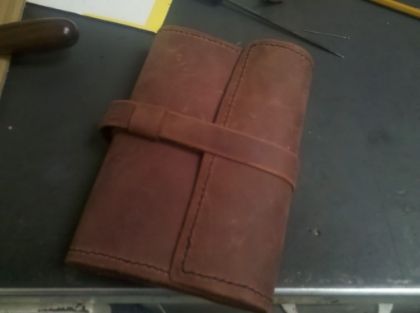
As a finishing touch I used an edge beveler that rounds out the edges of the leather to make it look less rough.
I haven't decided what to do with it yet, but there's so much potential! We'll see. I hope you enjoyed it. Have you ever been inspired to make something out of the wasted material that you see around you? How did it turn out?
seeew swweet. you should totally use it to actually journal/draw precious thoughts. i wish i did that more... i feel i'll forget forever if i don't capture them somehow.
ReplyDeleteI'm not much for actually "journaling" but I do like the idea of writing down some of the random thoughts that I have. I think I might use it as a planning journal with sketches and ideas for things I want to do and accomplish.
Delete