Not the sharing what I like to do with my time part, that's not new. I'm pretty good about talking about myself. Maybe too good.
No, the part that's new to me is putting myself on some sort of schedule where I share what I've been up to. But I guess that's what I'm going to do. Hopefully this will be interesting to others while also helping me to stay disciplined and get things done. For me to blog about something I have to have done something, right?
So to get this going I'll start with a project my wife and I started a little while back. We decided we wanted to make a forray into the gardening arena with a raised bed garden. Why a raised bed garden? No tilling required. No digging in hard ground. Better weed control. Less back ache. No worrying about what type of soil is in your backyard. We checked various helpful DIY websites (google "raised bed garden" and you'll get plenty of good information) gleaned what we needed and set to work.
Materials needed:
4 - 18" long 2x4s
4 - 4' long 2x12s
32 - 3" #10 wood screws
1 - 4'x4' section of tough mesh (I'll explain)
16cu ft of soil
Tools:
Drill
Clamps or a second pair of hands
Post hole digger
Shovel
Wheelbarrow (optional)
When it comes to the wood there are several options out there. The most obvious and inexpensive is treated lumber. If you want wood that hasn't been chemically treated but will still hold up to the elements you can use redwood or cedar, but it can be expensive. We wanted this to be a natural, organic garden so we had to compromise on the wood a little to keep it inexpensive. We went with an untreated "regular" lumber. It should last us a year or two, which is actually pretty perfect considering our current living situation isn't permanent anyway.
The first thing I did was mark my wood and pre-drill the holes. (The two holes on the edge needed to be further apart)
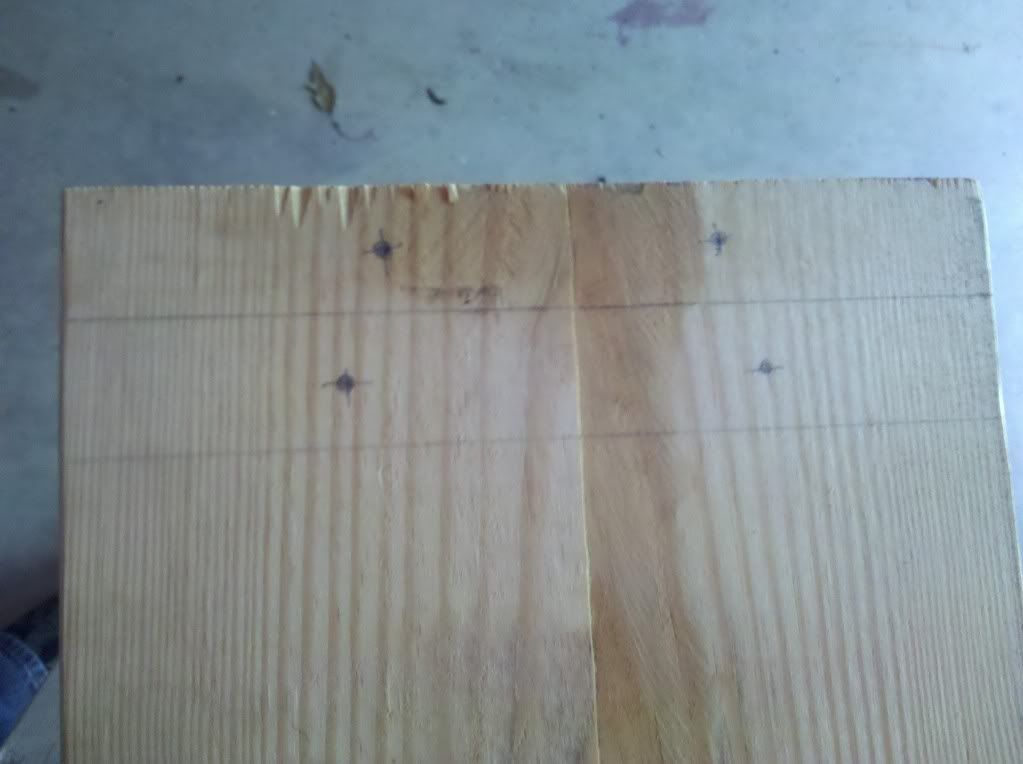
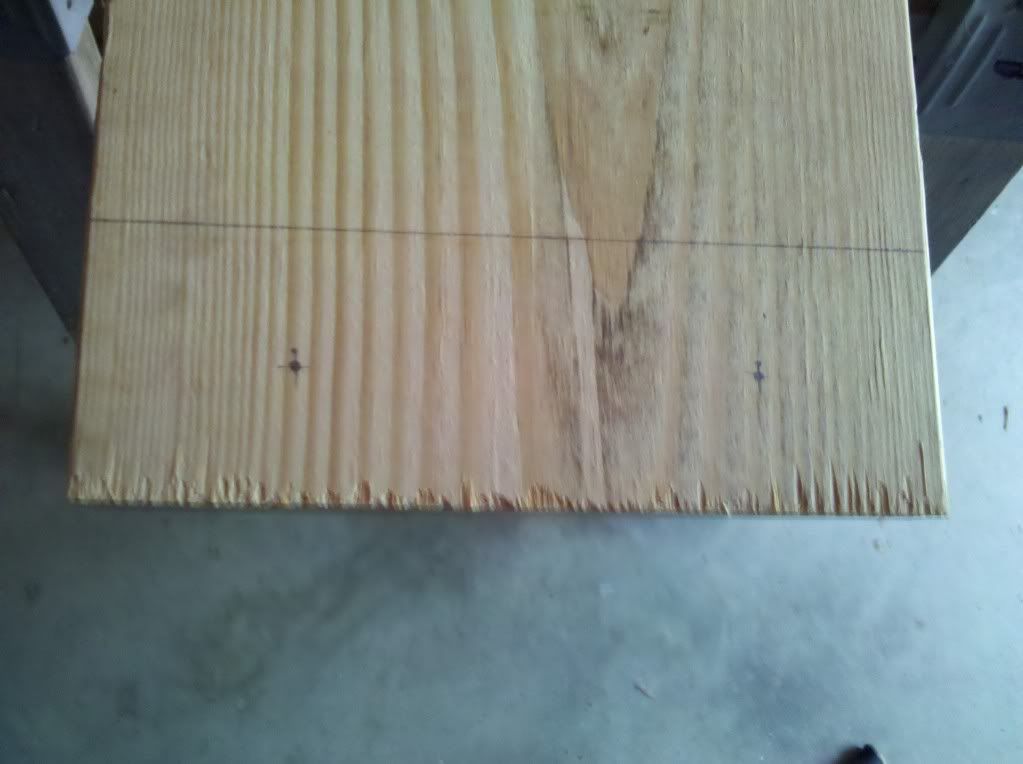
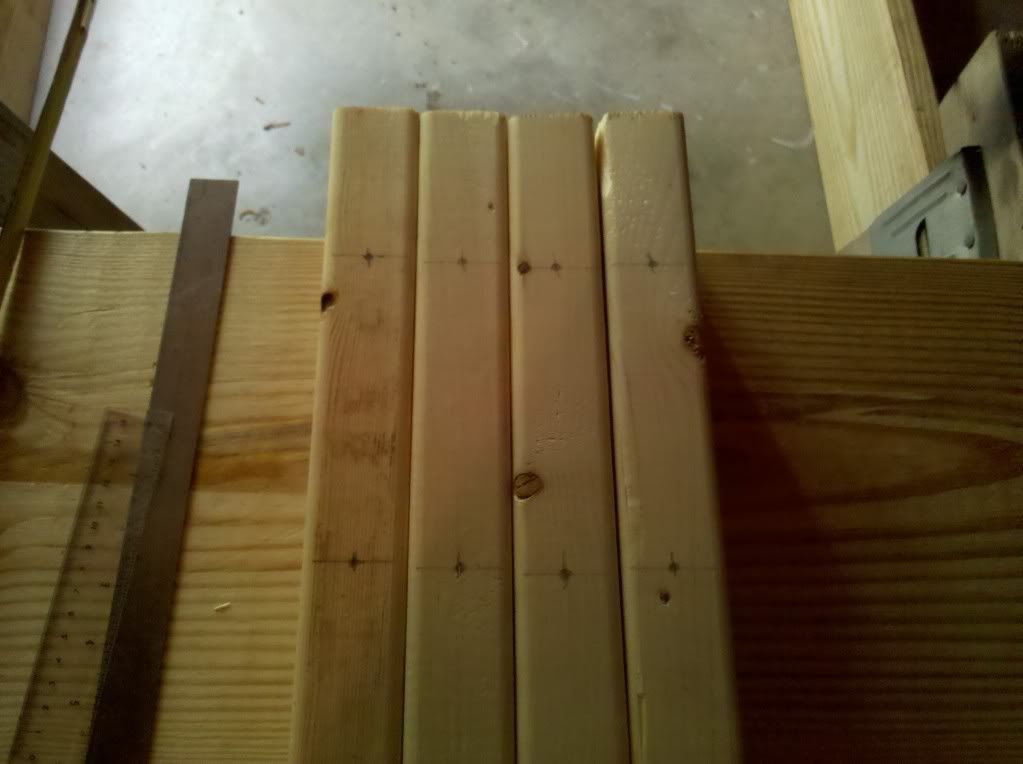
It's important to stagger the holes on the 2x4s so your screws don't run into each other. You don't want the holes on the 2" side to line up with the holes on the 4" side.
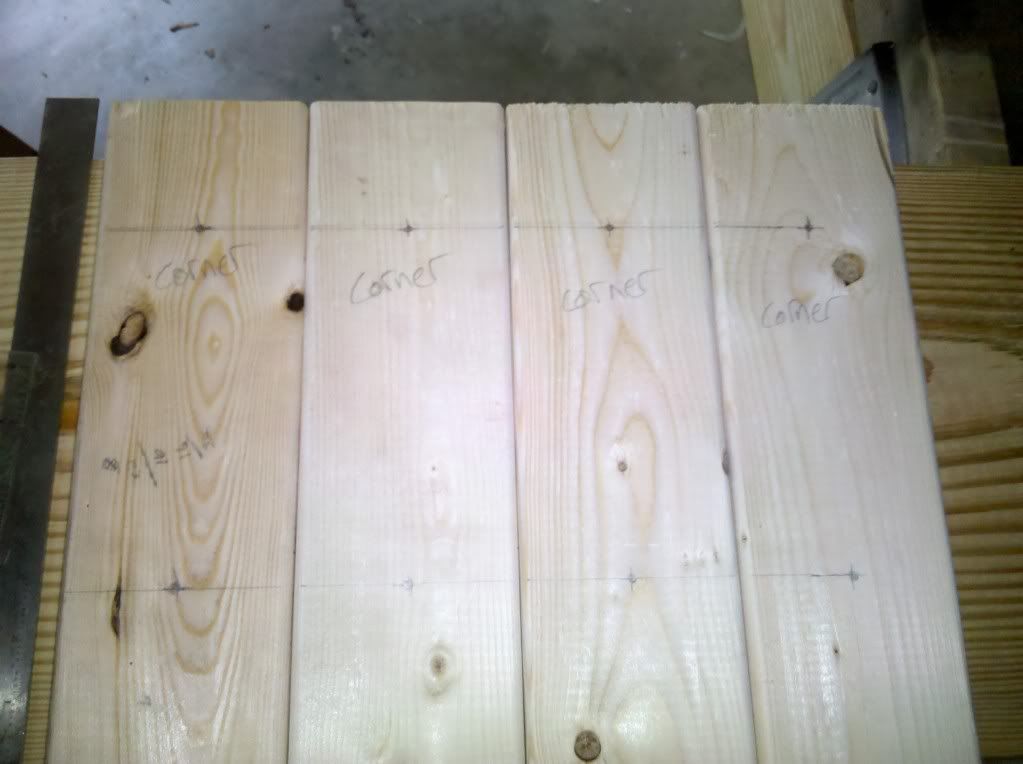
First I attached one 2x4 post to the end of each board. Then I used clamps to hold the sides together as I attached them to each other.
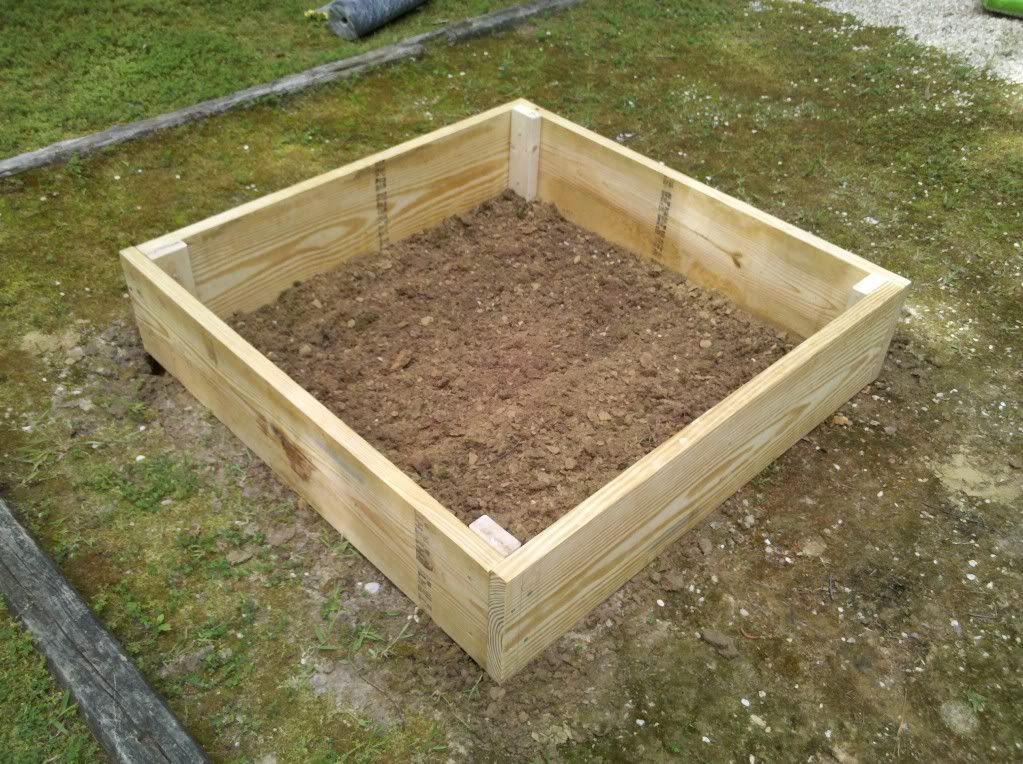
It's a good idea to use some sort of mesh material under your soil to keep out small burrowing animals. Hardware fabric, wire mesh, or small chicken wire will work. I used chicken wire and just laid it down before I put the dirt in.
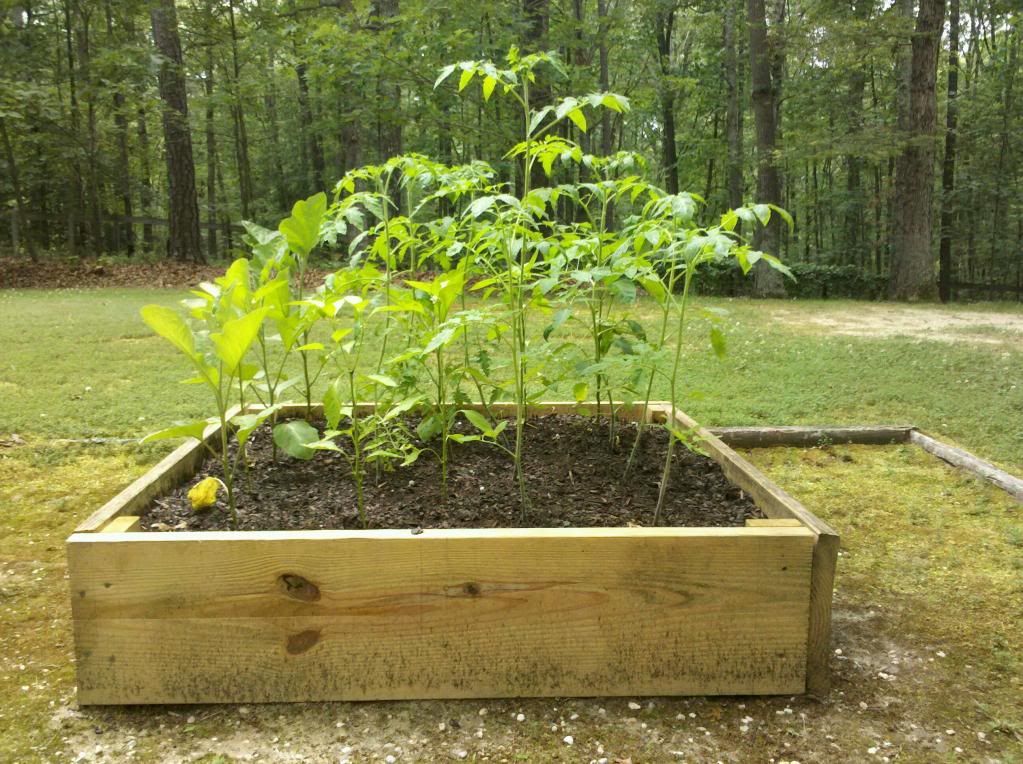
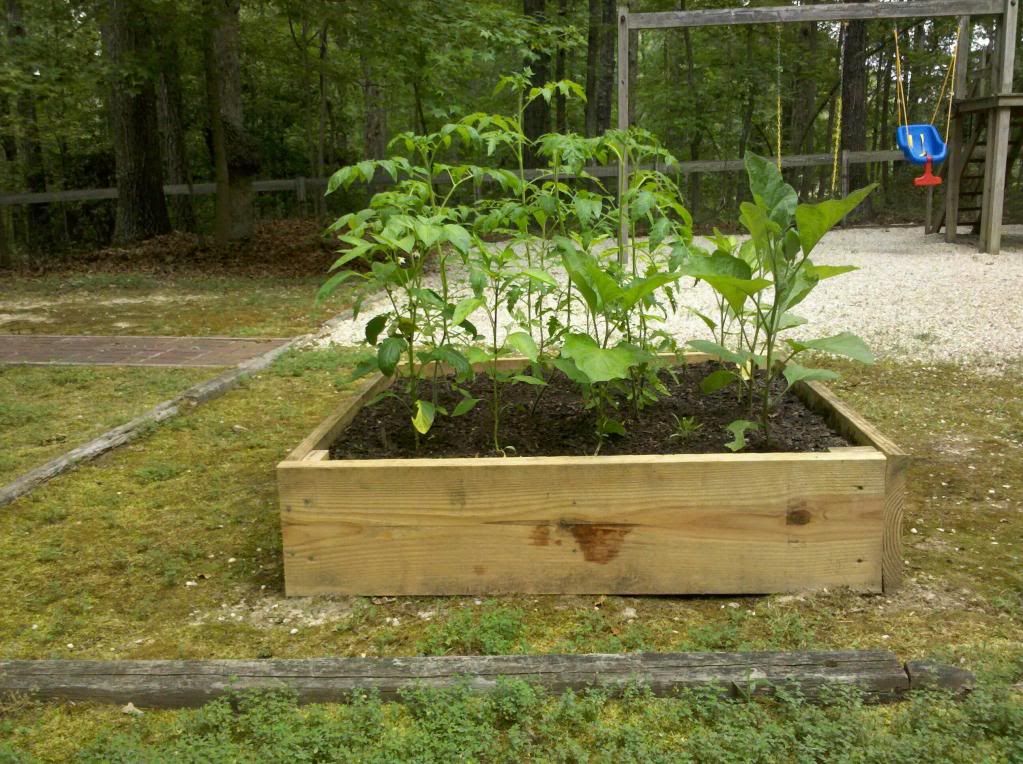
Depending on how you get your dirt you might need a wheelbarrow or a shovel. We bought organic soil at the hardware store and just dumped it in. The wheelbarrow still helped in getting it from the truck, but we didn't even need a shovel.
The soil was so loose and soft that we planted everything by hand as well.
Hopefully this wasn't too ridiculously long. I hope it was helpful or at least somewhat entertaining and that you will have success in your own gardening adventures! Feel free to share any tips or tricks you've found that work well.
No comments:
Post a Comment