Thursday, August 1, 2013

Pepakura Paper Projects

So, I've been eyeing this process called Pepakura for quite a while now. If you're new to the term basically the idea works like this: You (or in this case anyone who's not me since I'm not skilled enough or equipped to do it) create a 3D model, or take an existing one, and "unfold" it. Unfolding refers to the process of breaking the surface area of the 3D model into manageable pieces that can be printed onto paper or cardstock like puzzle pieces. Each piece has tabs, numbers, and fold lines so that it can be put back together in an actual physical representation of the 3D model. Awesome right?

Well, it doesn't have to stop there. At that point all you have is a paper model, but with the use of things like fiberglass resin you can harden it and make it strong, and then you can apply things like papier mache or Bondo (an auto body filler) and make it into, well, whatever! The thing that I'm primarily interested in is armor. Specifically in regards to all things Star Wars, like Stormtroopers, Mandalorians, Sith, etc.

I've been researching this forever but at some point you just have to jump in and get your hands dirty so that's what I'm doing. Let me note right here that this is by no means a "How-To" when it comes to Pepakura. This is more like a "Follow me as I stumble along trying to figure this thing out as I go" and will probably span several posts. That being said, I've started two projects almost simultaneously. The first one is for me and the second one is for my brother-in-law who I have the privilege of using as an excuse to make things that are fun.

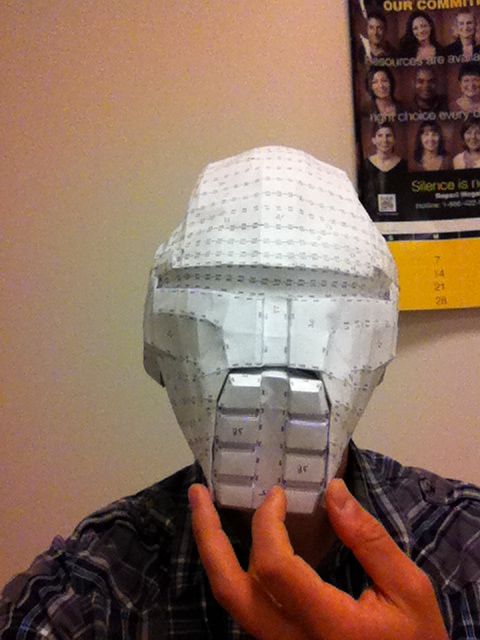
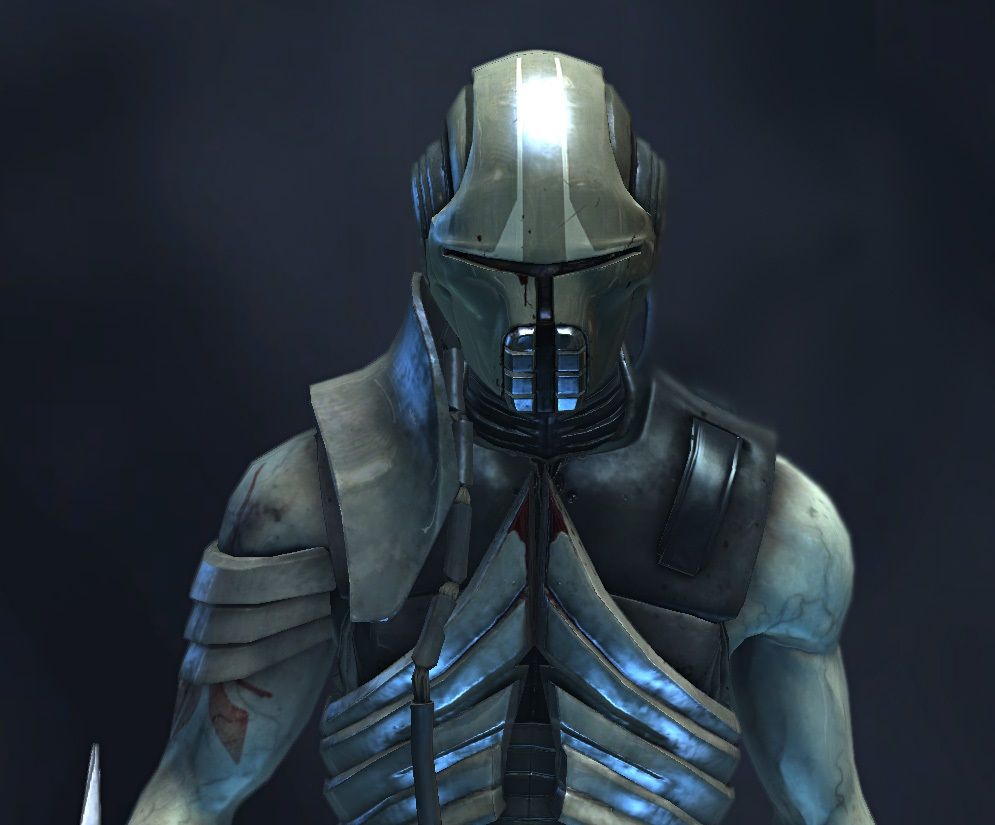
Like I said, I have a particular interest in all things Star Wars so I wanted to start with something in that area. The Stormtrooper helmet looked a little complicated for my first build so I settled on the Sith Stalker helmet.


In retrospect there are far simpler helmets in the Star Wars universe but this one is so awesome that I don't regret my decision (yet, that is).

Cardstock is the recommended medium for this type of project but I didn't have any and didn't feel like buying any so I used some of the tons of waste paper that my office churns out on a daily basis. Hooray for nerdy recycling!


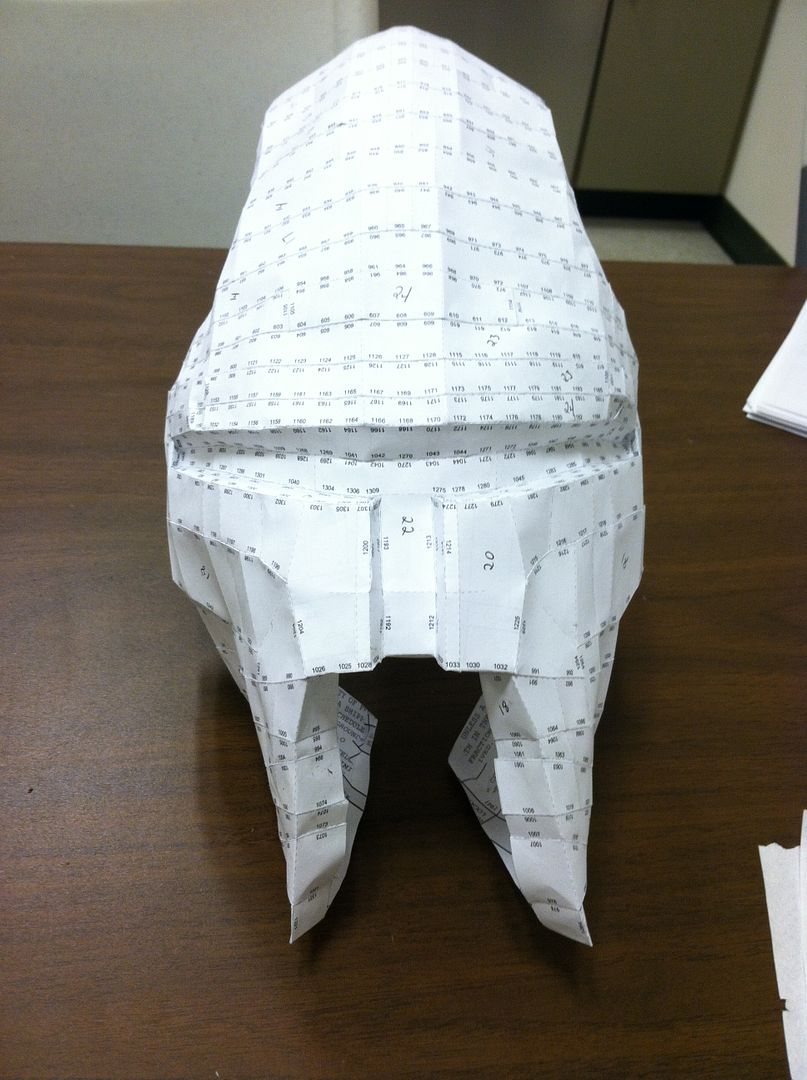
I tried to start at the simplest part (the back) and work my way towards the more difficult face section.


The mask part.


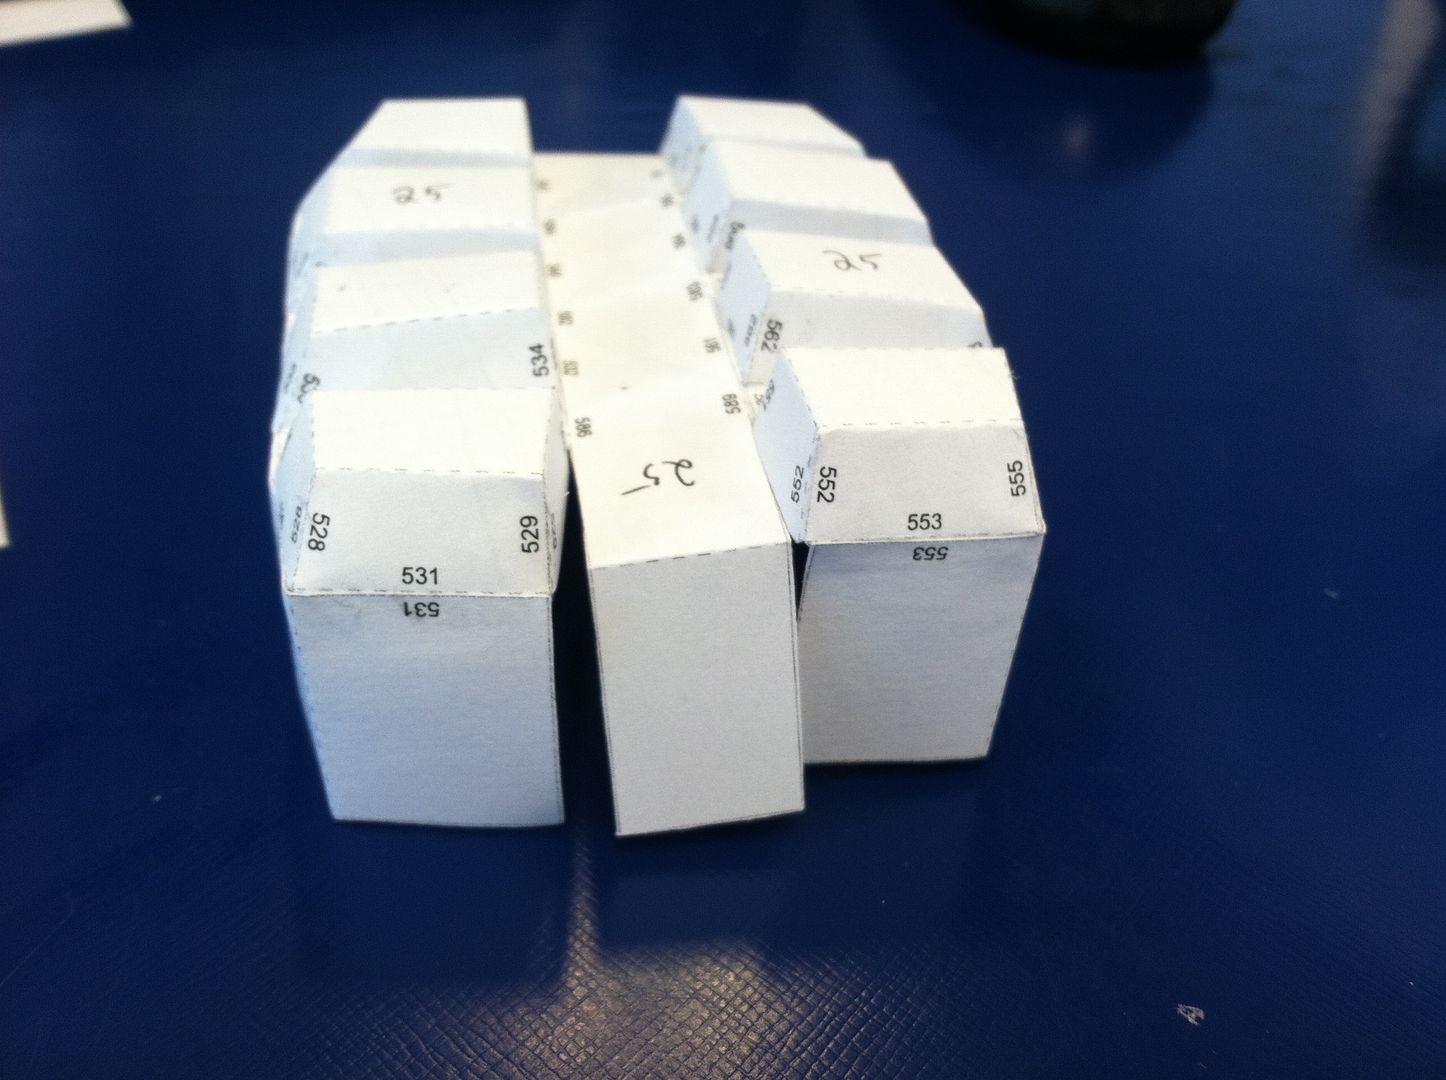
The mouth piece.


The helmet part.


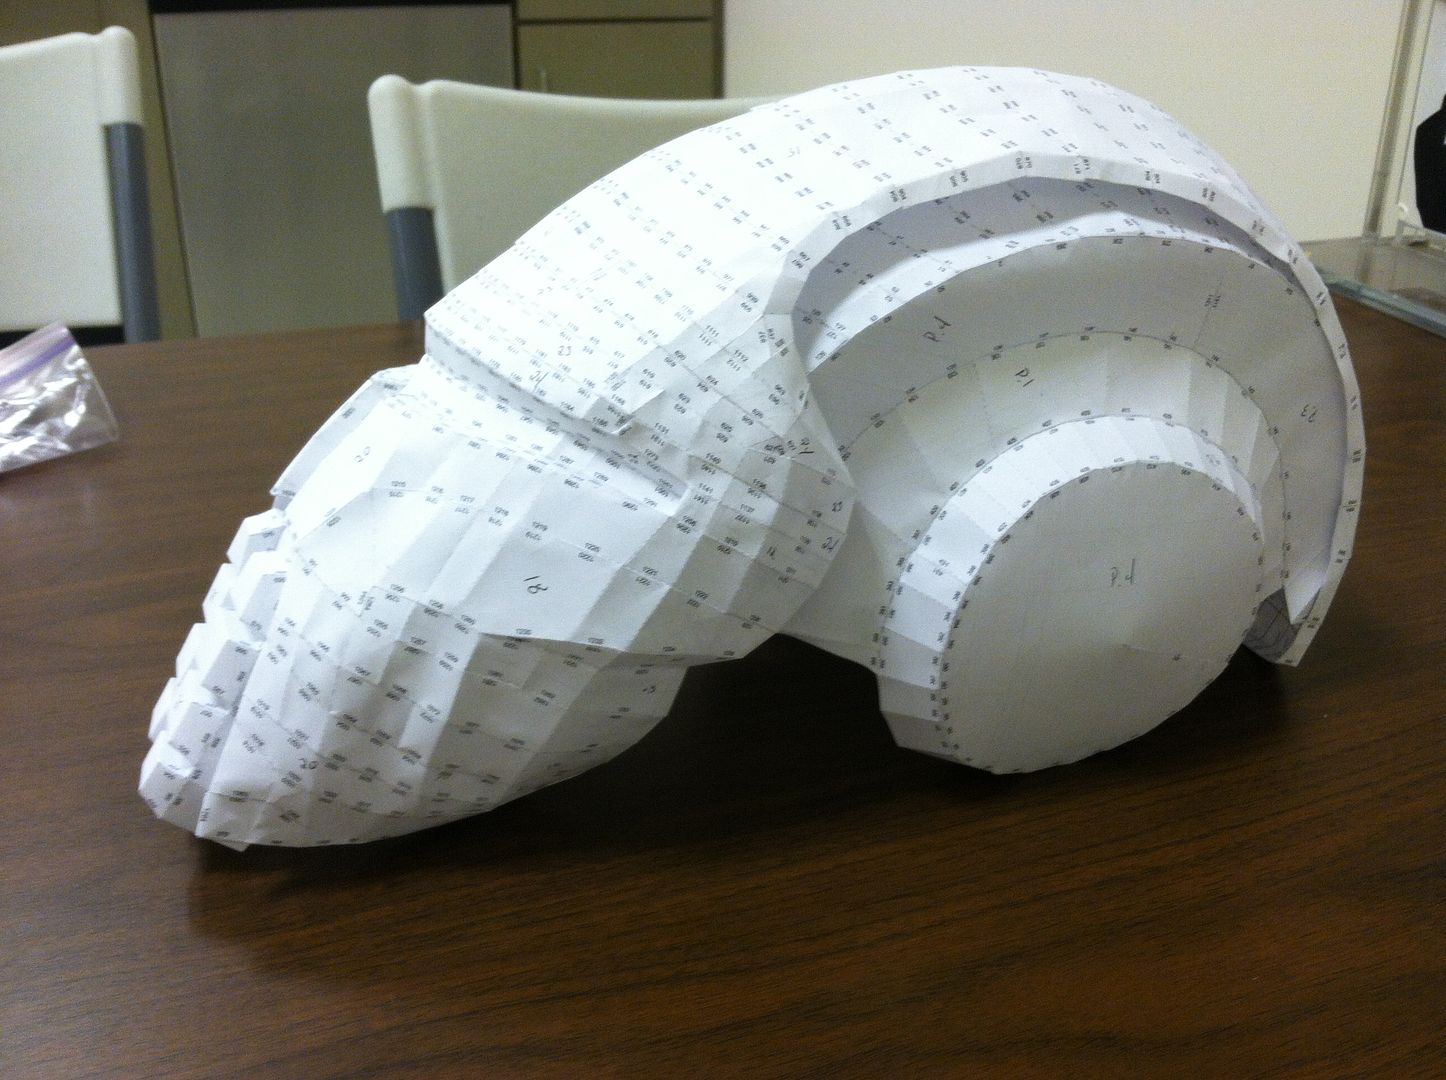
All the components together.


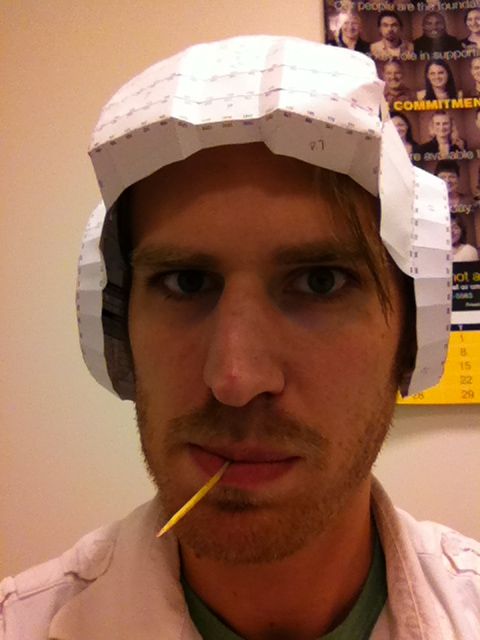
All the components together, on my head.

There is one unfortunate part about this helmet in particular. There are several different models of this helmet done by different people. Overall I liked this one the best but it's actually missing a couple pieces because the guy who designed this 3D model decided to make them differently and attach them after. So at this point I think I'm going to print off those parts from a different version of the helmet and see if I can adapt them to mine. Also, because I used paper it has buckled under it's own weight at the "cheek" parts. Now I have to figure out a way to reinforce it so it will stay straight for the hardening part or I'll have to do it over again.


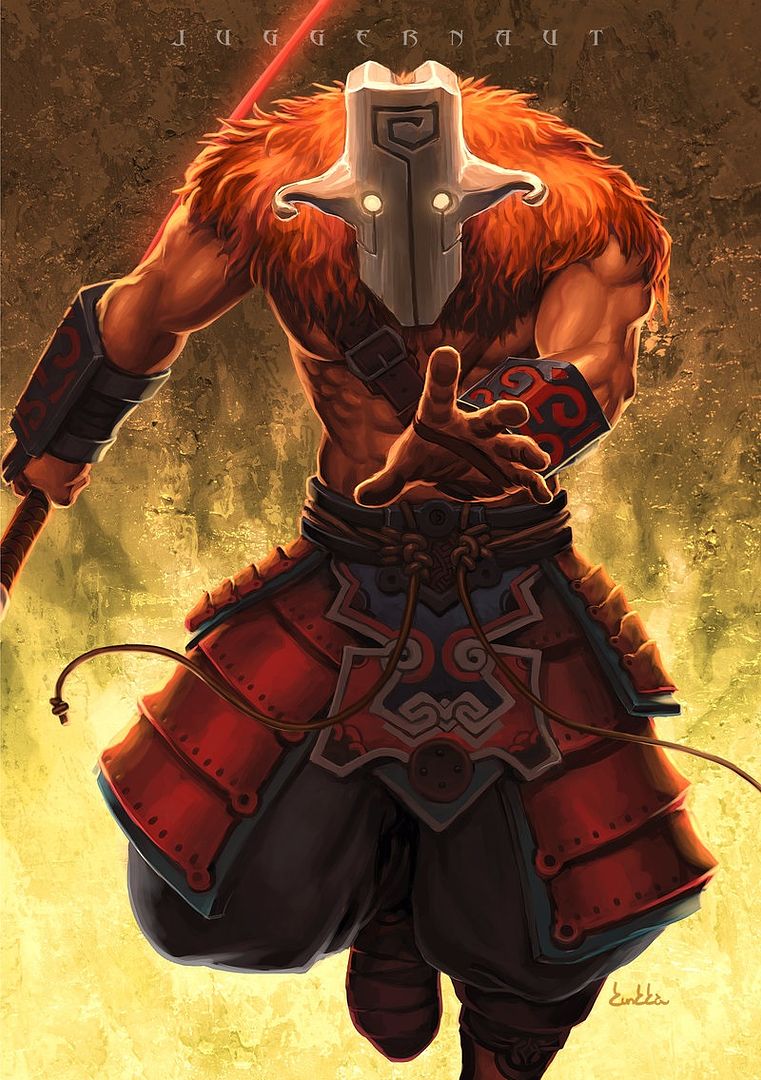
As for my brother-in-law, he's planning on cosplaying a character from Defense of the Ancients 2 known as Yurnero the Juggernaut.


I'd love to help with more than just the mask, but at this point I don't know how much help he needs for any of that or really how much time I have either. So right now I'm helping with the mask part. For this one I realized that I had a bunch of file folders that I wasn't using and thought I might try using them. I couldn't print on them so I printed the file on waste paper again and just put it on top of the folders when I cut it out. I also wrote the numbers that identify which edge matches which. Even with the extra work I much prefer working with the cardstock than with the regular paper.


At this point I have the front of the mask done but that's pretty much the easy part. As I add the horns it will get harder to glue each piece together and I might start wishing for that flimsy paper again. Once I'm done the assembly process I'll have to invest in some fiberglass resin and Bondo so I can really finish these off right.

So anyways, those are the projects I'm currently working on, as well as house related projects which will all get covered over here.

If you want to try out Pepakura for yourself head on over to Tamasoft and download the free viewer program. You can use it to view and print files. They also have links to where you can download the files. You'll need the paid version of the program if you want to unfold your own files. For more information on the process feel free to ask me anything or try perusing The Replica Prop Forum. They have exhaustive knowledge on the subject and tons of cool files. If you're more interested in toys and figures you might try Papercraft Paradise.
Monday, June 17, 2013

First Finished Foam Sword

I finished the foam sword. In my rush to get it to my brother-in-law to have him approve its completion (as well as the rush of moving) I somehow neglected to take pictures of it finished...

Fail.

I did get one picture of the whole costume texted to me though so I will proceed.

After sanding it all down really well I gave it some slight detail.


I didn't overdo it or anything. As I've said before the reference material I had wasn't terribly detailed and in the anime the weapon itself often changes shape, so I didn't waste too much time trying to get every little bit just so. I used sand paper and just sanded the foam down until I had that little ridge down the front (you know, the one you can barely see).


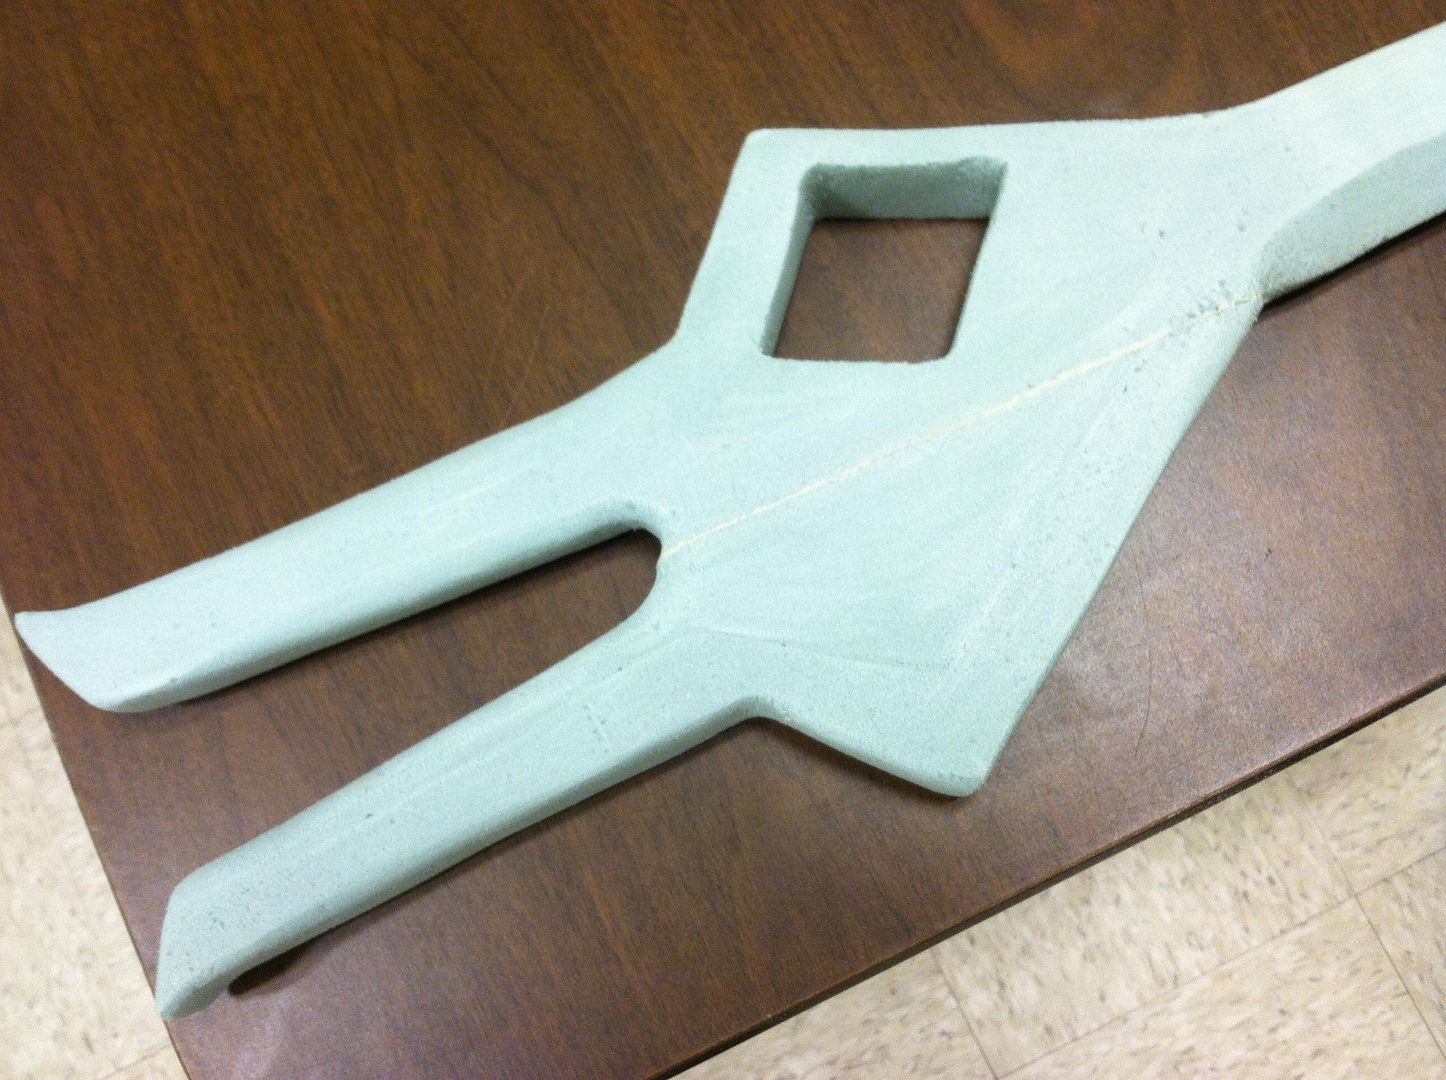
I spray painted it with a red acrylic and then brushed some watered down black acrylic paint into the groove along the ridge to accentuate the detail. Lightly spraying the paint worked out alright but there were a couple spots where I sprayed it a little thicker and it actually sort of ate into the foam. I could have avoided that by either A. being more patient and spraying on thinner coats, B. painting an acrylic primer on with a brush, or C. using paper mache or Gesso (or anything like that really) to cover the foam entirely and give it a nice smooth finish before painting.

Either way, original picture for comparison:


And end result...


Sorry it's dark and whatnot. I will try to get a better picture of the sword specifically. I'm not going to even bother trying for the whole costume again. I'm kind of surprised I even got this picture.

This was such a quick project that I'm thinking about trying another one now. I was thinking either a viking sword or a big broad bladed WOW style sword. I don't know if I want to push other things back though... Decisions, decisions.

Oh well. We'll see.

Thursday, May 23, 2013

Back to the Beginning

What did I start this blog for?

Oh that's right. It was to hold me accountable to finish my projects. And to share those projects of course.
Recently though, I've been busy. Really busy. Like closing on a house busy. All that's over and done with now, but that just opens the door to a whole slew of other things that take up lots of time, like painting, and cleaning, and moving, and trying to rein in the jungle attempting to grow in our new backyard.

The wife and I will be starting a new blog soon to track and record any and all improvements we make... once we can come up with what we want to call it. Any suggestions? In the mean time here's a peek at my current project.

My brother-in-law is going to another anime convention (so jealous) and once again I have recruited myself to help with his costume. Seriously. I don't think I even gave him a choice. It was like, you're doing what? You need what? Then I just came home from work with the materials one day and now I'm on the job. What job is that you ask? I'm making a sword.


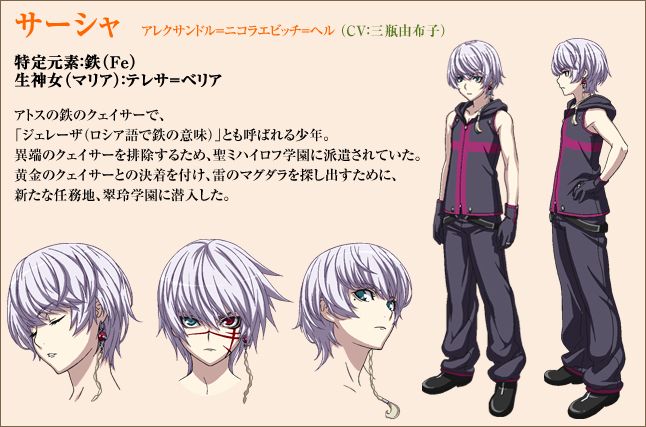
The character he's cosplaying is named Alexander Hell and he has some sort of morphing weapon that usually takes the form of a giant, elaborate, multi-bladed scythe... but occasionally looks like a sword. In some ways this was a stroke of luck, but at the same time as the secondary less popular weapon it's also incredibly hard to find reference pictures. This is pretty much what I had to work with:


I don't think this is even official art. I have no idea where it came from. It just popped up on an image search. I did also find some other cosplayers who had made the sword, so I was using that as well which helped.

So, this is now the fourth weapon I've made (/am making?). Let's see *counts on fingers* one, two, three, four. Yep, fourth. The other three were all made of wood, but for this one I'm trying something new. At anime conventions they can be stringent on what kind of "weapons" they allow in the building. Apparently they don't want anyone damaging their fellow con-goers with semi-dangerous weapons. So for this sword I'm using insulation foam board.

Rather than purchase a sheet of foam board I was able to pick up some scrap pieces from work. Score! I did need to glue two pieces together so I used a construction adhesive called QB-300 which I also got free from work because it was damaged. Double Score!


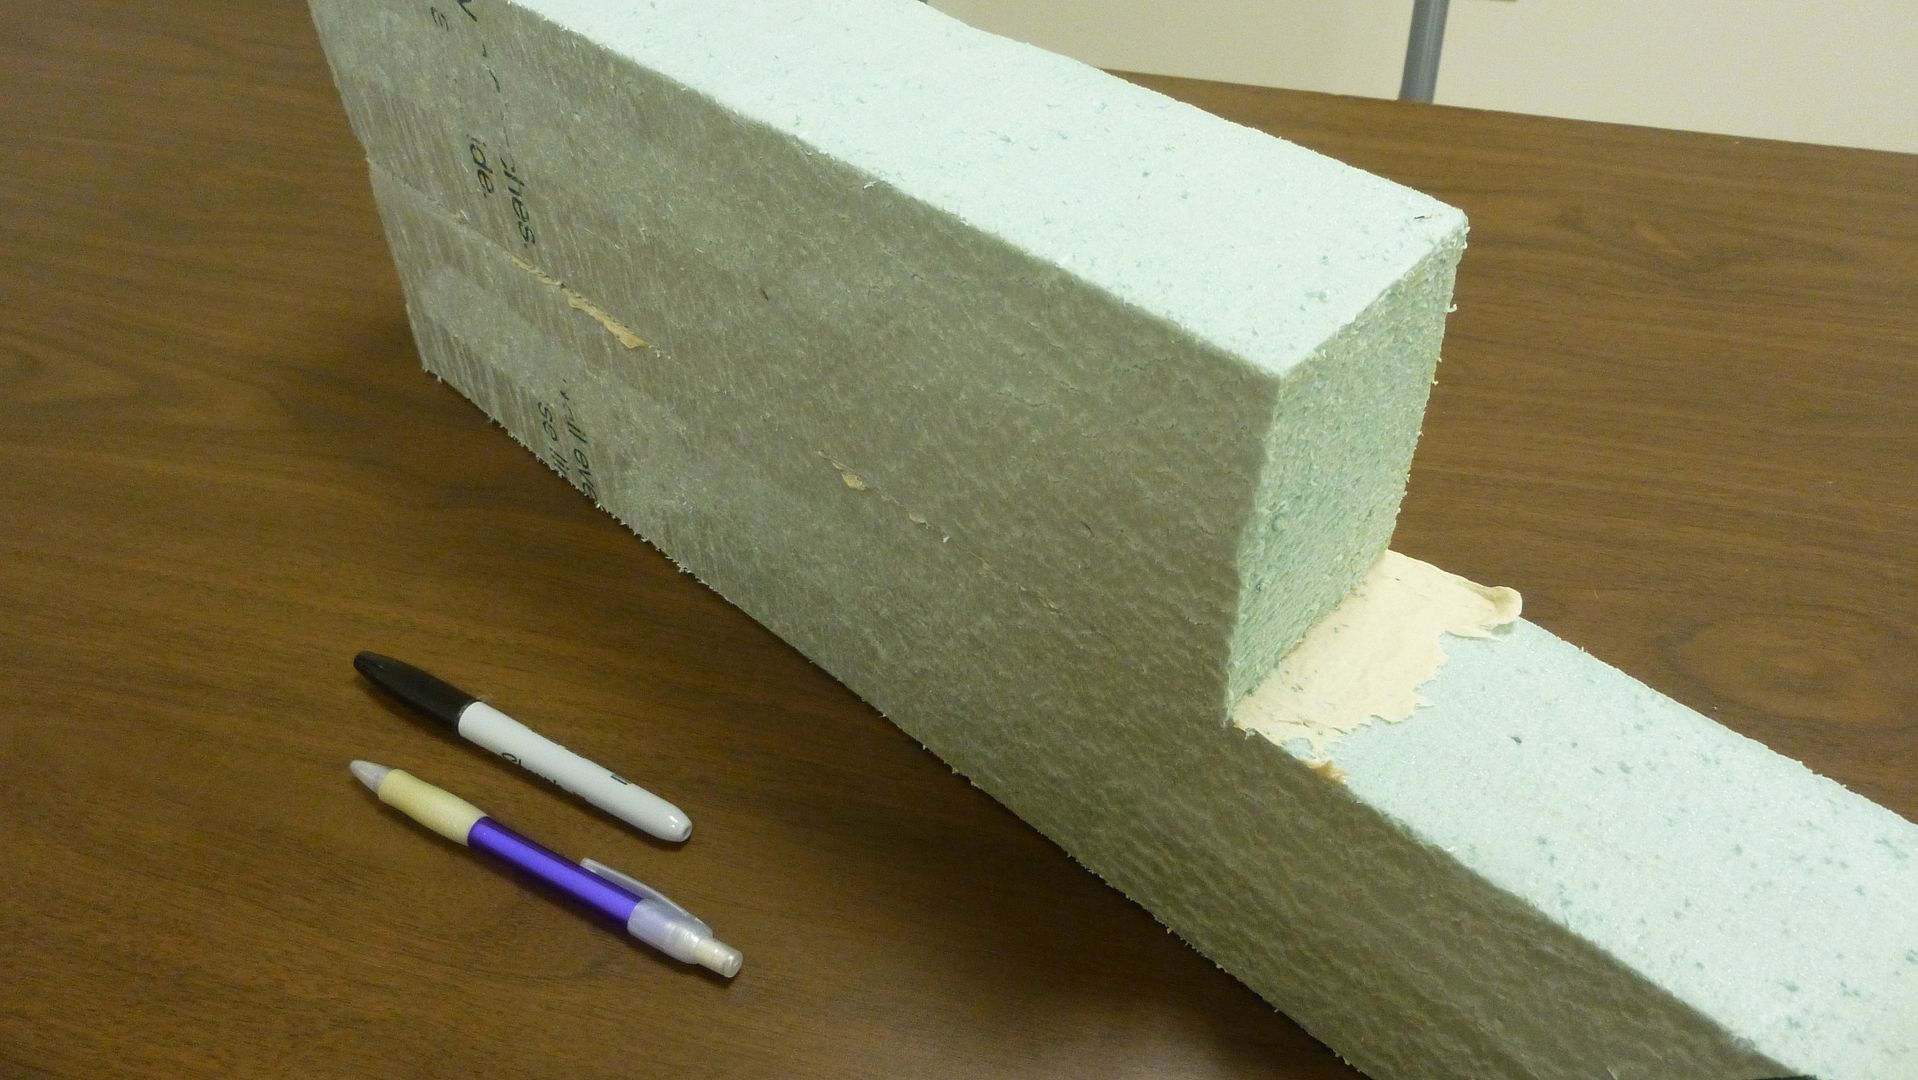
Glued the two pieces together.
 
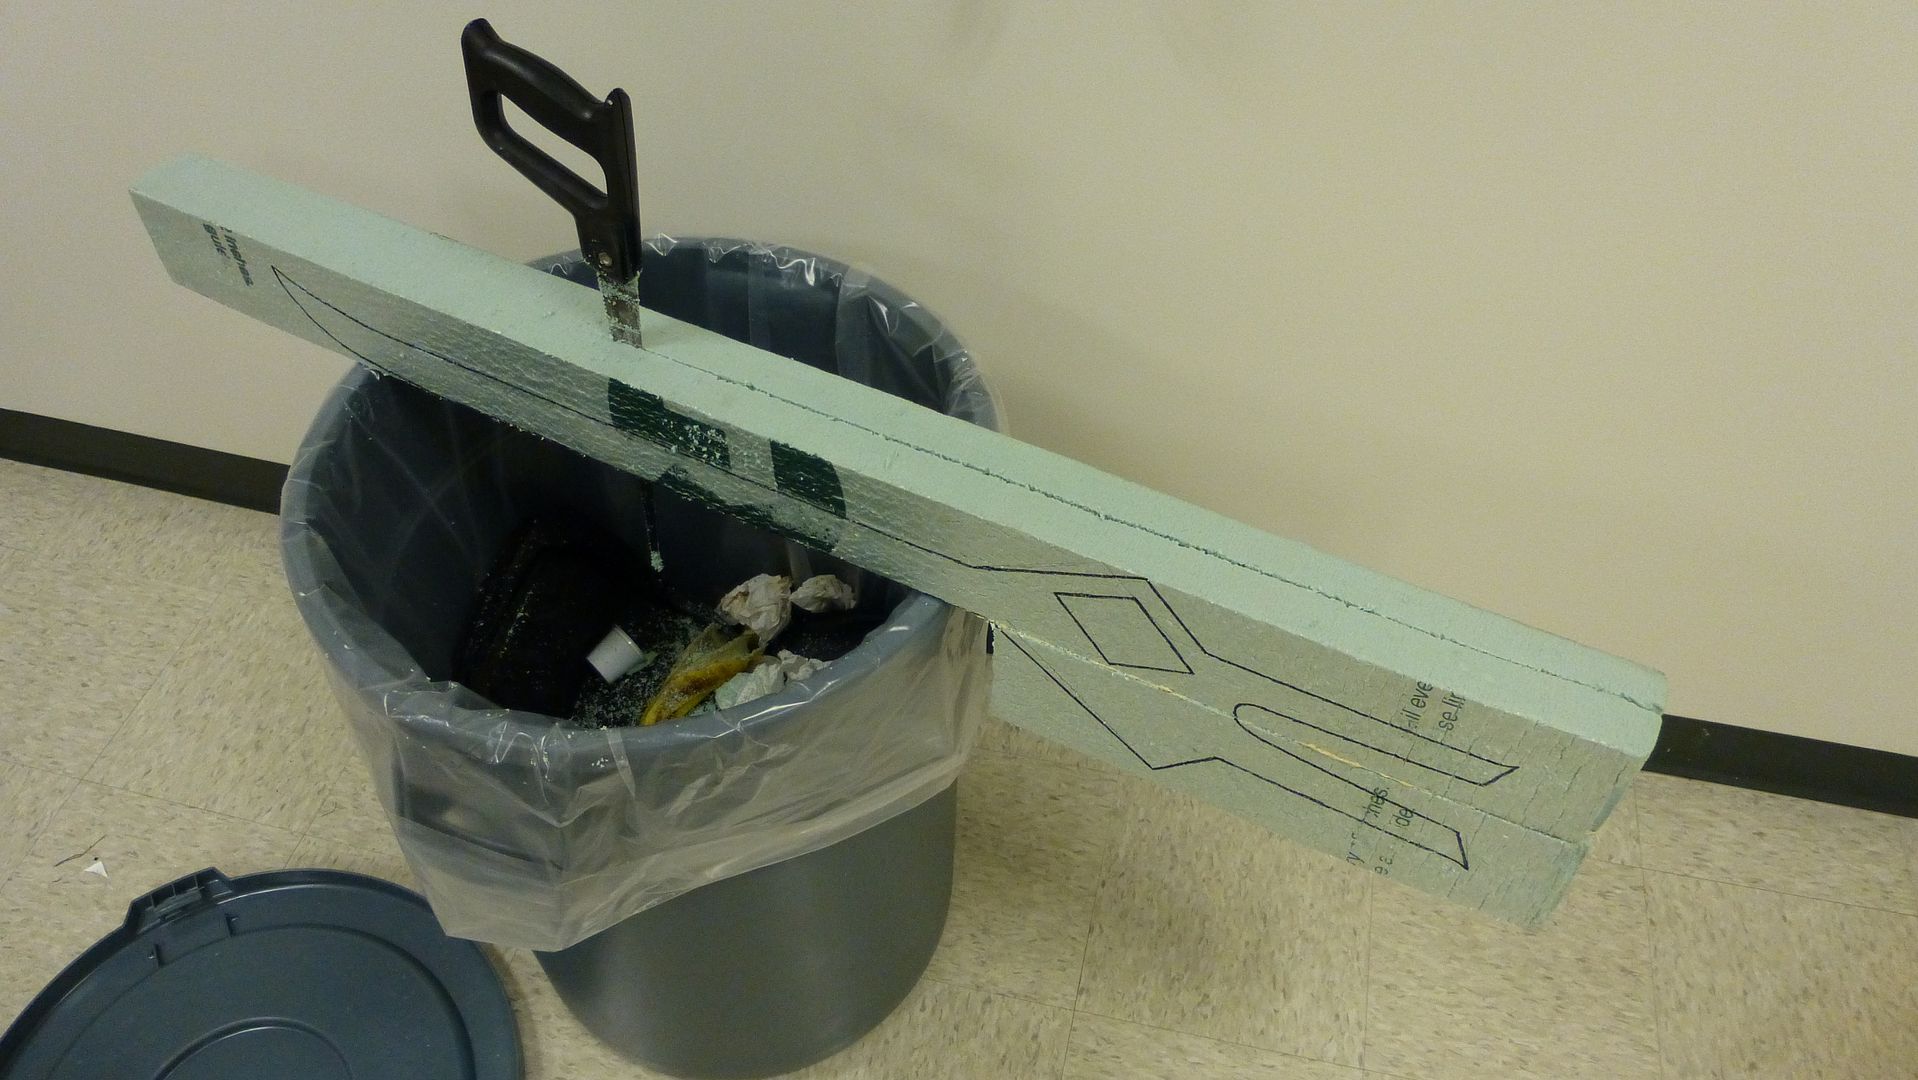
Cut it in half, the free board I scored was way to thick.


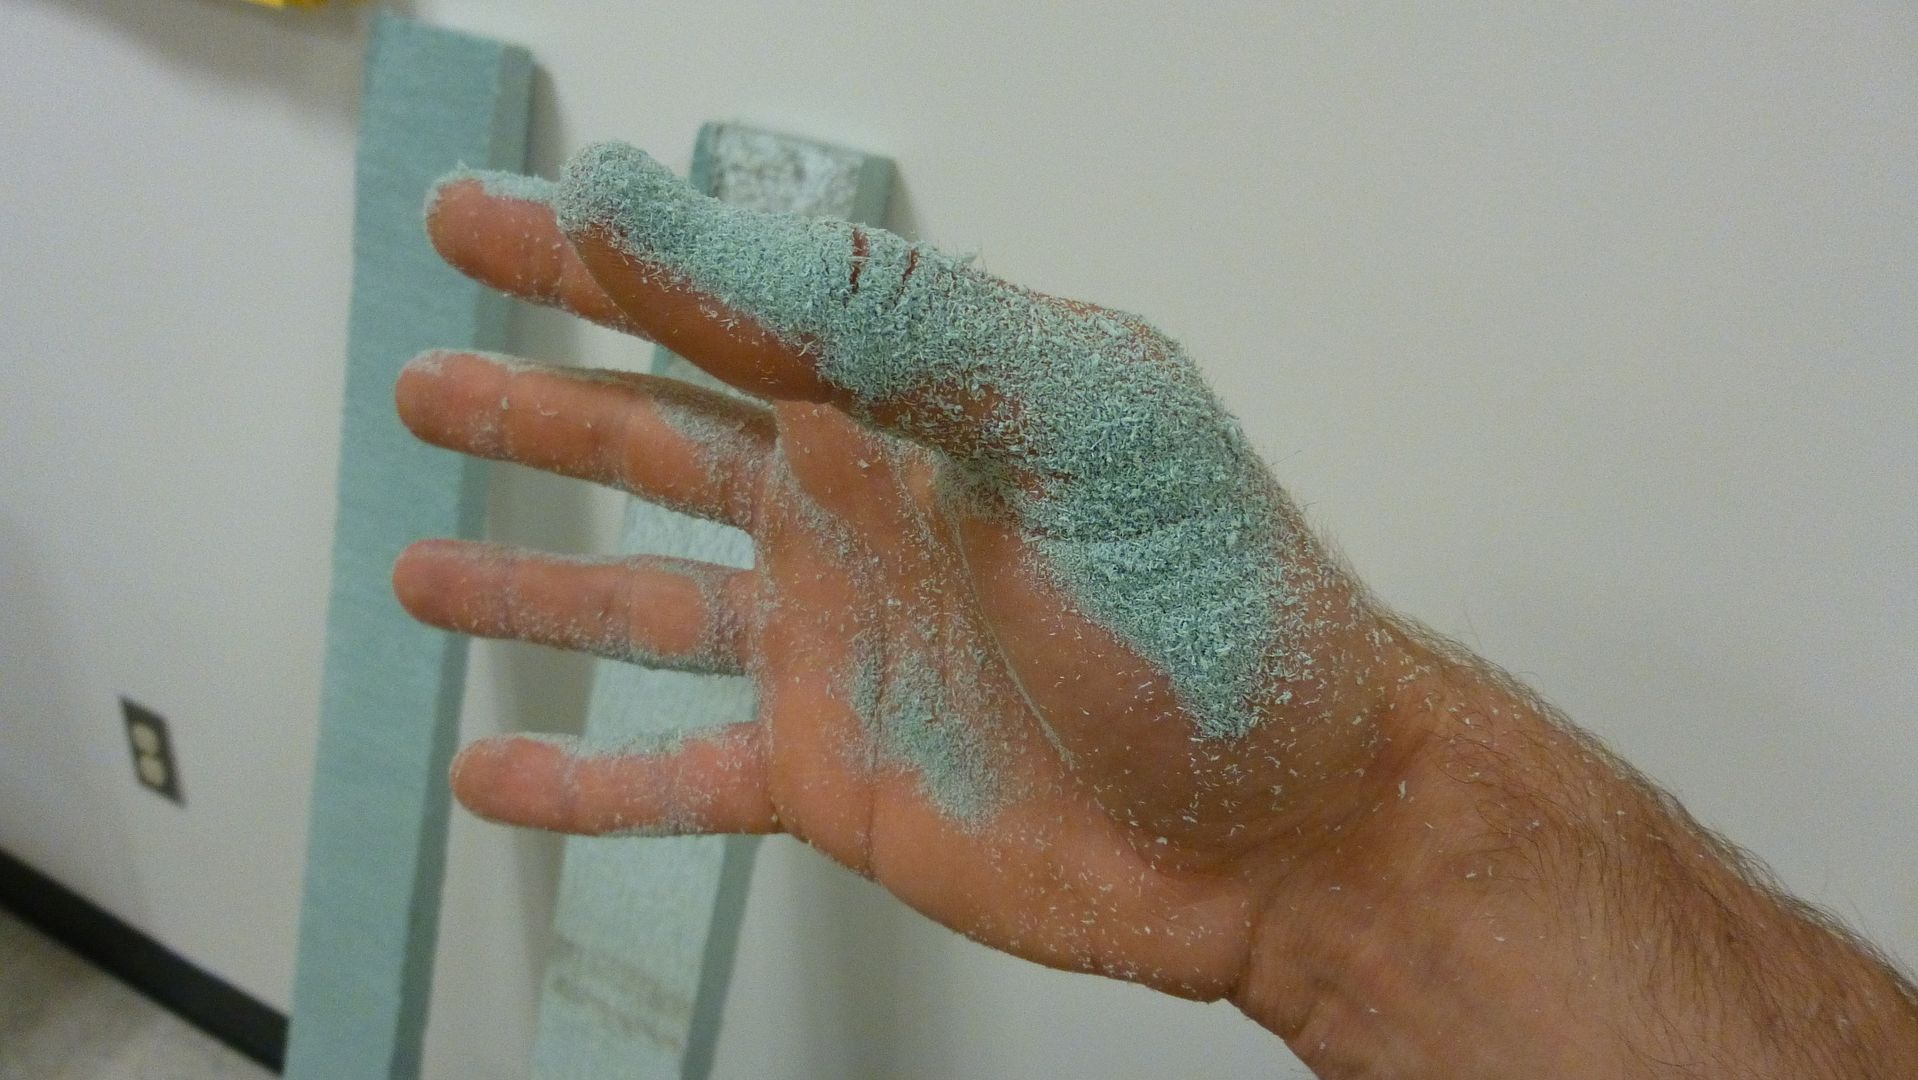
FOAM DUST EVRA'WHERE!


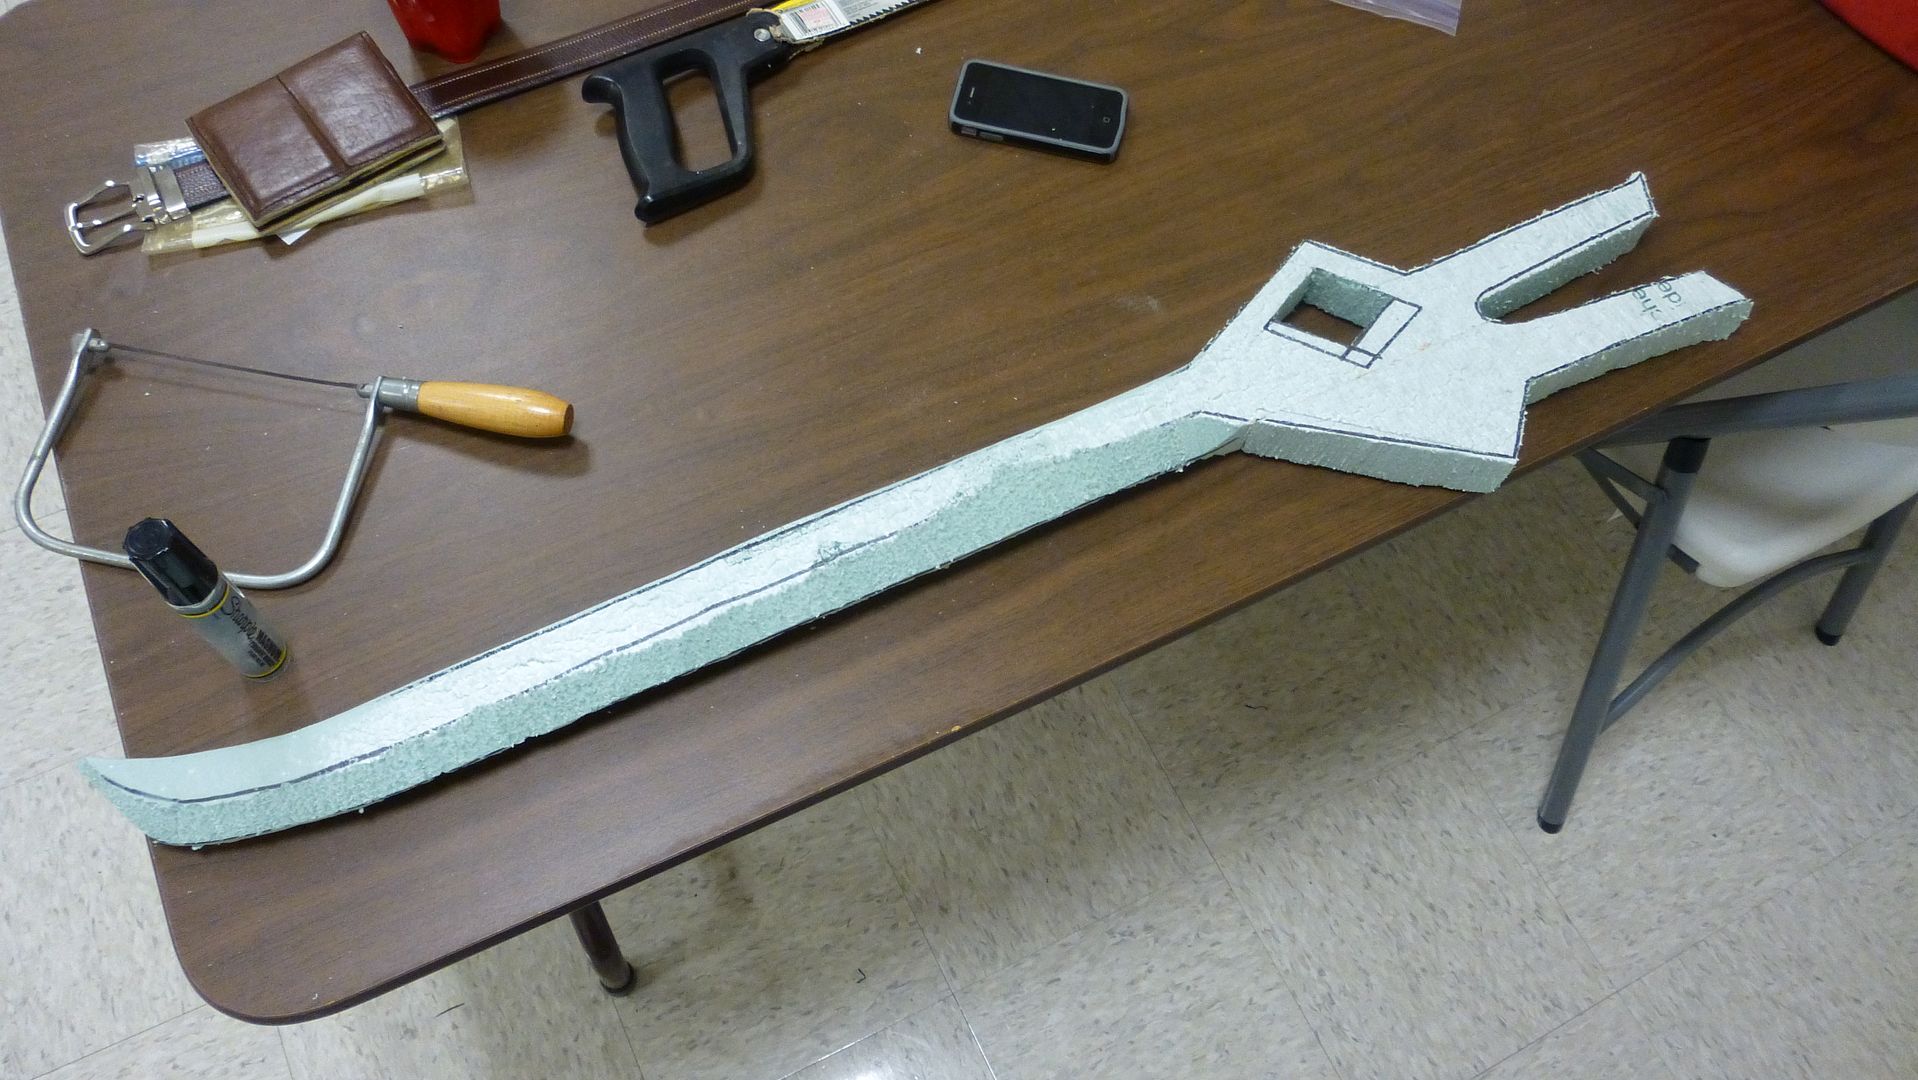
Cut out with the blade edge drawn on.


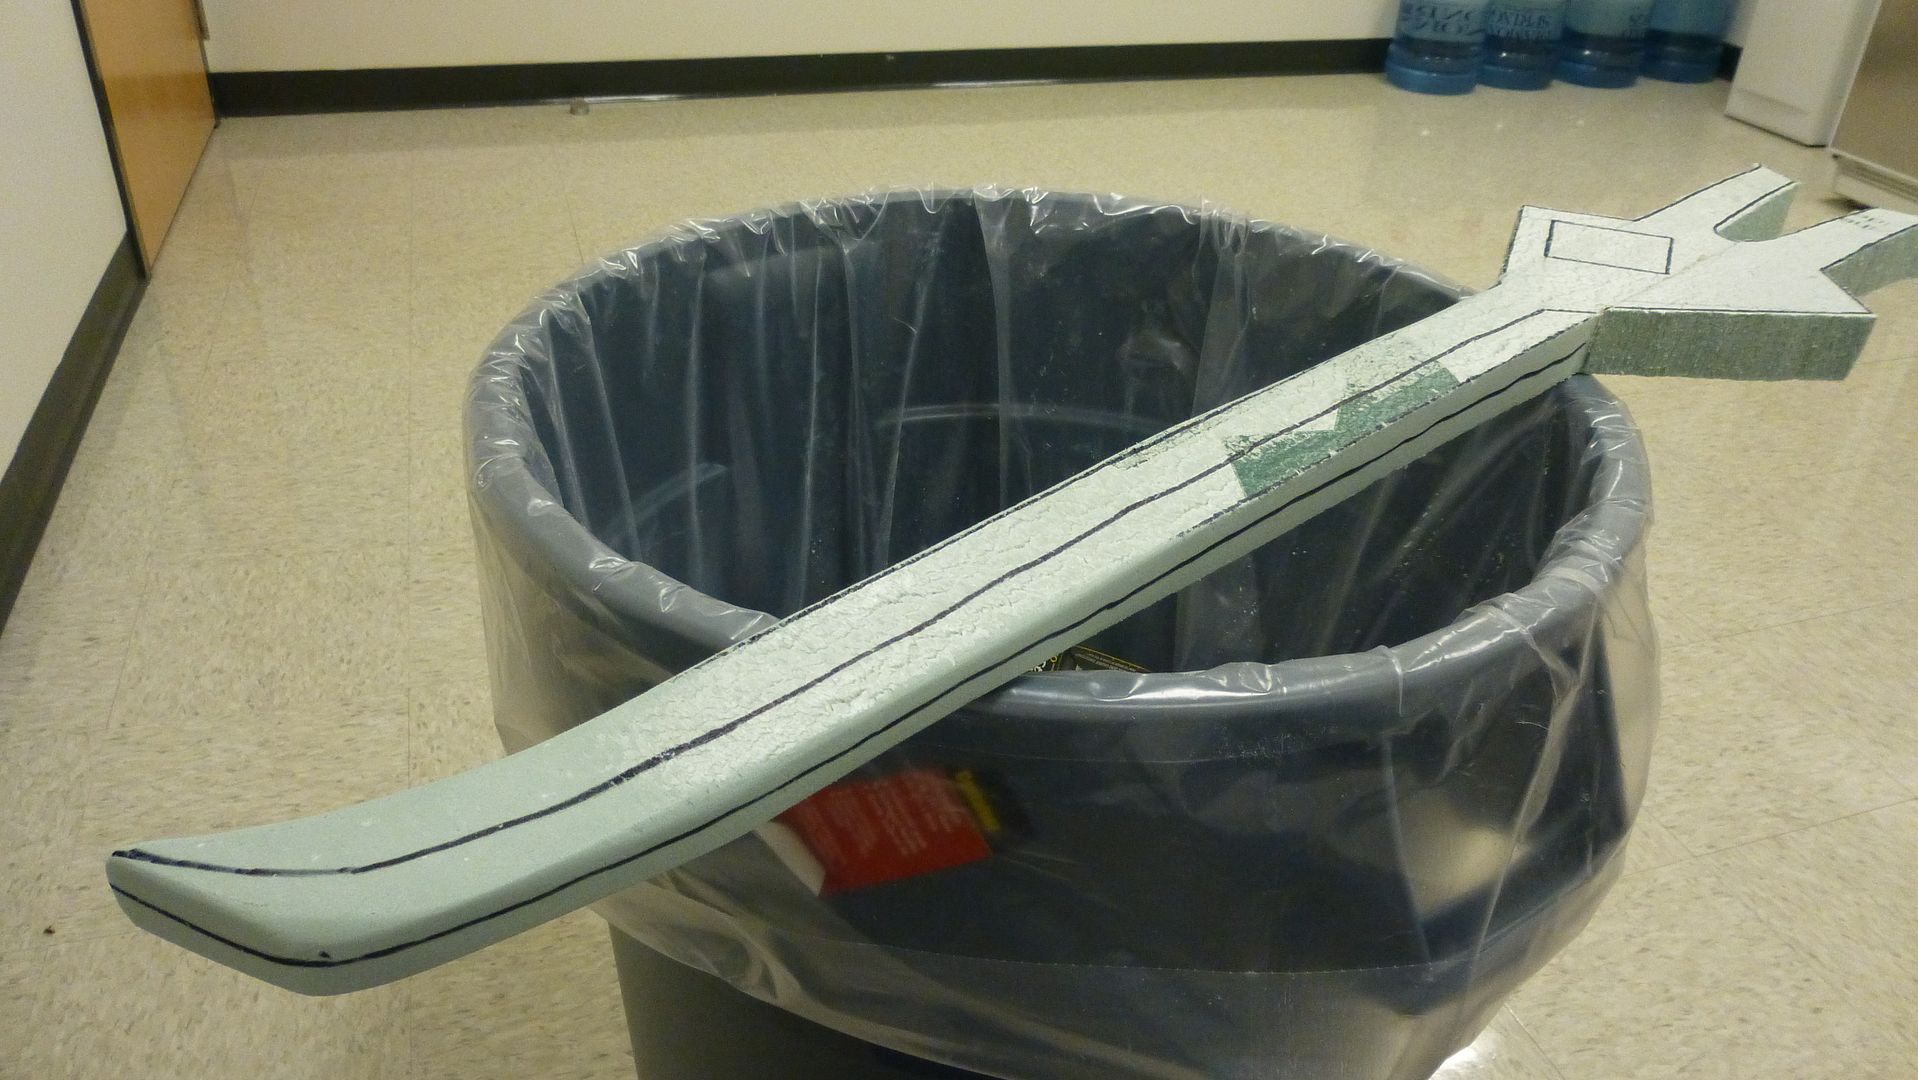
Blade edge added, or taken away I suppose?

I've sanded it pretty smooth from what it looks like in that last photo, but I've still got quite a ways to go. I'll post more as it comes along.

Monday, April 8, 2013

What are words for...

If you don't get the title you need to listen to more eighties music. That or I listen to too much.

I'm sorry I haven't posted anything in a while. I have projects in the works, projects I'm excited about. Most of them are all unfinished but if you want to see one that I've actually finished you can check it out here. I've been spending a lot of time over at Instructables recently. I've been posting some different projects that I've done, as well as just interacting with the community there and responding to interest in the leather top hat that I made. I promise I'll reveal some more of my current projects soon. Until then I have some thoughts on words that I felt like sharing.

Words? Yes, words. Maybe that's putting it too simply though. When I say words what I mean is the transmission of ideas. There are people who make the argument that the idea is more important than how it's shared. With this I can't necessarily argue, but what I dislike is the thought that the idea is the only thing that matters. The thought tends to become, "I don't have to worry about the way I convey my idea because it's so good that everyone should understand it. I want to share some pitfalls that I believe accompany this thinking.


1. Spelling, punctuation, and grammar are important. I'm not saying they always have to be perfect; just that they're important. I can't count how many times I've read something and literally had trouble understanding the point being made because of all the errors. As many Internet memes have pointed out, a misplaced comma can make all the difference in a sentence. If you want your point understood why not make sure it is? I know not everyone did well in English class. I'm not asking for perfection; just effort.

Addendum: Numbers and letters used to represent entire words are included as bad spelling. Stop that.


2. Clearly thought out sentences are crucial. You have time to think out what you want to say, especially when you are communicating on the Internet. Take a second. Read over what you just typed before hitting send. Does it make sense? Try to read it without all the inflection you automatically use. No one else can hear that. Does it still make sense?

3. When trying to make a point keep your emotions out of it. No joke. Everything sounds more emotional on the Internet, especially when the reader is emotional too. If you write everything with a lot of emotion, it will sound practically furious to the other person. If what you're saying could be controversial or inflammatory, think of how you would feel reading something like that. People tend to react defensively and either clam up or counter attack.

4. People sometimes communicate on different wavelengths. Just because someone doesn't initially agree with, or understand, what you're saying doesn't mean you should shout them down until they submit to your way of thinking or go away. Sometimes an idea needs discussion to help flesh it out. Often people have different perspectives, or even different preconceptions of certain words and common ground has to be found to obtain understanding.

To me it all boils down to the fact that if your idea merits consideration by others than it should also merit consideration by you. There are a lot if things I think of hastily that I don't end up typing out, and there are a lot of things that I hastily hit send on that make me cringe later. "Why did I say that?" "Wow I can't believe I was that mean." "I'm not even sure what I meant there." "Ooh I should have thought that point out a little more because that's not exactly what I meant."

The more we think about the ideas we want to share, and how to adequately share them, the more we think through those ideas. The longer we wait to share those ideas the more time we have to perfect them as well as the method with which we share them. Really, if the idea or thought is so good in the first place doesn't it deserve due consideration before it's shared? And if the thought or idea doesn't merit that much consideration by the original thinker it certainly doesn't deserve much consideration from the hearers.

We've turned into this society that just throws words out there without much thought. Probably because if we get too invested in them and no one else gets it or cares we feel crushed. So instead, everything we say is like trite little status updates. We just throw it out there and if no one says anything we throw some other meaningless thought out until finally there's a small explosion of comments. Only they're usually all just, "awesome" "that's so true" "you're totally right". We get our validation fix and we move on. If it's anything we really believe in we state it emphatically in the hopes that no one will dare oppose our thought, and if they do we get defensive as if our entire identity is wrapped up in whether or not someone else agrees with us. Well I'm tired of that and I hope some other people are too.

So, here's to sharing thoughts and ideas. Here's to giving our own words at least as much consideration as we expect from others. Here's to actually being invested in what we have to say.

Maybe next week I'll talk about listening?

Thursday, February 28, 2013

The Times They Are a-Changin'

It's so weird.

Yesterday was quite possibly the last time I will ever set foot in the house where I have spent the largest portion of my life.

In the fall of 1998 my family moved back to Virginia after having lived in Kansas for the last three and a half years. Why did we live in Kansas for three and a half years? Because that's all we could take.

We had the chance to move back and we took it. Some friends of ours were moving and the house that they were renting was available for a ridiculously good deal. I won't even tell you what my parents paid a month for rent. It was that good. So here we are moving into our friends old house, which happened to be owned by a lady my mom went to school with. My parents also knew the people who lived there before, and one Sunday we ended up visiting a church who's pastor had lived there before them. So yeah, we know the owner and the past three renters. Plus, it was blocks away from the house we lived in before we moved to Kansas in the first place.

I went to college out of state from '06 to '08 but when I got back I moved back in. I moved out again when I got married in 2010. Aside from that, and a couple other sibling marriages, my family has lived in that house from 1998 to 2013. I know that's no record or anything, it's just going to be strange now.

My parents bought a house. My wife and I are looking for a house. My sister and her husband and my brother and his wife are house hunting. I have another sister who will be married soon.

It was so strange walking around the house the other day. I had to collect the last of the stuff that I had left in my parent's attic. (There was a lot of it) Most of my parent's things were gone. The house echoed and the floors creaked, and those creaks echoed too. There are still things all over the place. Old furniture that belonged to the house when we moved in. The estate sale people have already been there. The only reason the owner hasn't sold already is she didn't want to kick my family out. The estate sale people have moved stuff from other estate sales in to sell it along with all of the things in the house. It was really odd seeing all of this unfamiliar furniture in my parent's house.

Whenever they have the estate sale I plan on going. I know it's going to be incredibly strange but I wouldn't miss it. It will be interesting to see what they pull out of the attic. It's always been filled with stuff. Things left by the original owners, and by numerous renters who just didn't feel like taking their stuff with them when they left. My dad tried to clean it out once but eventually gave up. Instead we just had a little corner of it for our things. Mind you a corner in that monstrous attic was still sizable. Of course, I also have my eye on a couple things that might be at the estate sale. There was a ring of skeleton keys that I would love to have. Why? Because that's just cool. There was a huge vice in the basement I would love to have, and an old sword that I've wanted to get my hands on for a while. Who knows what other treasures were hidden in that house.

Whatever treasures there are though, there will be no more Landrum family parties. No more piano music every night. No more drama camp meetings. No props built or costumes sewn. The foyer will not be a place where craftiness happens. The kitchen will no longer be the place where the most delicious coconut cake you have ever tasted in your life comes from.

Thank goodness all that stuff will still happen in a different house though. I think of myself as being the type of person who doesn't get overly sentimental about things. Then I start getting overly sentimental. It's good to remember that what made that house so special wasn't the house itself, but the people in it. Even though they won't be in that house anymore nothing about them will change. We'll get used to having parties in a different house. Piano music will fill a different house every night. And if the most delicious coconut cake I have ever tasted doesn't start coming out of a different kitchen, so help me, we're going to have problems.

Life goes on.

Later Days.

Thursday, February 21, 2013

Excuses, Excuses


So, I haven't been giving the ole' blog as much attention lately. I feel a little bad for that but I have reasons too, so I only feel so bad.

When I'm not involved in some exciting project I tend to lose momentum. While occasionally attending to my mend pile is necessary it's not terribly exciting. It's even worse when I don't finish everything I wanted to because then I feel slightly defeated. Not that I'm feeling super depressed or anything! I don't at all want that to be the tone of this post. I'm just kind of in-between projects right now.

I have been working on other things though. My attention often gets split between here and Instructables. The thing I love about that site is that it's a community of people that are there to share what they know and learn from each other. I'm trying to get caught up on posting all of my projects there, especially since they have several contests that I'm looking to enter! (contests are another reason I love that site!) I posted the Penguin Stuffed Animal that I made (I don't think I ever shared that here, but it predates this blog by quite a while) and entered it in the Crafting Speed Challenge. If you're a member of Instructables don't forget to vote for it. If you aren't a member go sign up (it's free) and vote for it.

I'm making an instructable for my Leather Top Hat as well. That one is taking a while because it was such an involved process but it should be finished soon. I'm entering that in the UP! Contest. It's probably not the best candidate for a prize in that contest but the grand prize is a 3D printer, and that just makes me drool. There's also a contest for making furniture, so you might see a piece of slapped together hand crafted furniture pop up on here in the not-too-distant future and a request that you vote for it as well.

Aside from my activity on Instructables I feel like this is also just an interesting point in life. My wife and I are looking for a house, parenting a baby who decided he was ready to become a little boy the other day, and just generally trying to strike a balance between being financially responsible and wanting to blow all our money and do something crazy.

I'm not even kidding either about that little boy thing. I'm sure every parent goes through it, but goodness gracious it sneaks up on you! One minute you're carrying him around, the next he only needs to hold your hand to go up stairs, and the minute after that he's jumping off things, telling you when he's tired, drinking all of your coffee in the morning (it was decaf), and a host of other things he's entirely too young to be doing yet. He knows letters, and numbers! He can identify obscure woodland creatures! He knows what kind of car his Nana drives! My wife and I just stand back in awe, while stifling laughter so he doesn't think we're laughing at him. I am by no means trying to say that my kid is any better than anyone else's. I'm not trying to start a bragging war. I know each and every child is incredible in so many different ways. I'm just saying that I'm constantly amazed at the ways that my son chooses to express how incredible he is.

Well, hopefully I'll be giving a little more attention here in the near future. I'm hoping to get a small project finished in the next few days that I can post. Something simple.

Later Days.

Friday, February 15, 2013

The Pile

I seem to always have this pile. It follows me around. I had it when I lived with my parents. I had it when I was in college. I have it now that I'm married.

It's my mending pile.

I know that doesn't sound terribly manly but sometimes there are things that develop holes, or get little tears, or lose buttons, etc. and I am just not willing to let go that easy.

So this week, rather than do some cool project like make a sword, or build furniture, or what have you, I decided to work on this pile.

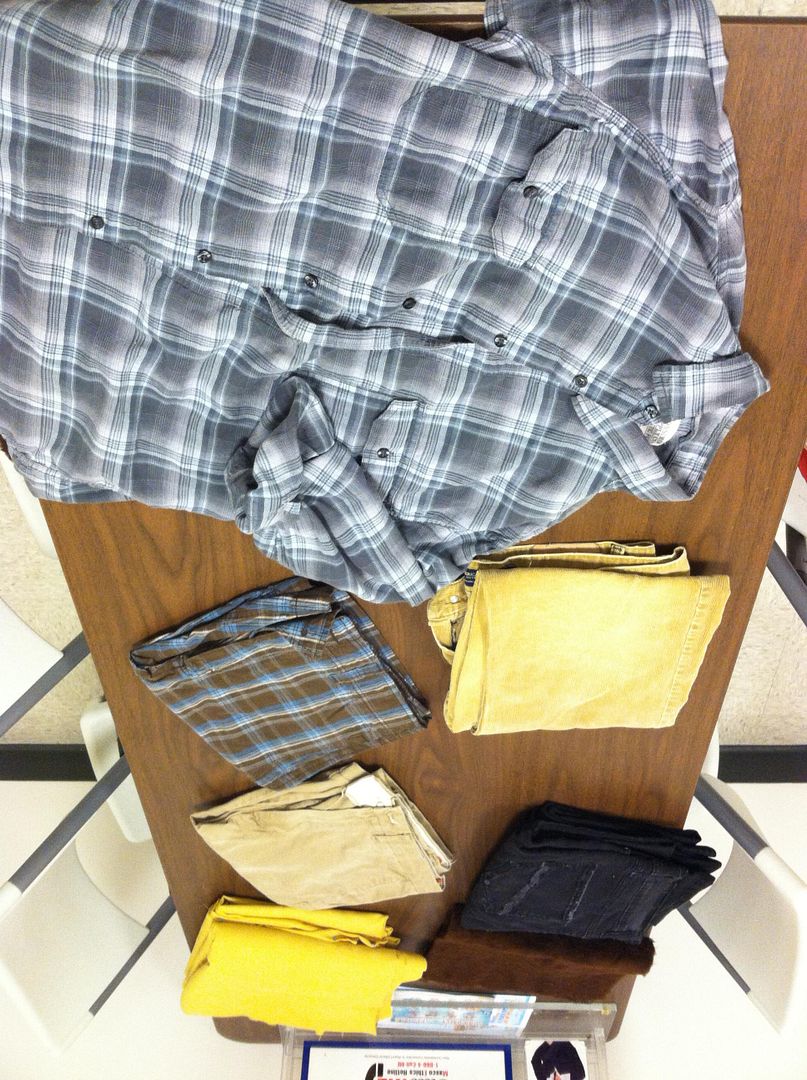
This time the pile included two pairs of pants, two pairs of shorts, a heel that fell off its shoe, a set of sheets that we bought to turn into curtains, a second unfinished Chewbacca pillow, and at the very last minute... the shirt off my back.

Now before I go any further I should mention that two of those items are projects in their own right... and that I didn't finish everything.

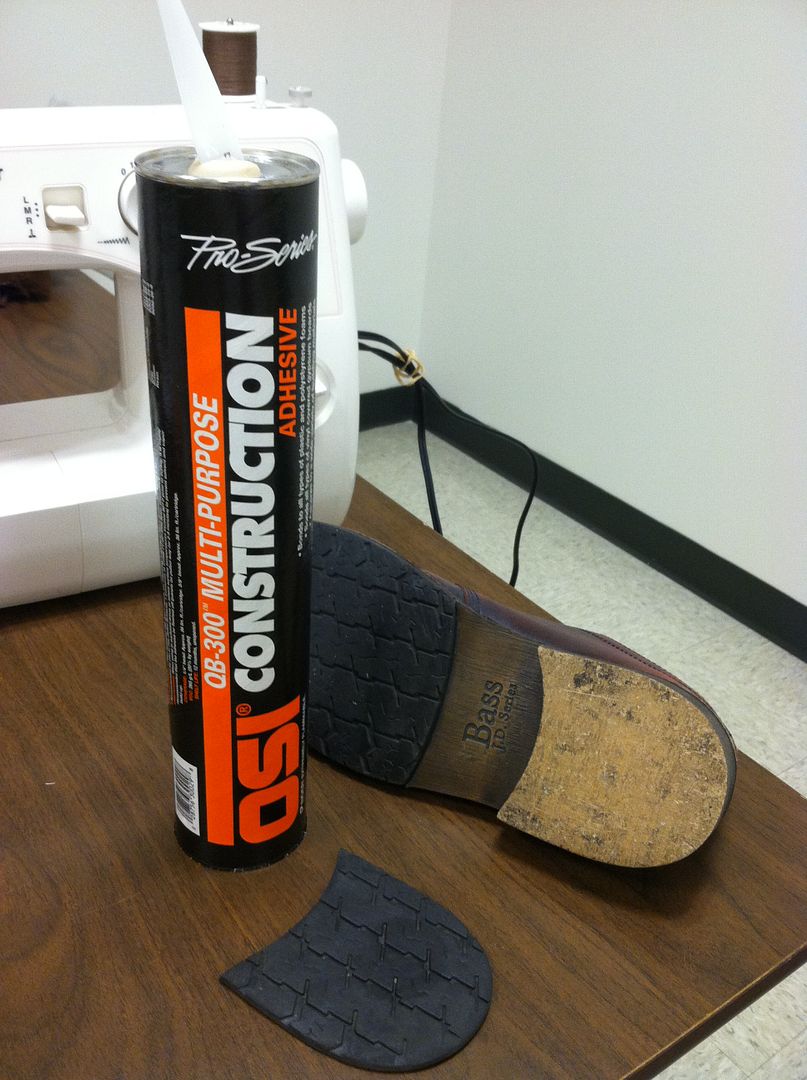
The first thing I went for was the heel that fell of the shoe. I figured I might as well start with the item that would have to dry. I basically just smeared some glue on there, stuck the heel back on, applied a lot of pressure, and wiped off the excess.


I used this construction adhesive that I got from work 
because it was damaged and they were going to throw
it out. It's a really strong adhesive but I wouldn't
recommend it because it takes forever to set up.

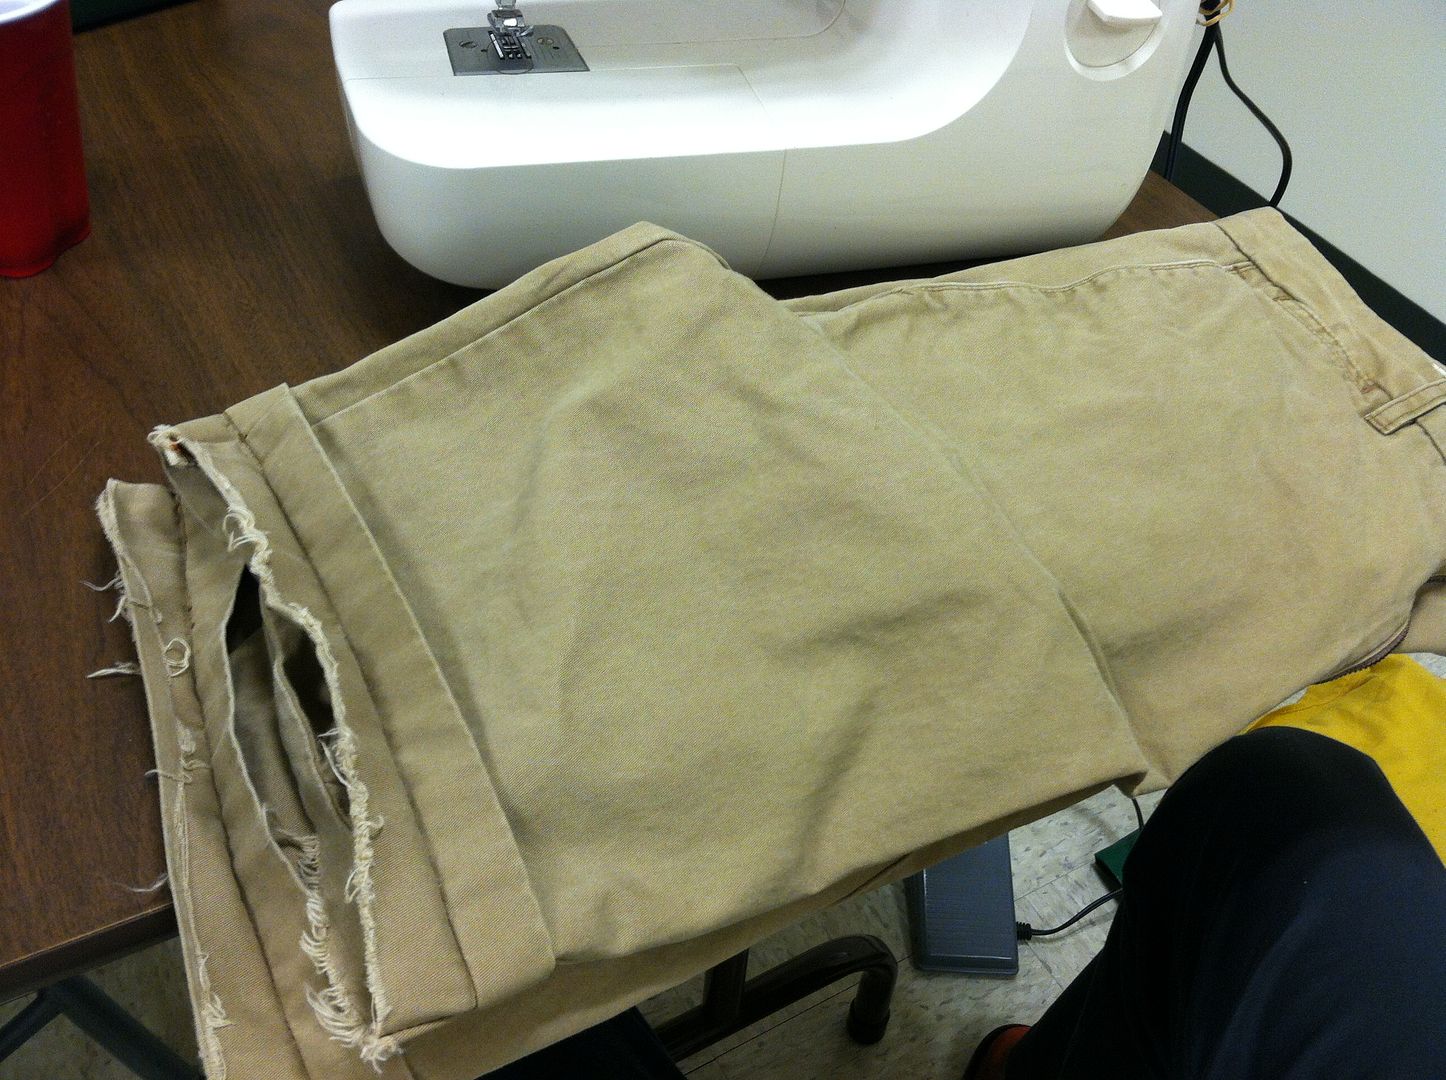
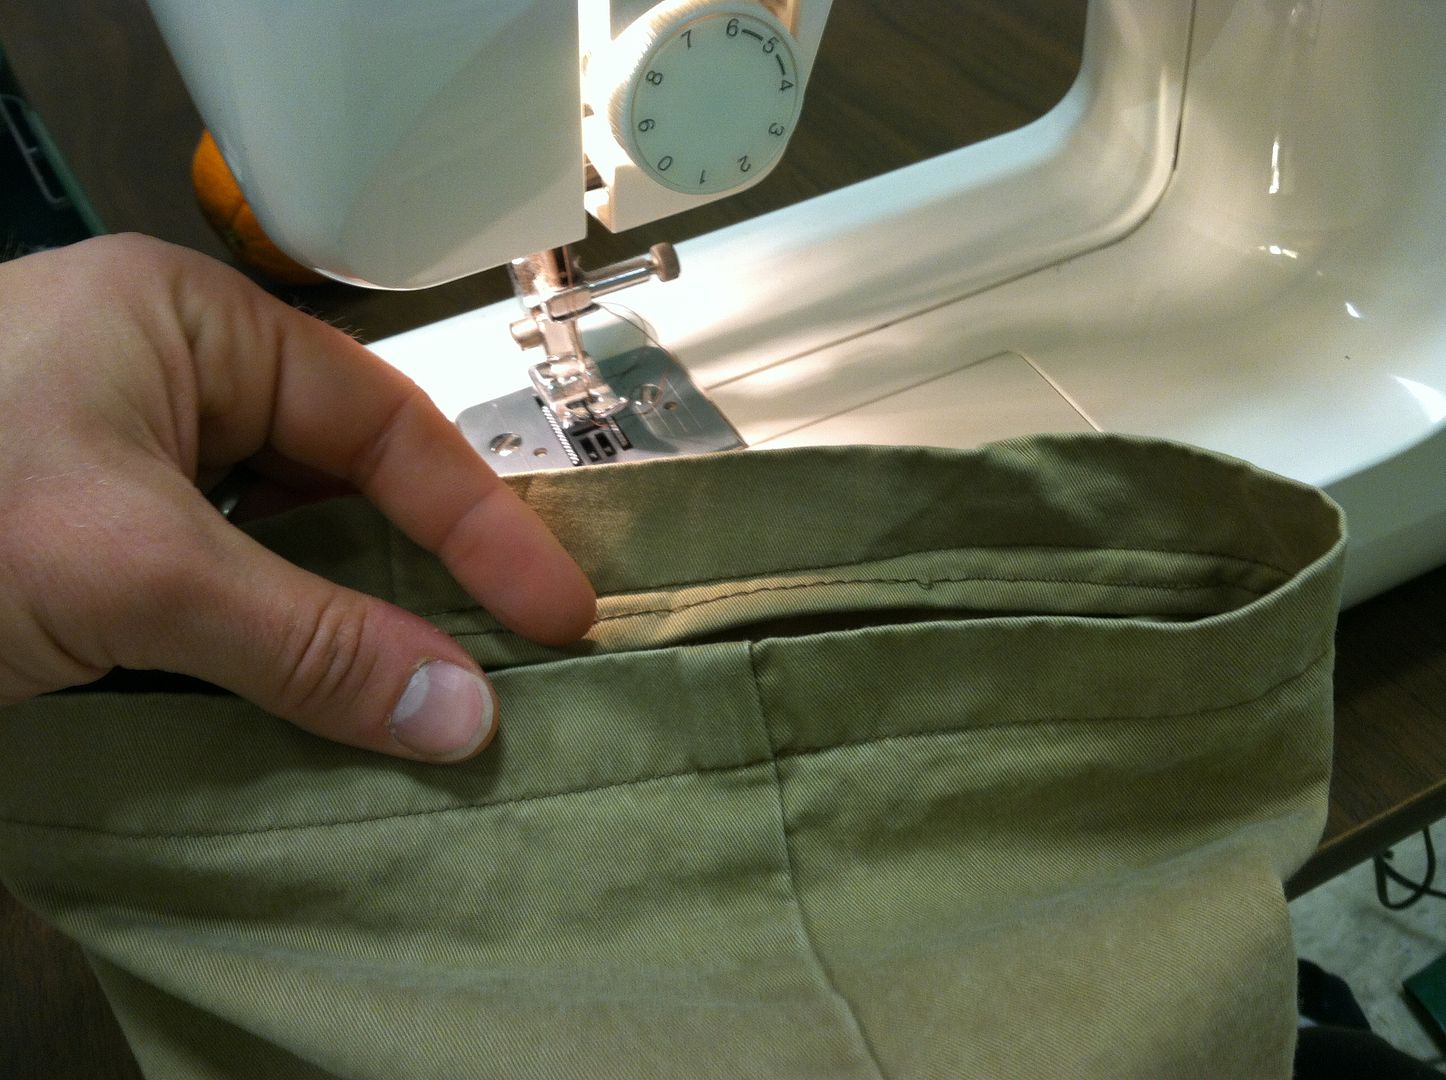
The next was a pair of shorts that I made from a pair of pants. You may remember that I didn't do the hem the way it should have been done so I had to go back and fix it.


Here's the before.


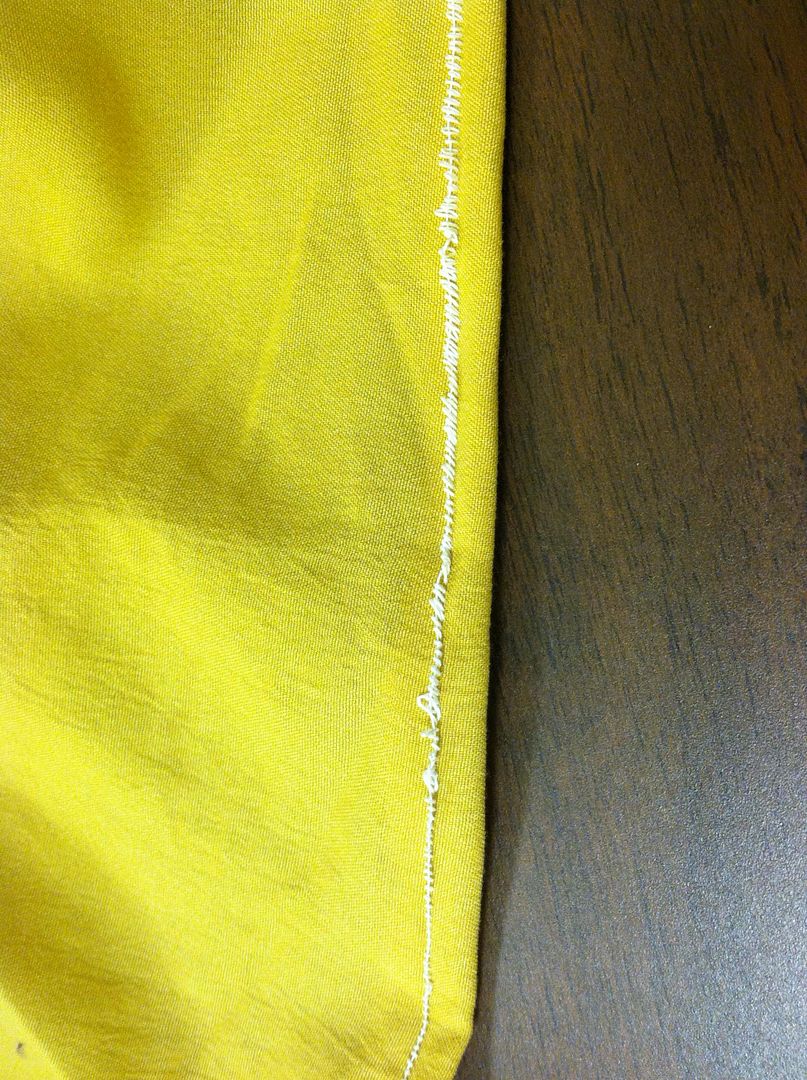
Here's the after. Much cleaner and tucked away.


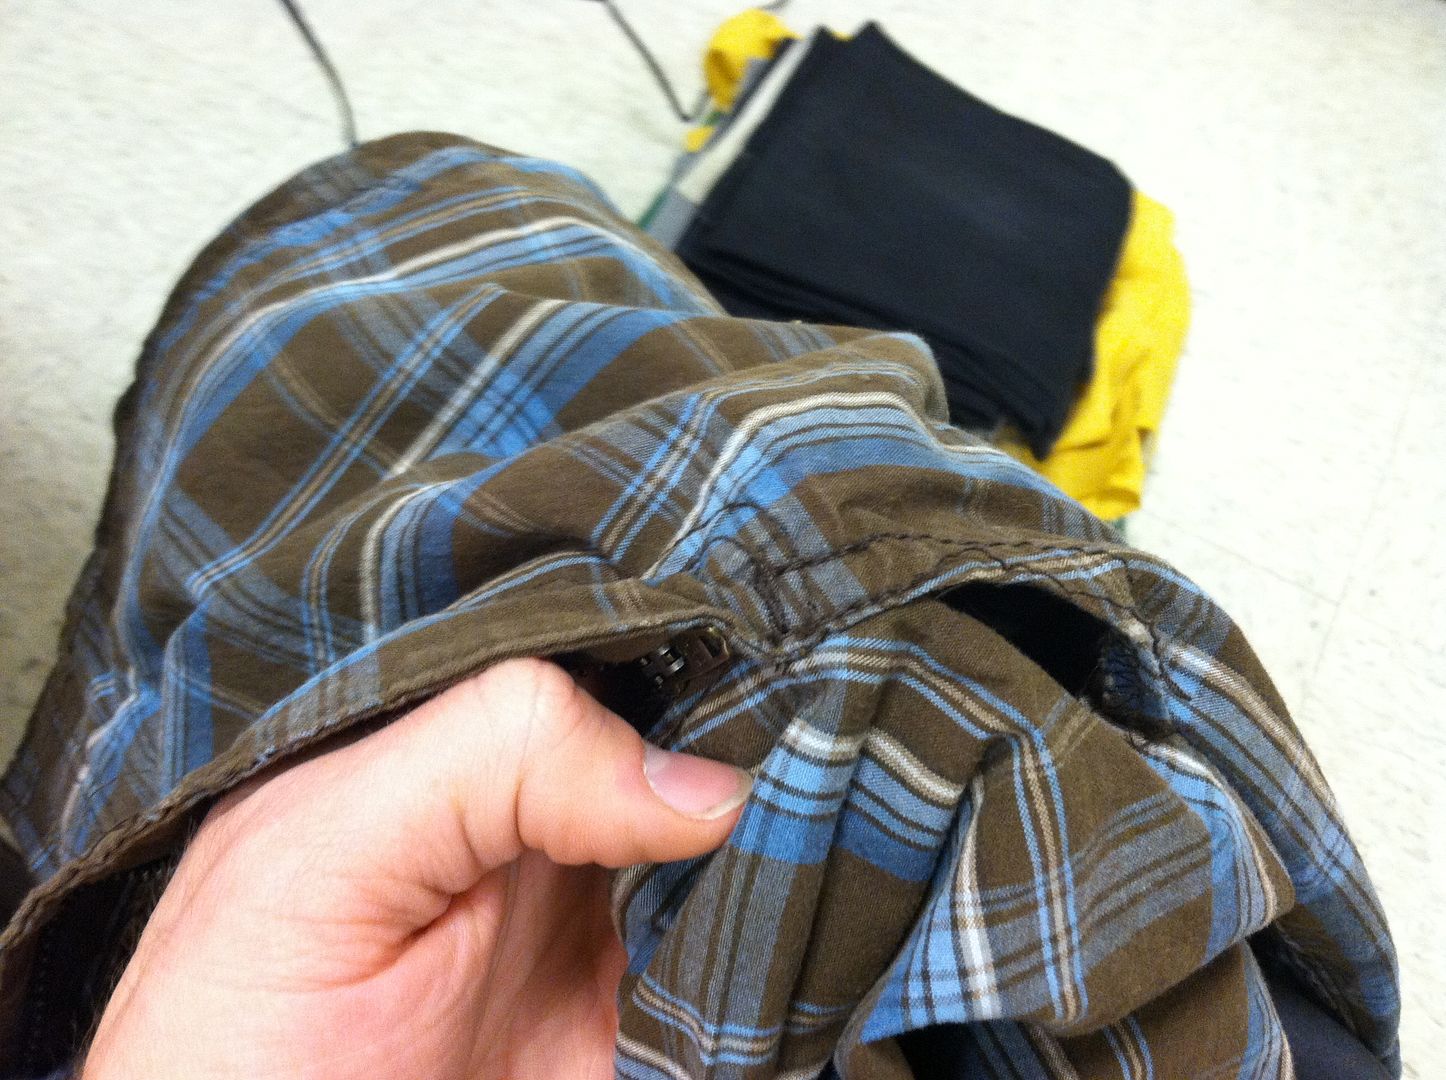
Next I moved on to a pair of shorts I got from a cousin (why did I do the shorts first when it's winter?!).


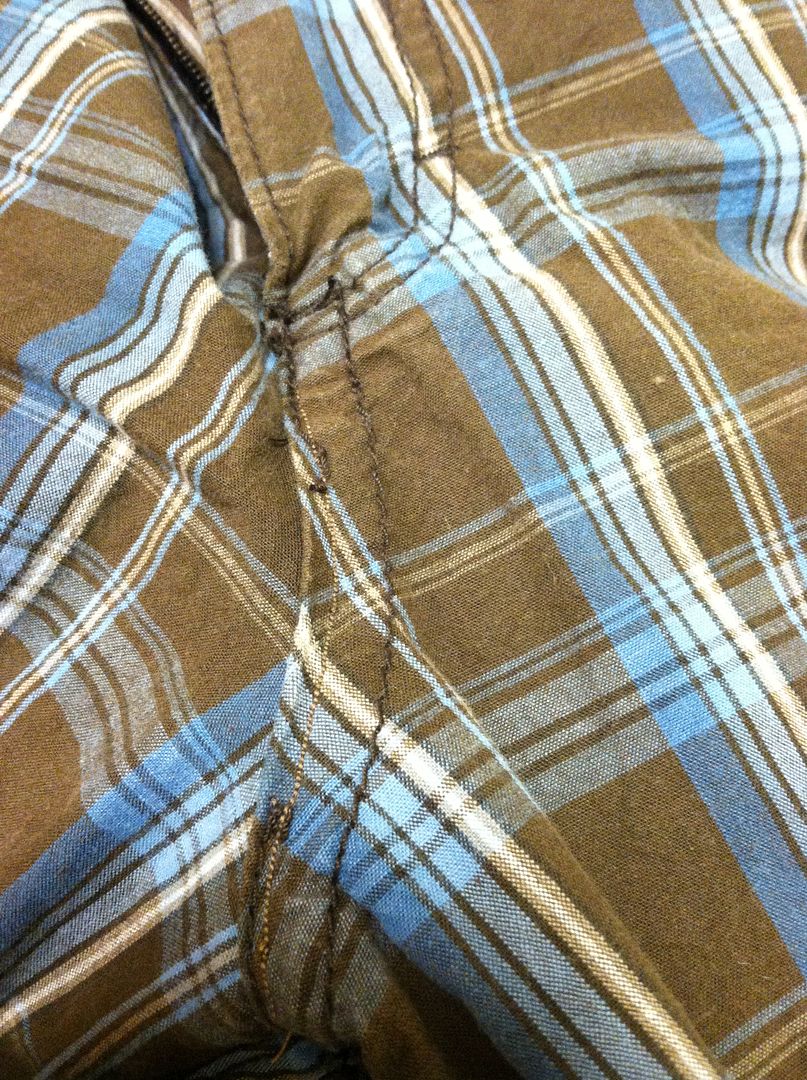
Awkward hole...


Wrong color thread, but meh, no one should be looking that closely.


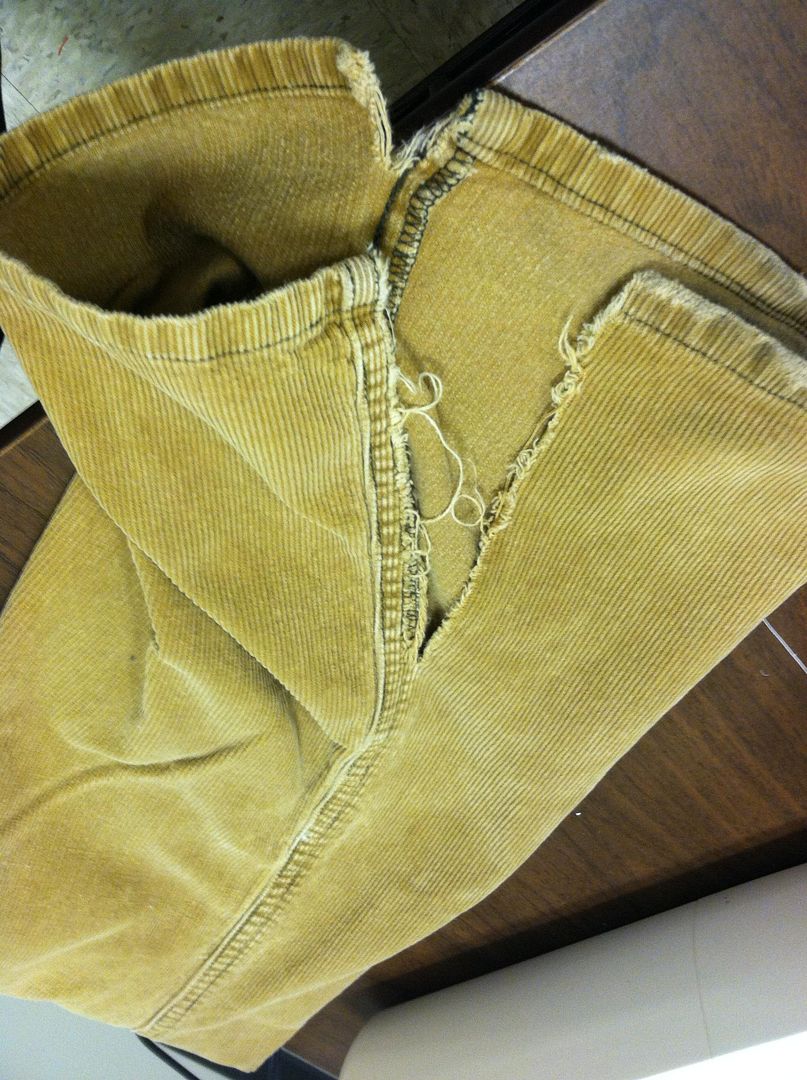
Next up was this super comfy pair of cords.


They have clearly seen better days.


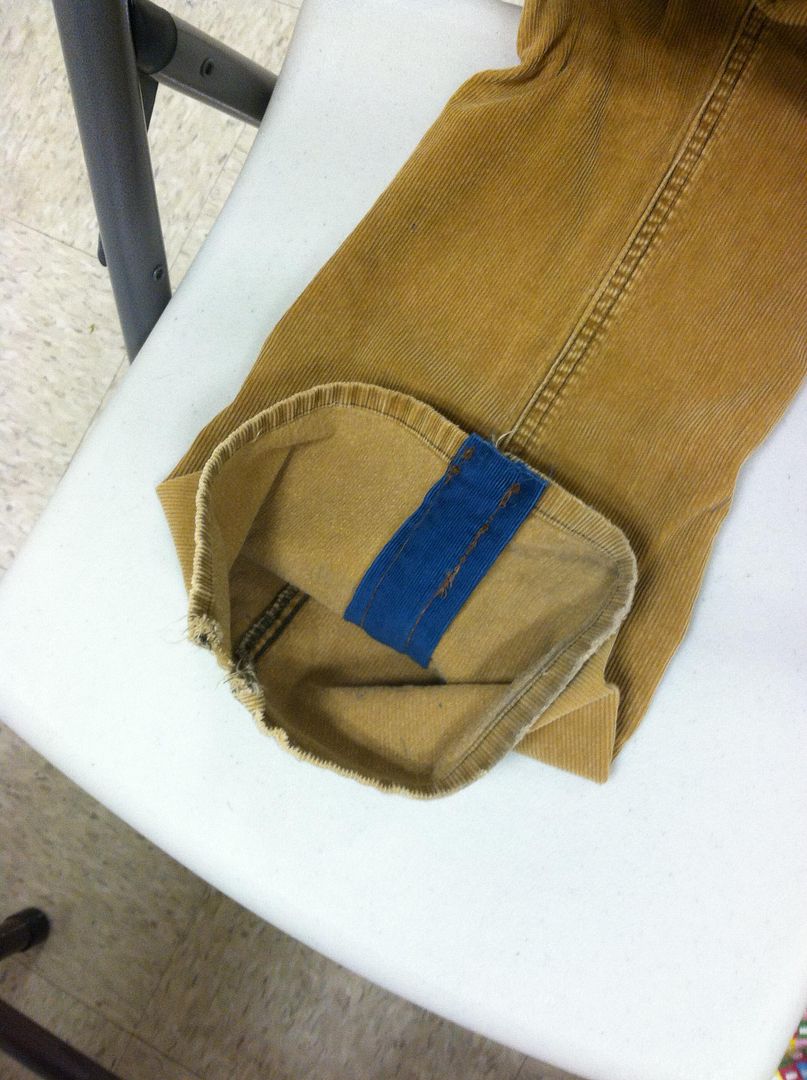
This strip of cloth brings it right together!


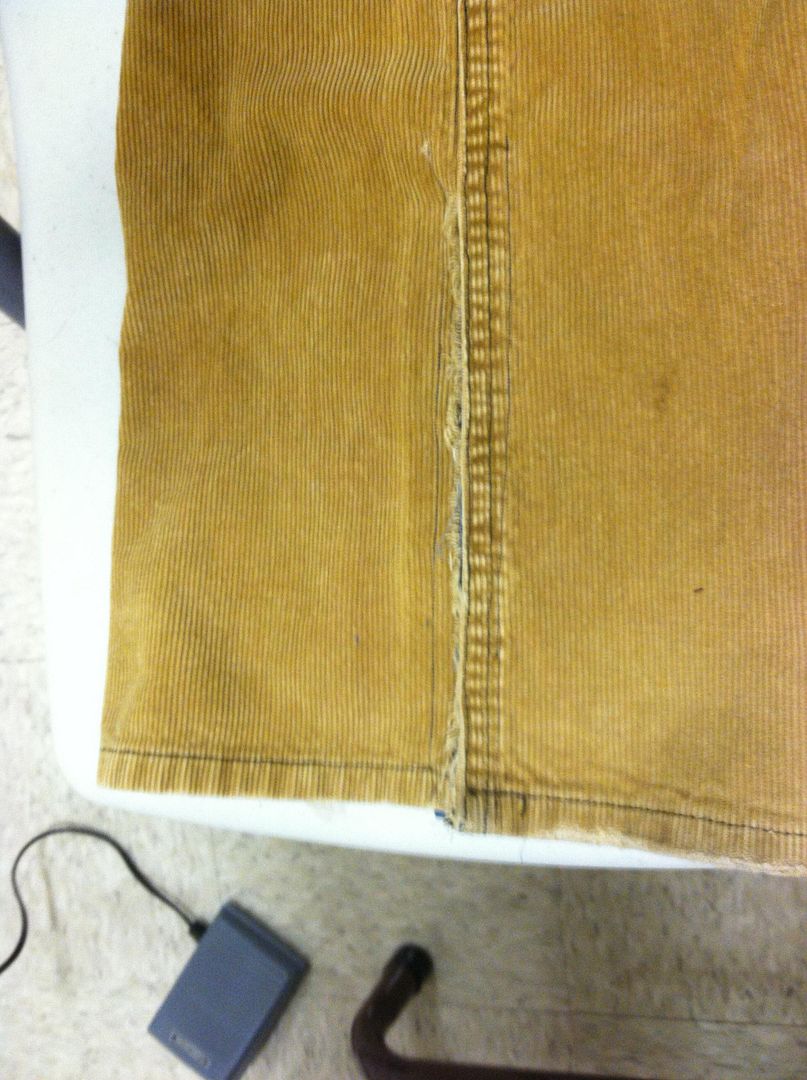
As good as new!


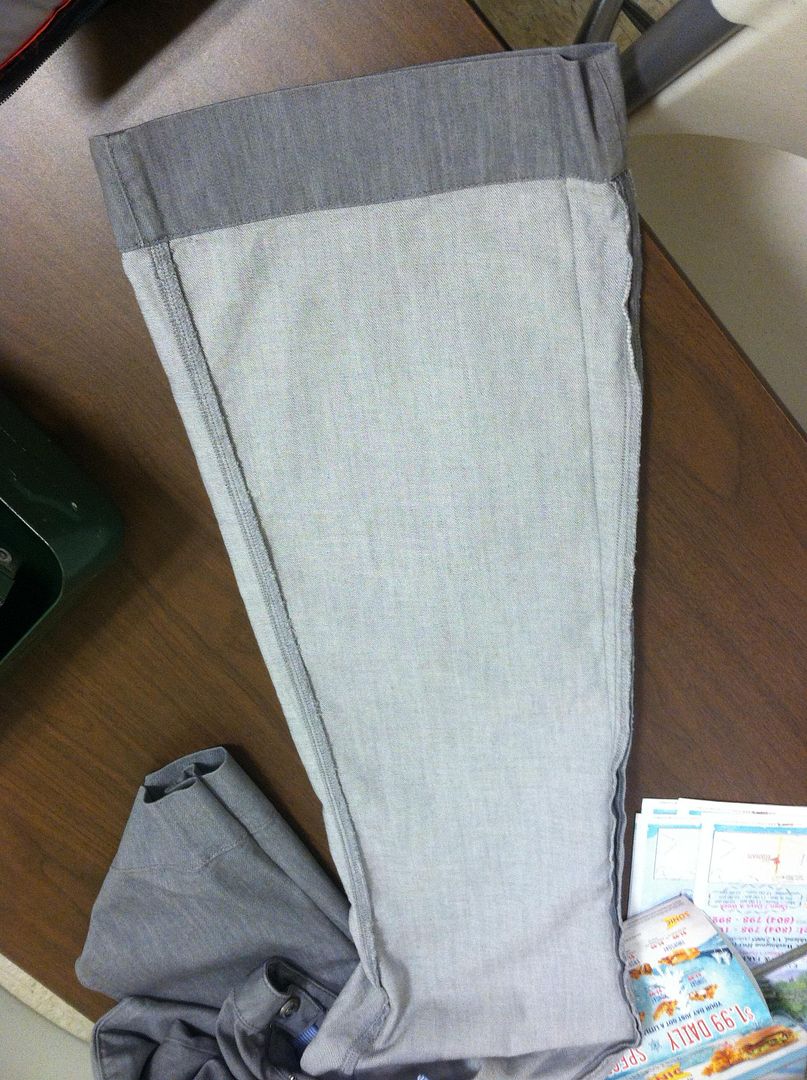
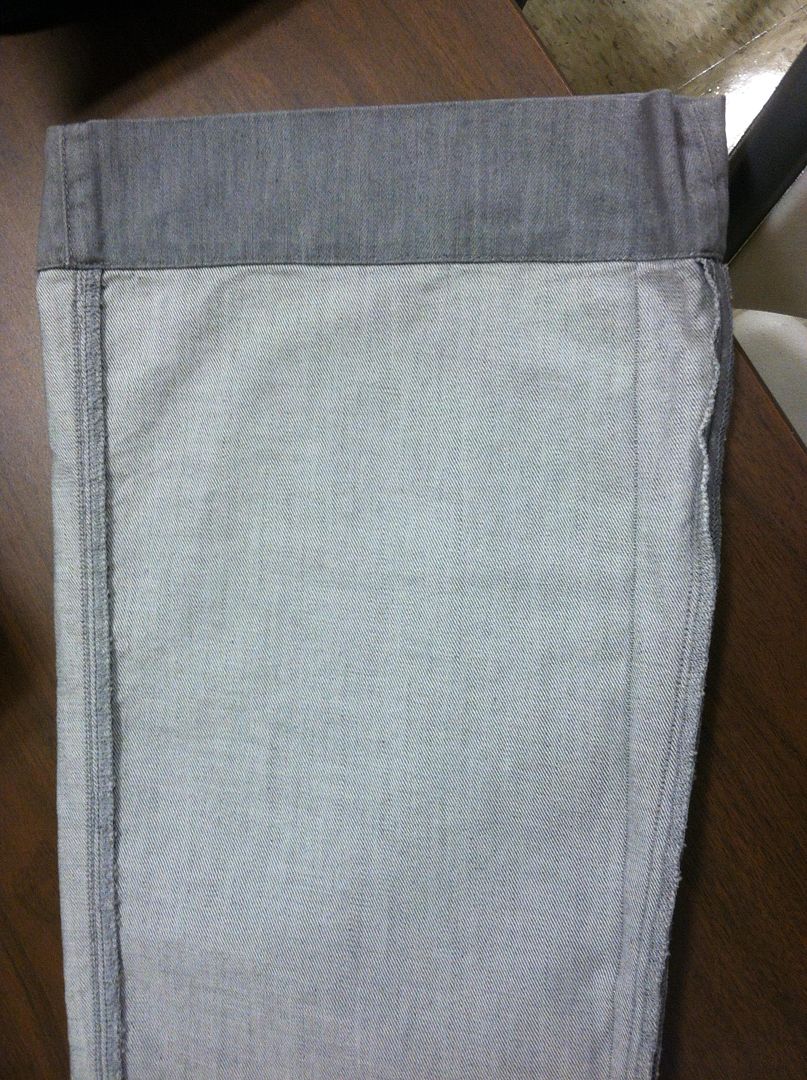
My mom found these really nice grey jeans for me... that flair so much they look like bell bottoms.


I've drawn a line where I'll be sewing them.


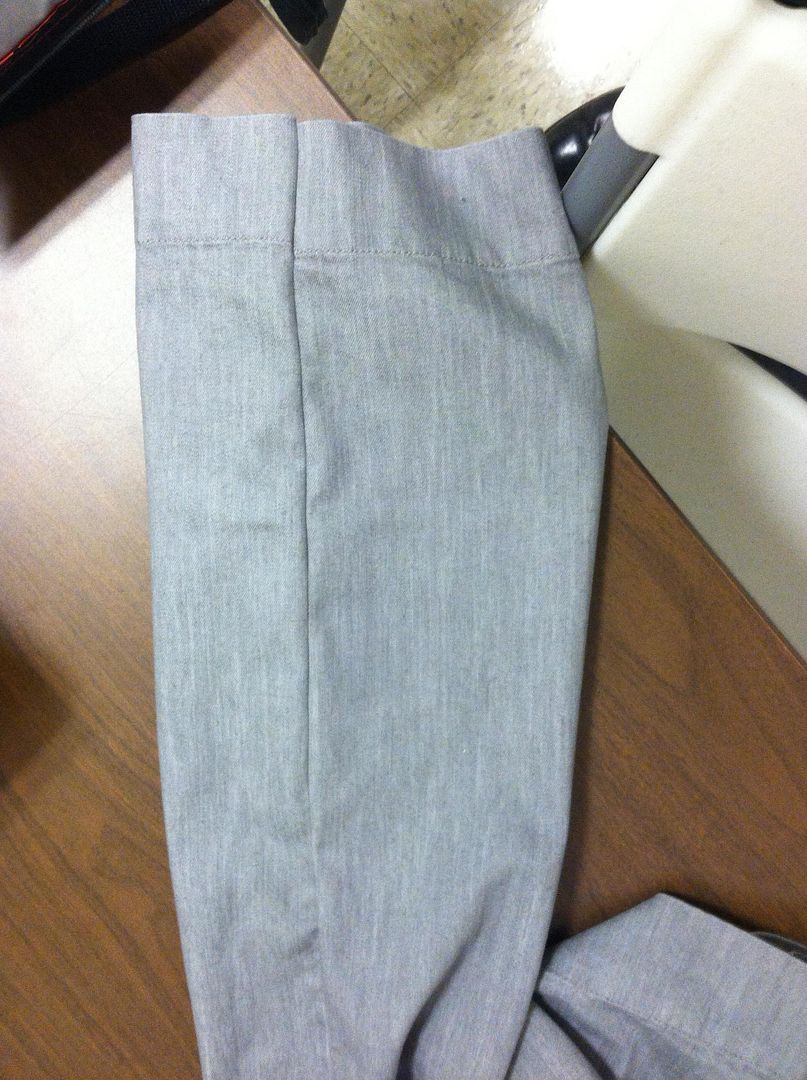
Sewn.


I was pretty happy with the seam.


I tried to work on the curtains...


I got the sheets all cut and ready to be sewn, but something
wonky was going on that I couldn't figure out how to fix.
I think this fabric was just plain too thin.


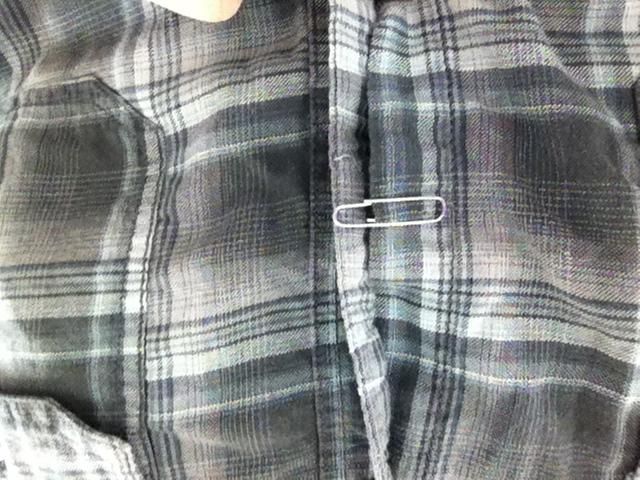
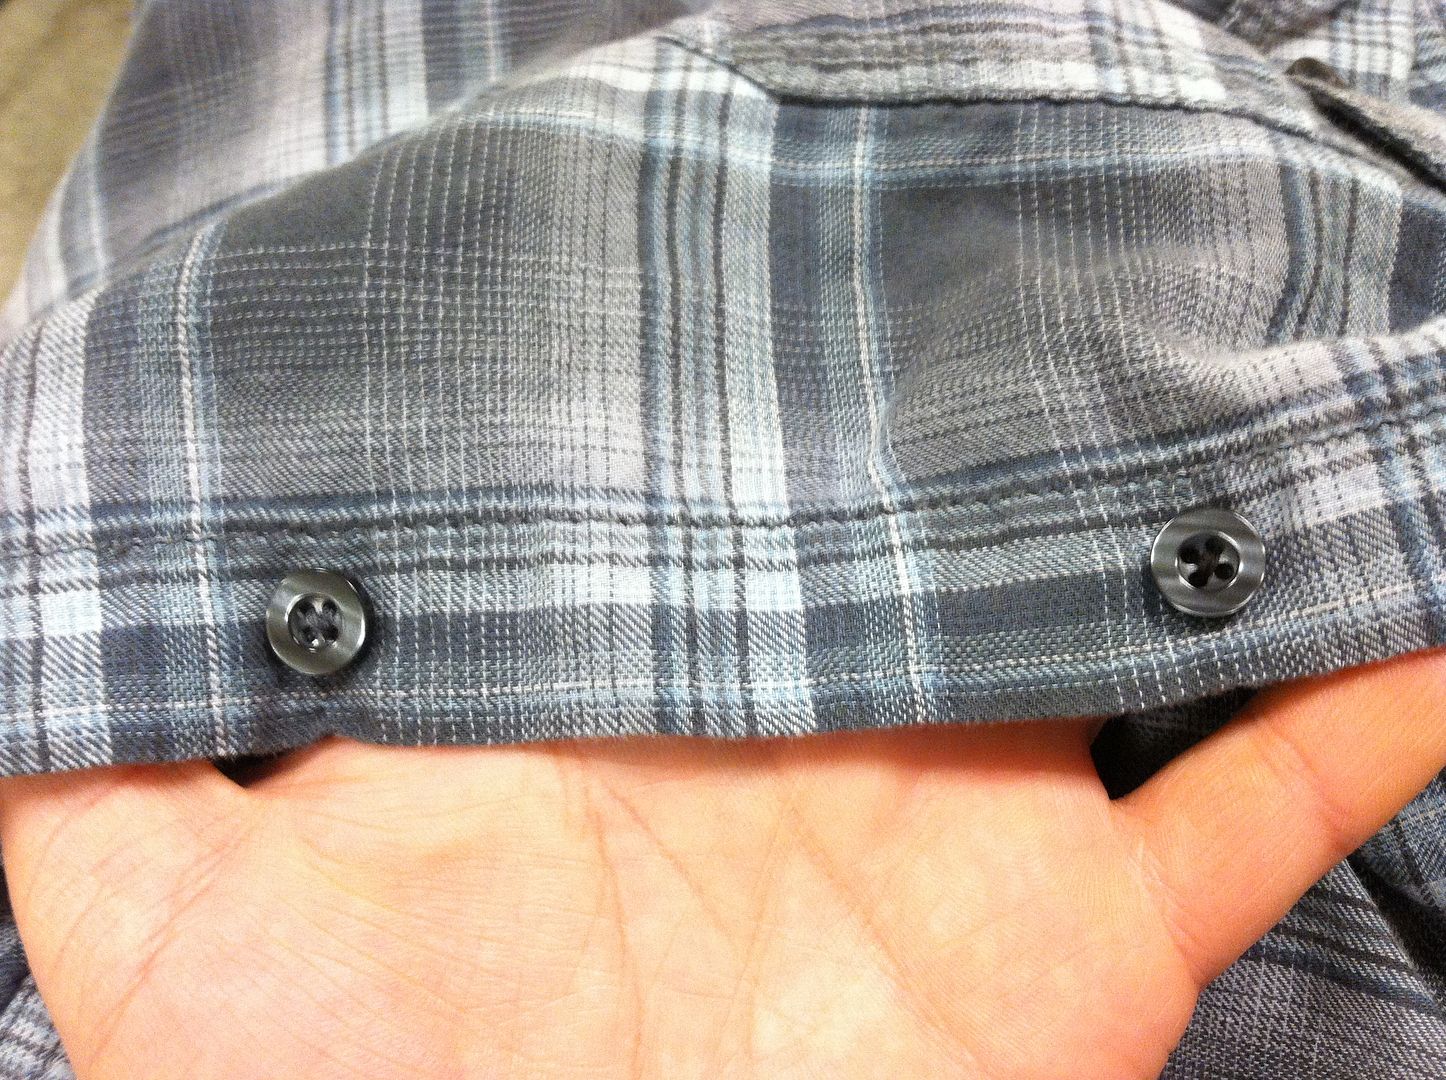
This morning I had an excellent stretch that felt wonderful but apparently was a bit too stressful to my shirt. A loose button fell off. As soon as it did I put a paperclip in the exact spot so I would be able to find it later.


Yeah, I'm a genius.


The closest thread I had was black. Apparently I need to stock up on more color varieties.


My complete mending table.


So I didn't finish my black pants (which have oddly enough been in the pile the longest), the Chewbacca pillow, or the curtains. I might just let it spill over into next week, but I do have something else I want to work on too that I'm kind of excited about and hope it works out.

Later days.

Friday, February 8, 2013

Leather Top Hat: Stage 5

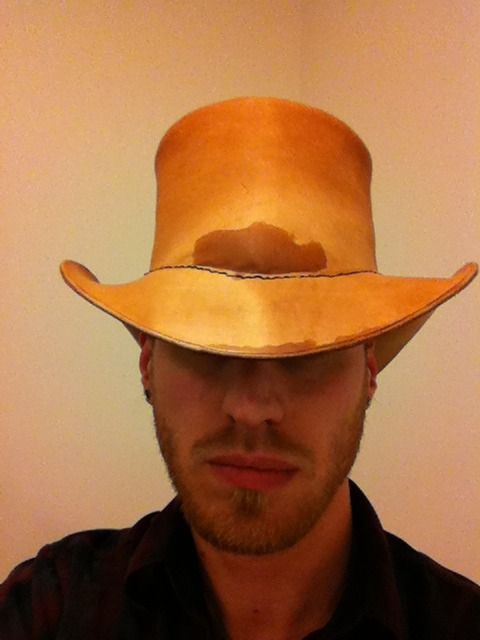
So the next step in the process was to make this hat look less "western". All I had to do was trim the brim down and it looked a lot better.


I measured in from the edge of the brim, drew a nice line around with a pencil, and used my handy-dandy heavy duty scissors to trim it off. Let me just say, if you thought it was hard to cut through leather, holy bananas is it hard to cut through two layers of it.


The dark spot on the front is where I was fixing a spot where
it had formed wrong. I just wet it and wore it for a little bit.


Ta-Da! Significantly less western. Here's a before shot for comparison:


So with the brim formed, glued, and trimmed all that was left was to burnish the edge.


That tool with the wooden handle is an edge trimmer, and the blindingly white disk next to it is an edge burnisher. It's just a plastic disk with a smooth groove all the way around it. Basically you use the trimmer to round the edge. Then you wet the edge of the leather and rub that groove along it really hard and fast and it smooths out the edge really nicely.


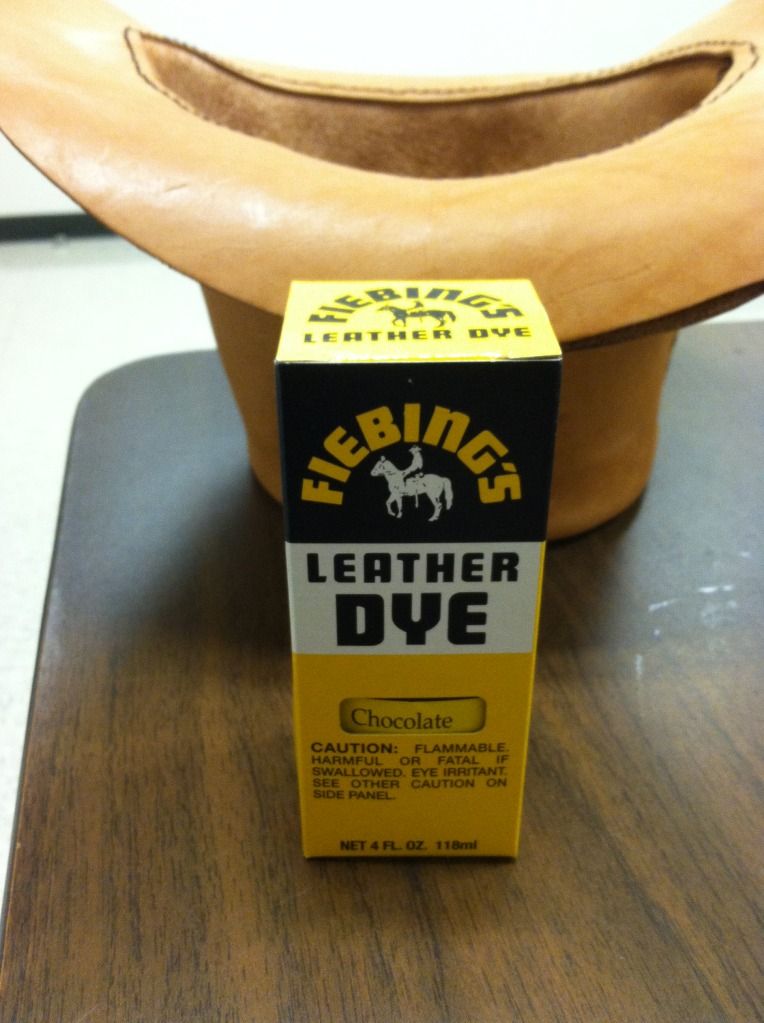
This dye is the flavor color of chocolate. I have another one called cherry chocolate.
I think someone at the leather dye factory has a sweet tooth.


The next step was to dye it. I happened to already have this dye on hand. It's a little darker than I wanted but I figured I'd go for it and see what I ended up with.


I have tried everything to get this picture to orient itself
properly, but apparently it wants to be up on its side like
this has decided it wants to be squished and there's
nothing I can do about.

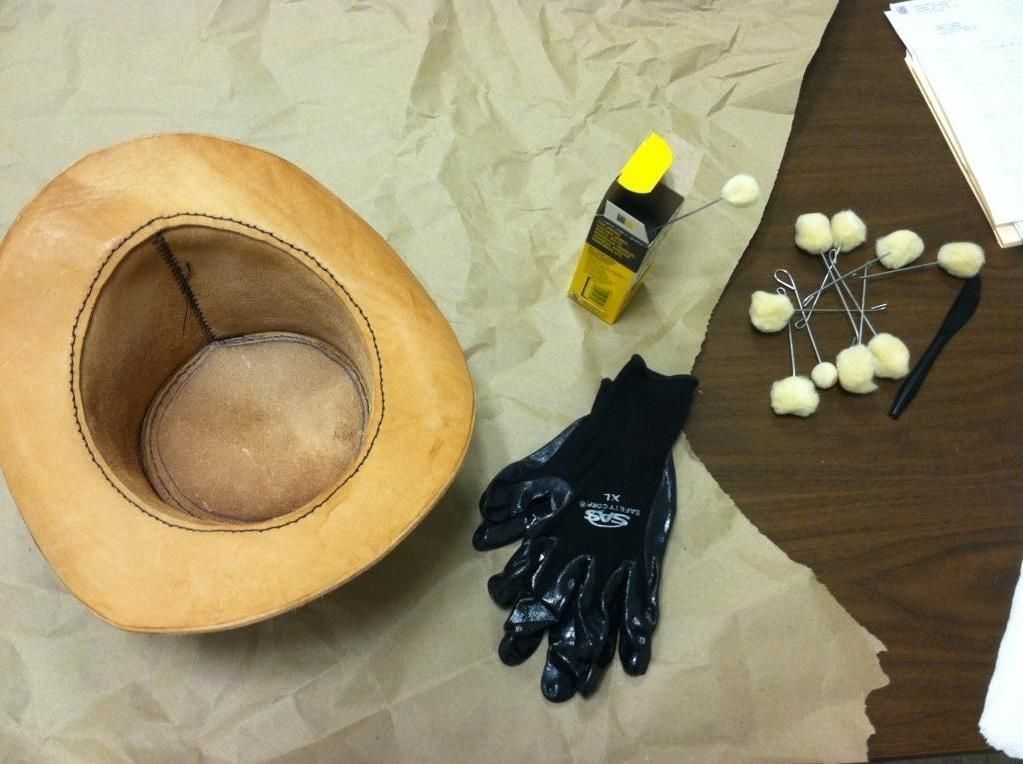
Rubber gloves are an absolute necessity, unless you don't care about having stained hands for days and days. I used these little daubers but you can use a sponge or a rag or whatever you have lying around that you don't care about completely ruining.

There's a trick I learned the first time I stained leather. When I say that, I mean that someone told me to do it a certain way, I ignored their advice, and surprise surprise it turned out they were completely right and I felt stupid. Keep a rag or some paper towels on hand when you're dying leather. As you spread it, use the rag to wipe the excess off and kind of buff it as you go. This helps keep a nice even stain and avoid streak marks. For my first project I thought it looked fine and I wouldn't need to do it, but as it dried streak marks that I hadn't even realized were there suddenly became apparent. I will never make that mistake again.


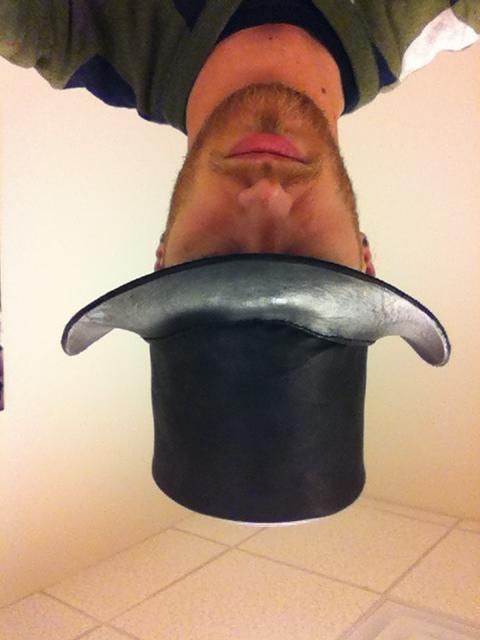
Dun da da daaa! (that supposed to be one of those trumpet announcement sounds, just go with it)


Isn't it beautiful?!


I think so.


I left the inside undyed.


Technically it's not finished. It still needs to be sealed, but that's all. The sealer is a clear coat that you put on once it's stained to protect the leather from being damaged. It also helps keep the stain from rubbing off onto other things (thankfully our old apartment never noticed the spot where I hung my pauldron in the closet and it left a mark on the wall). You can get leather stain that is supposed to have a sealer in it but I've used that kind before and it's not really all that good. You apply a couple coats just like the stain. I'm planning on doing a matte coat because I don't want my hat to look really glossy.

There you have it!

For parts 1-4:
The Beginnings: A Top Hat
Leather Top Hat: Stage 2
Leather Top Hat: Stage 3
Leather Top Hat: Stage 4