Friday, June 29, 2012

Custom Leather Wallet

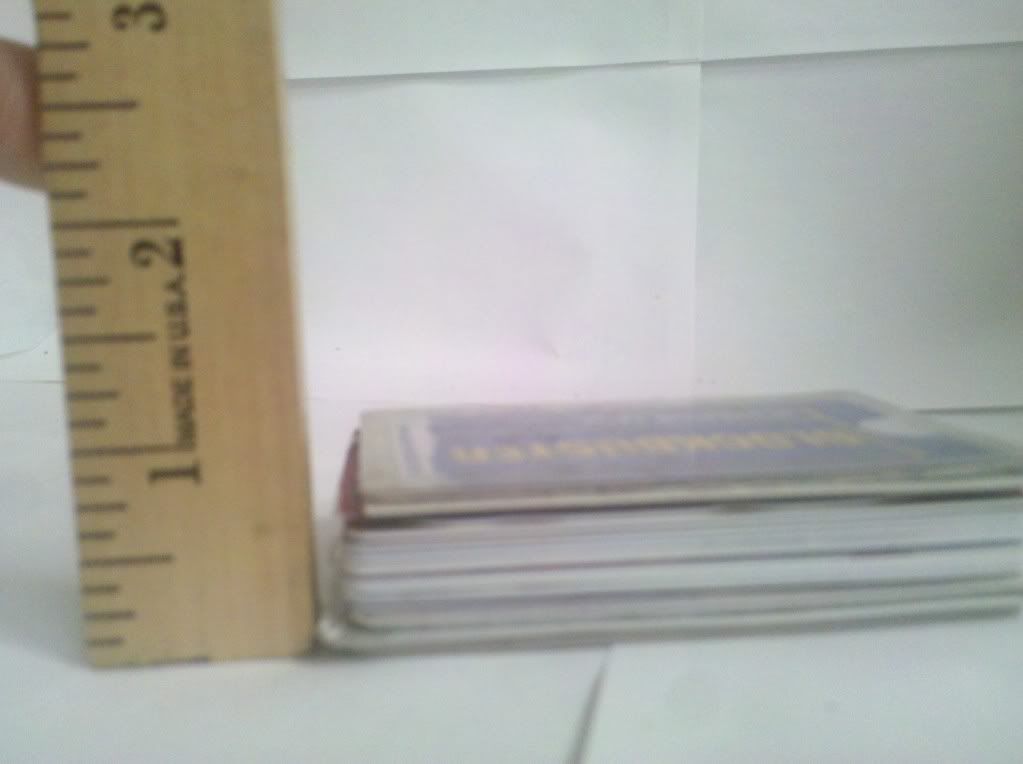
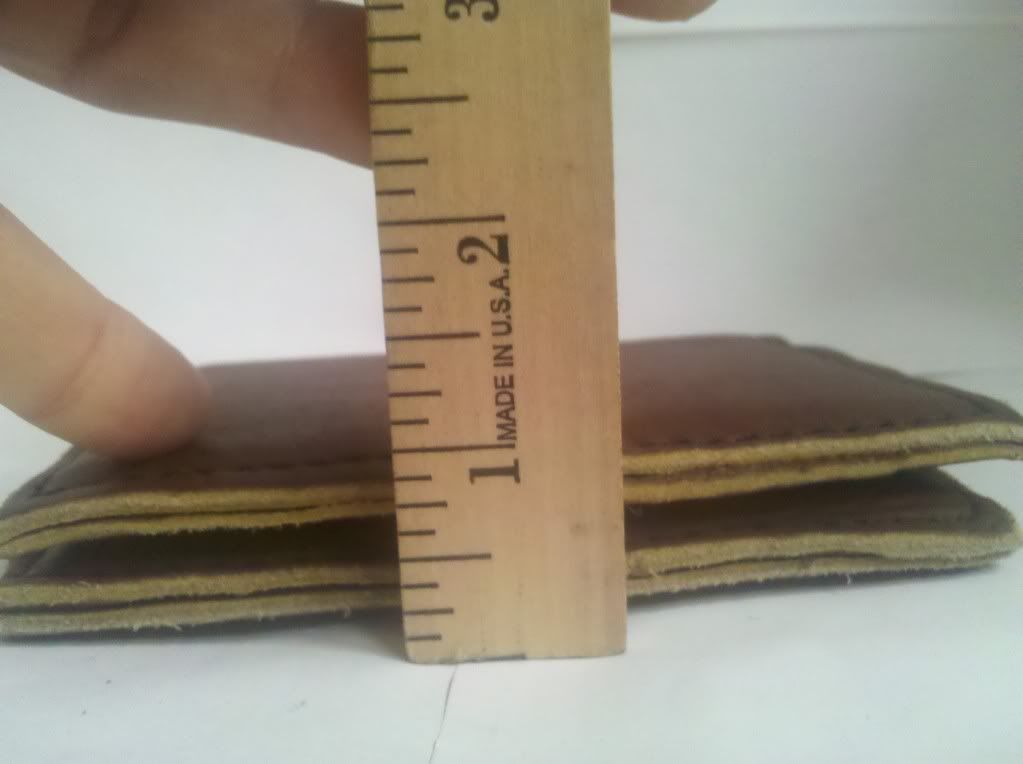
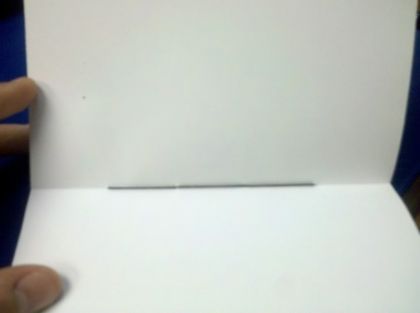
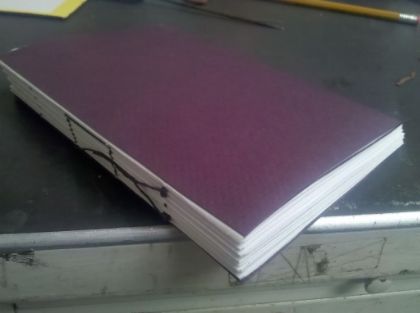
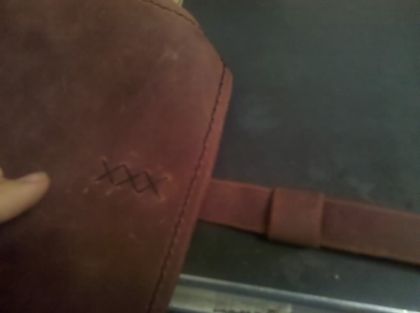
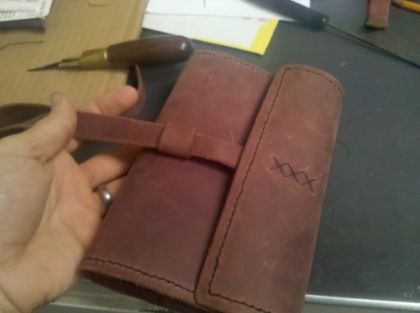
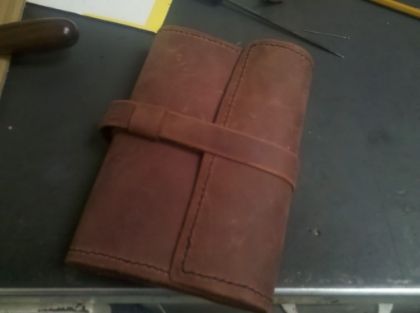
So, on Wednesday I mentioned that I was making a wallet. It's finished! Well, like 99% done. I don't think I ever finish anything 100%. Some of you might be thinking, why are you making a wallet when they're readily available in most stores? Well, do I have a ridiculous reason for you! I'm addicted to savings cards! My wallet is full of membership cards, bonus cards, punch cards, you name it. If it might somehow save me money one day I keep it. This pile of cards has become this blurry picture...

Yowzers

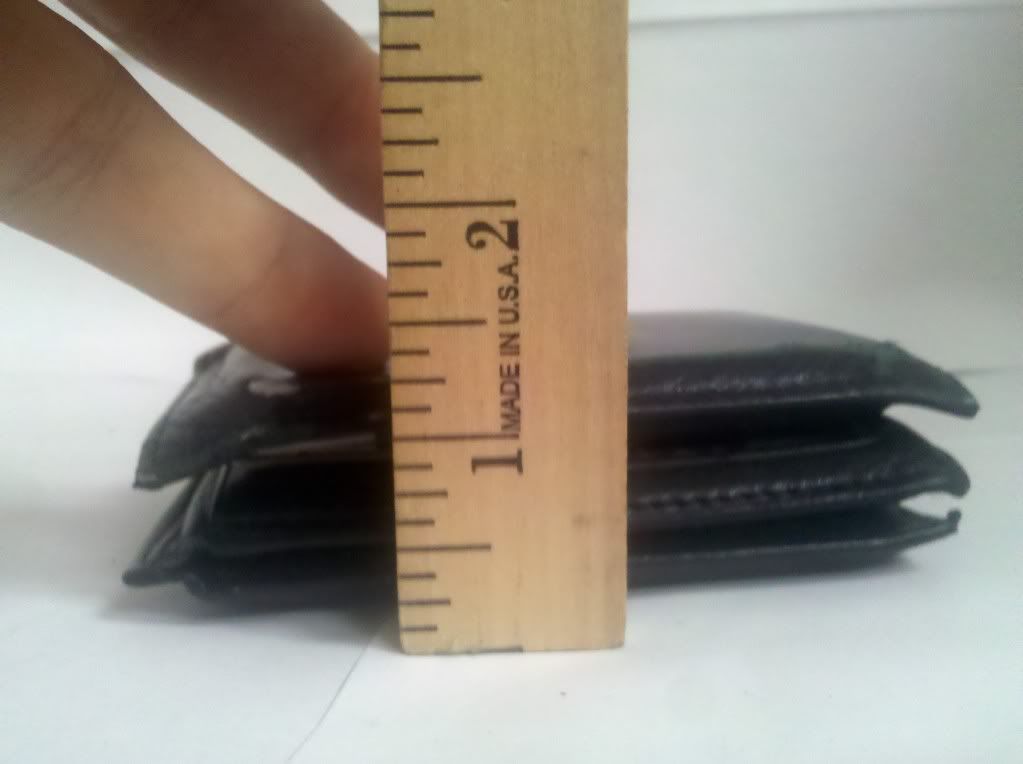
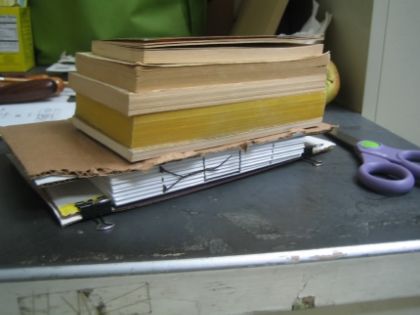
That's right. About an inch sans wallet. Adding the wallet makes it even thicker.

Pressing down to simulate my weight over the course of an 8 hour day.
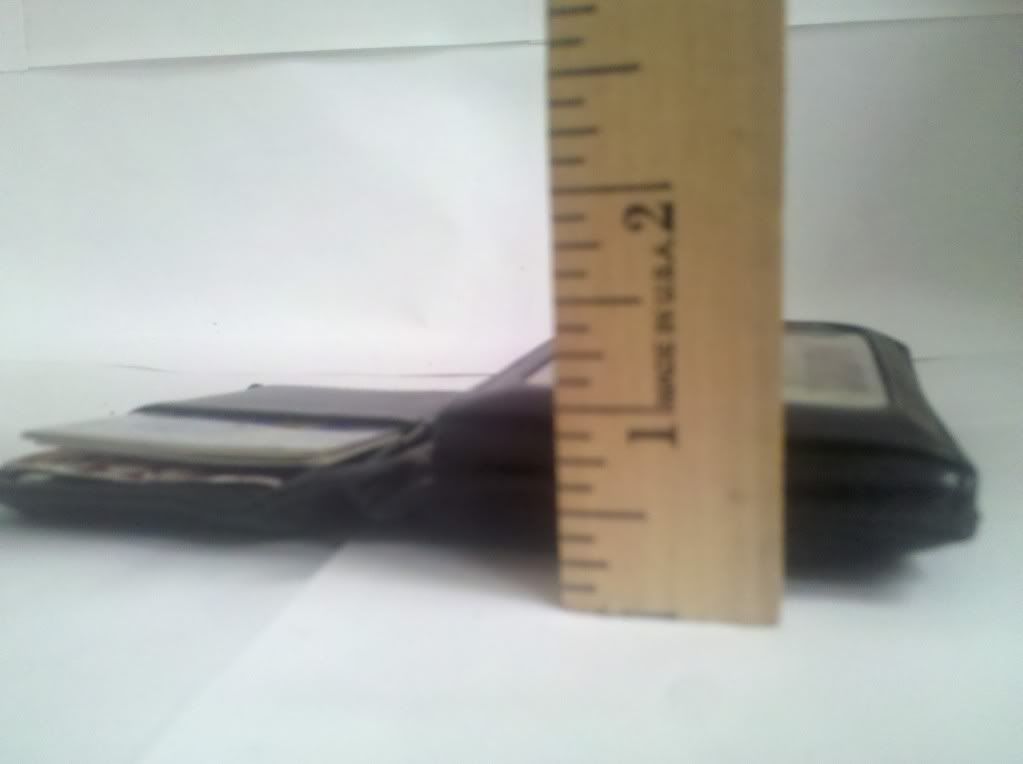
I started carrying my wallet around open so that it wasn't so thick, but I feel so insecure everytime I take it out. I'm always glancing around thinking I must have dropped something important.

Still pretty thick.
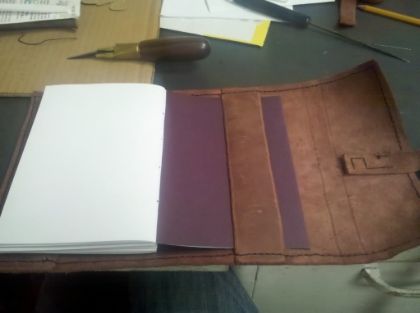
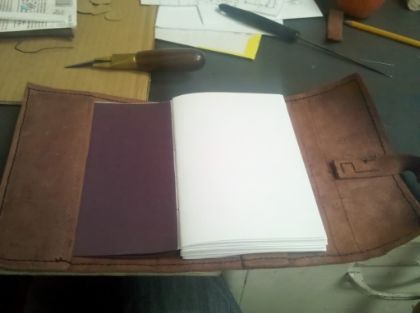
The challenge I gave myself was to make a wallet that was as secure as my current is when closed, but as thin as it is when open. I think I've succeeded. To the leather scraps!


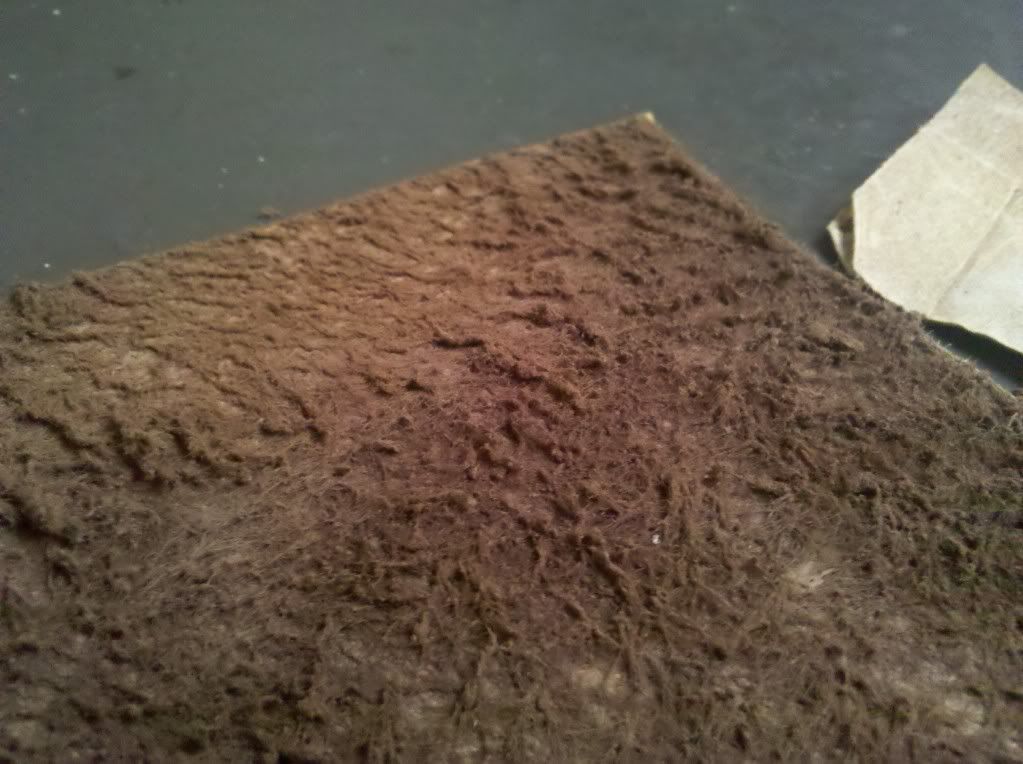
Baaa

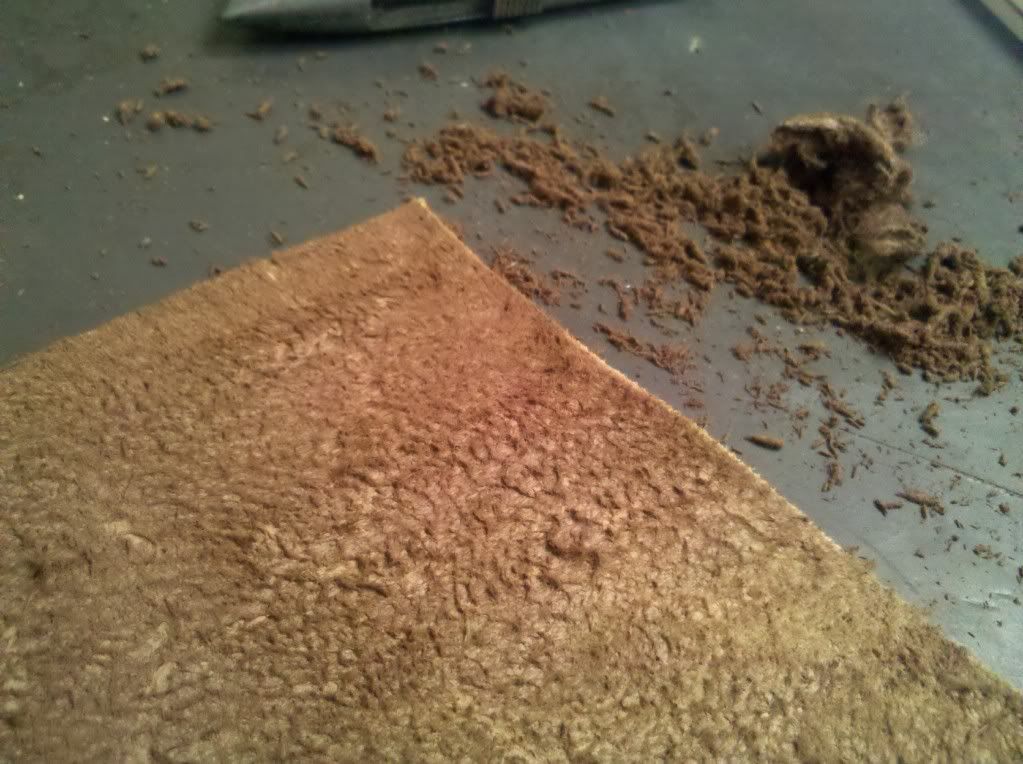
The leather I wanted to use was really "woolly" so I used sandpaper to smooth it out a bit.


All sheared
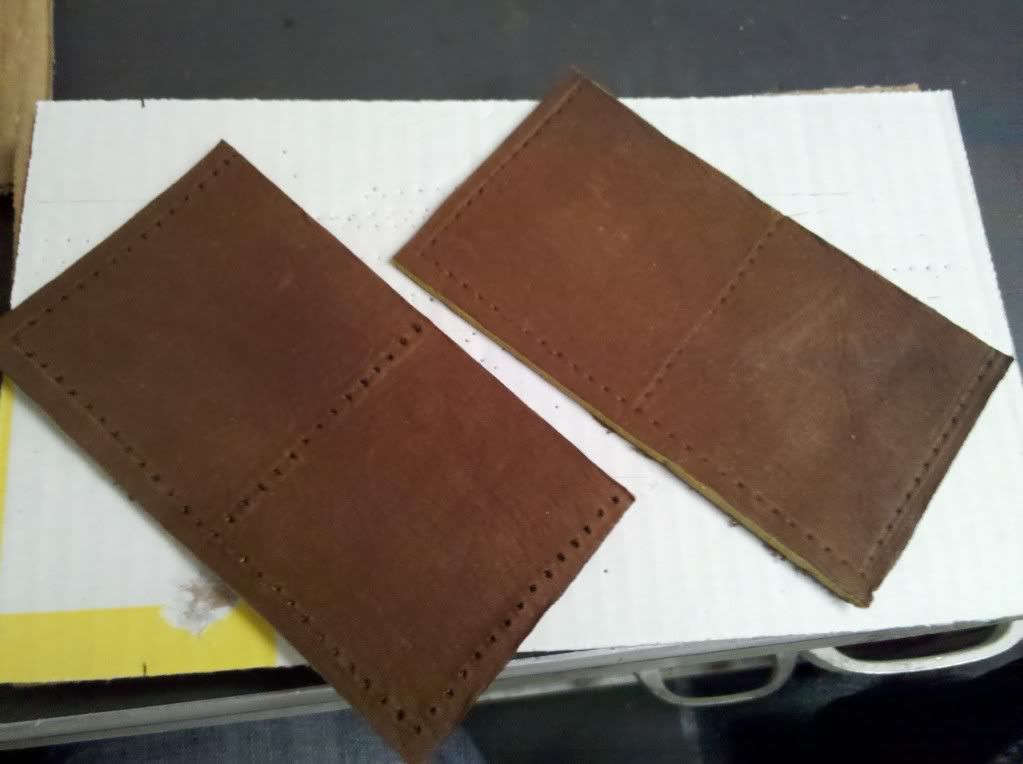
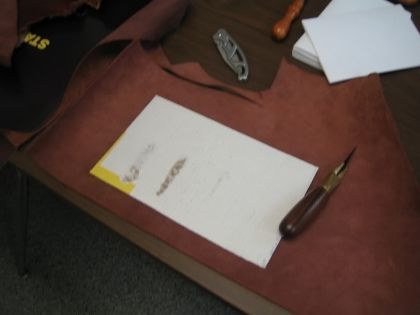
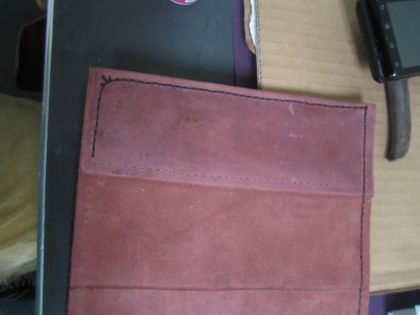
 I needed three pieces for my design. One large piece and two small pieces that would be the pockets.


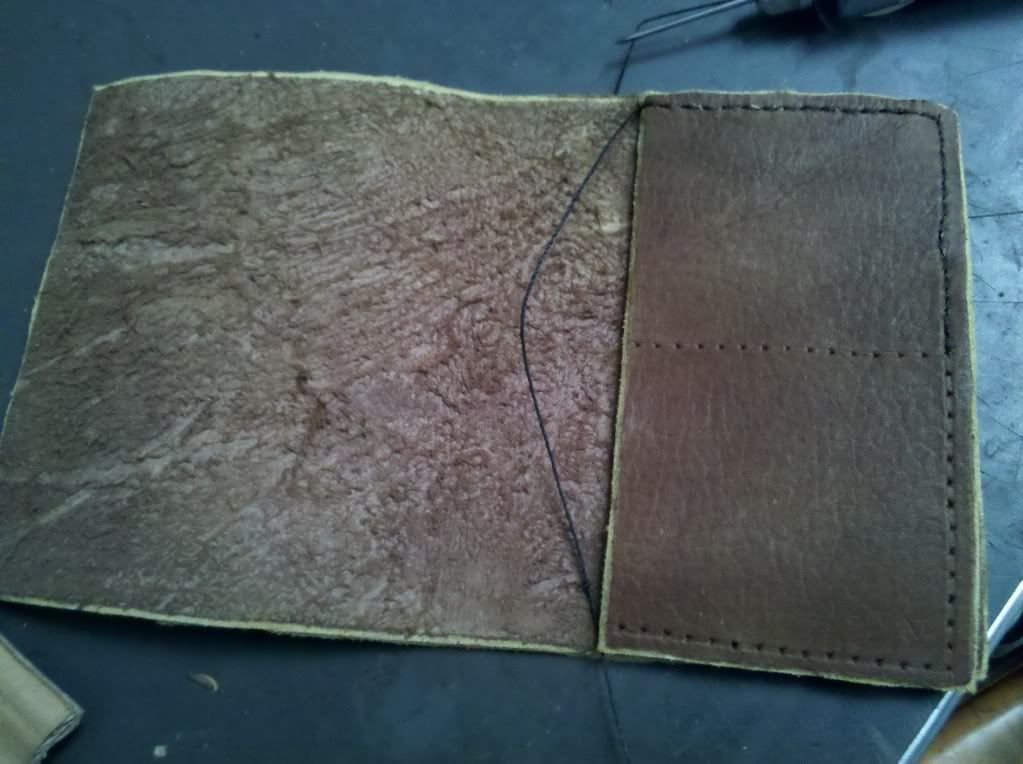
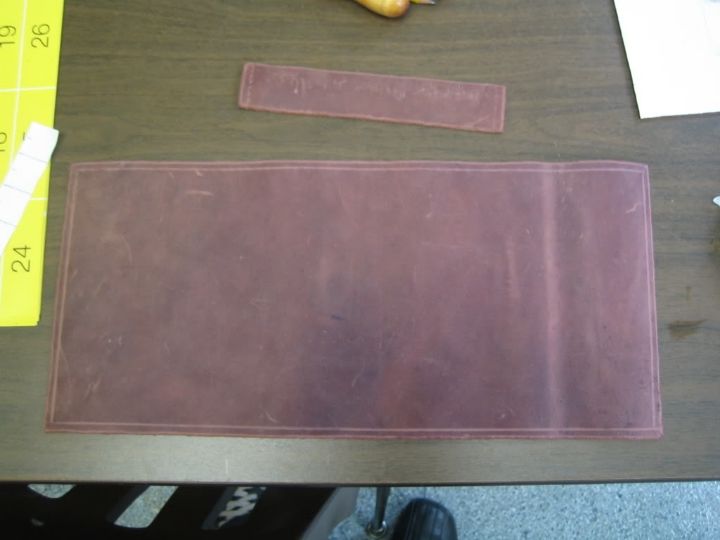
As you can see from the above pictures, once I had my pieces cut out and sanded down I pre-punched my holes for sewing. Check out my last leather project for the "finer" points of the process. Once my pieces were all ready I sewed them together. I planned out my stitching like a map so I wouldn't end up sewing over the same area twice. Sewing over it twice is hard because you're trying to fit twice as much thread in one area, plus the needle on my sewing awl is actually semi bladed to help go through the leather and if you run it through a hole that already has thread you risk cutting that thread. I know this because I did it once on my journal.


Once everything was stitched together I had to size it correctly for the cards. I used a template initially to make sure that it would be the right size, but I wanted it to be a tight fit so I only made it just big enough. To make up for this I needed to stretch the leather. I took pictures of this process, but I forgot they're on my camera, not my phone. It's alright though because they weren't anything special anyway. The process went like this:

Put the wallet in a container of water to soak for about ten minutes.
Divide the cards up into four roughly even stacks.
Seal them in ziplock bags and tape them up to reinforce and water proof the bags, or use plastic wrap.
When the wallet is done push the stacks of cards into the pockets. Be careful not to snap the cards in half.
Set it somewhere warm/hot. You don't want to put it somewhere that will damage your cards. I put mine in the back window of the car on a hot day.

After it's completely dry you can remove the cards from the plasticand put them back in the wallet. It's done! Well sort of. If you want to do any finishing to the edges feel free. I used an edge beveler like I used on my journal. Also, you can tool designs into it as well. It just depends how fancy you want it to be. Right now I'm going with a plain look.


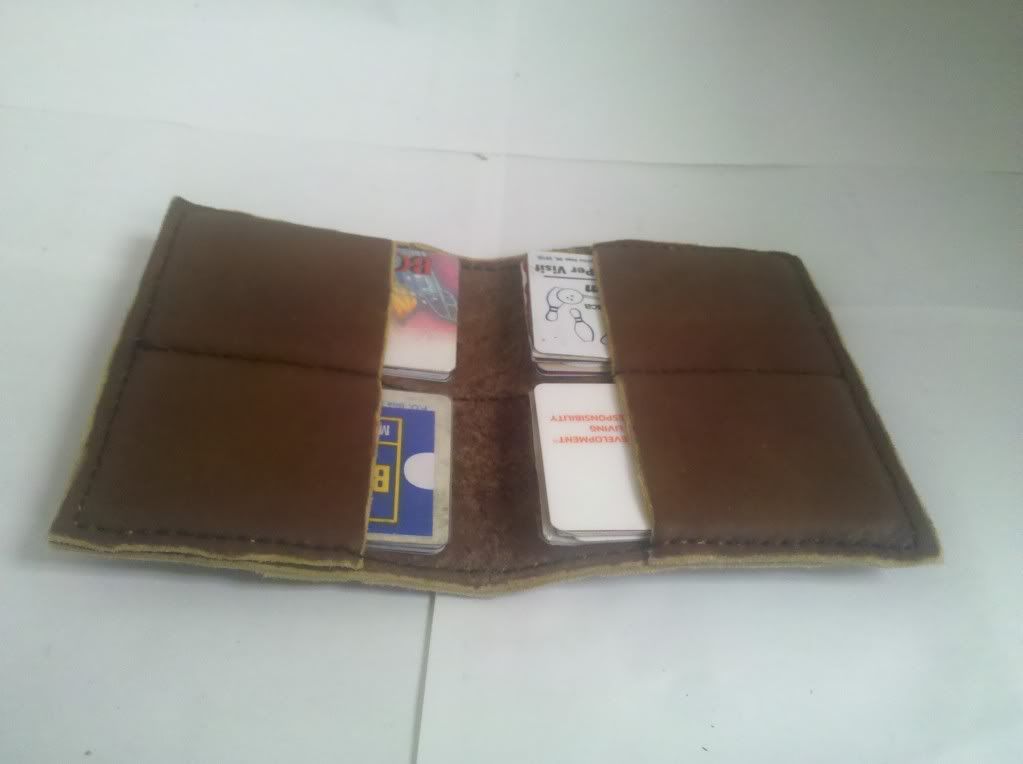
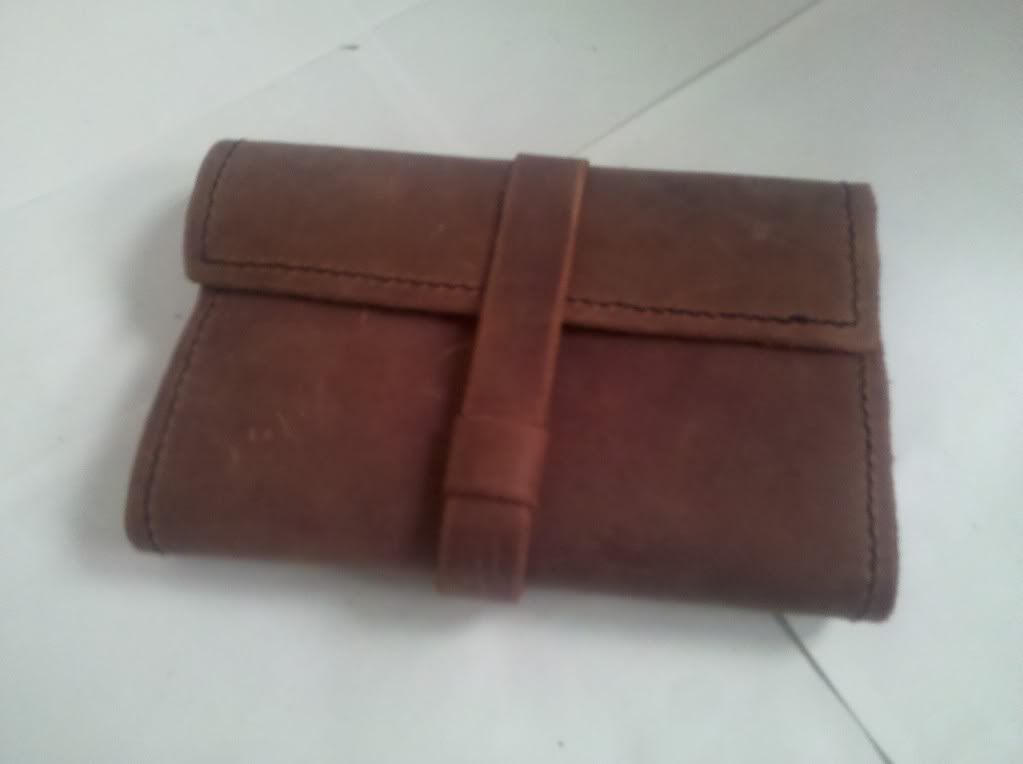
With the cards in it.

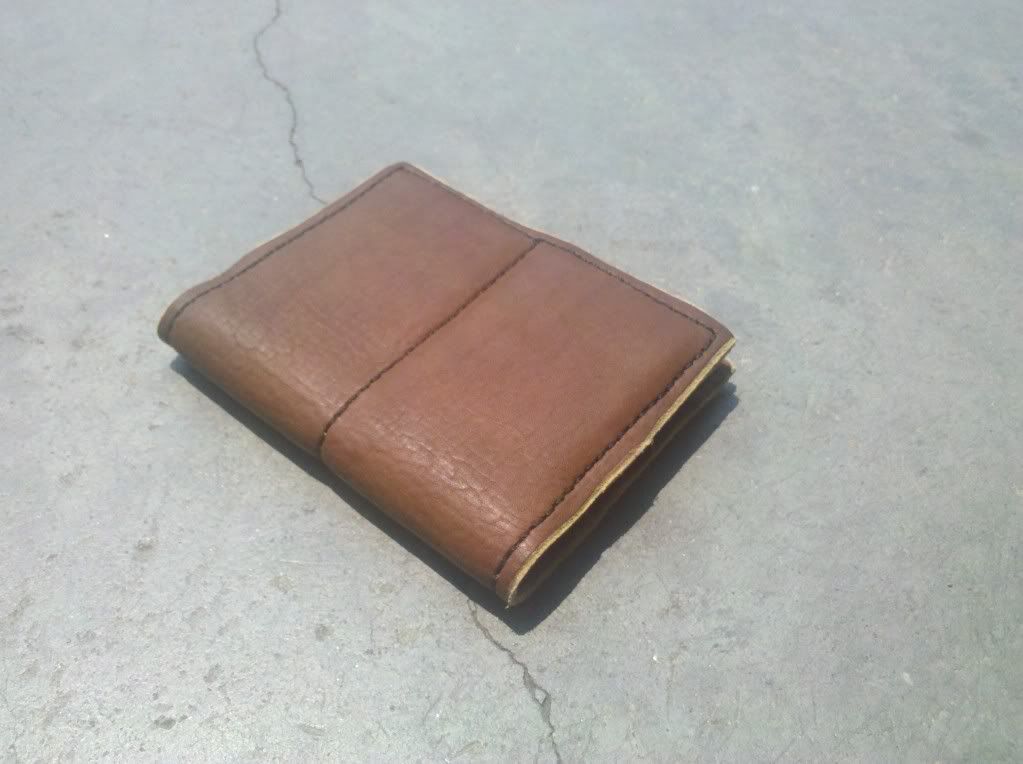
Measurements are 5 1/4" x 4 1/4"

Sooo prettty...
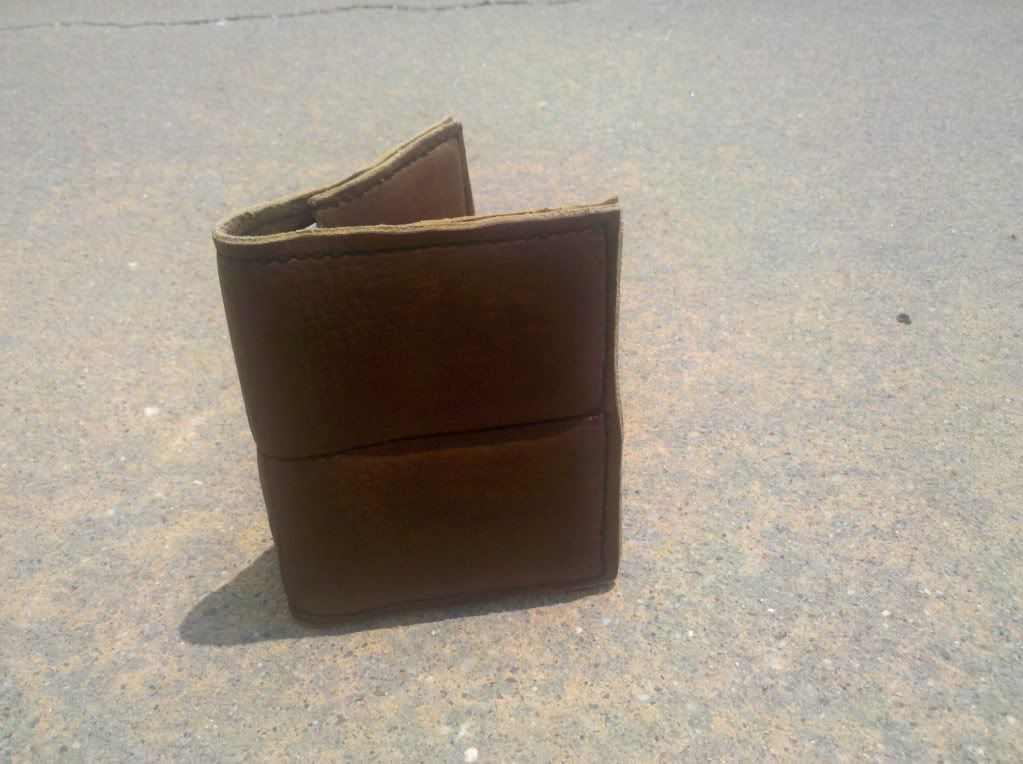
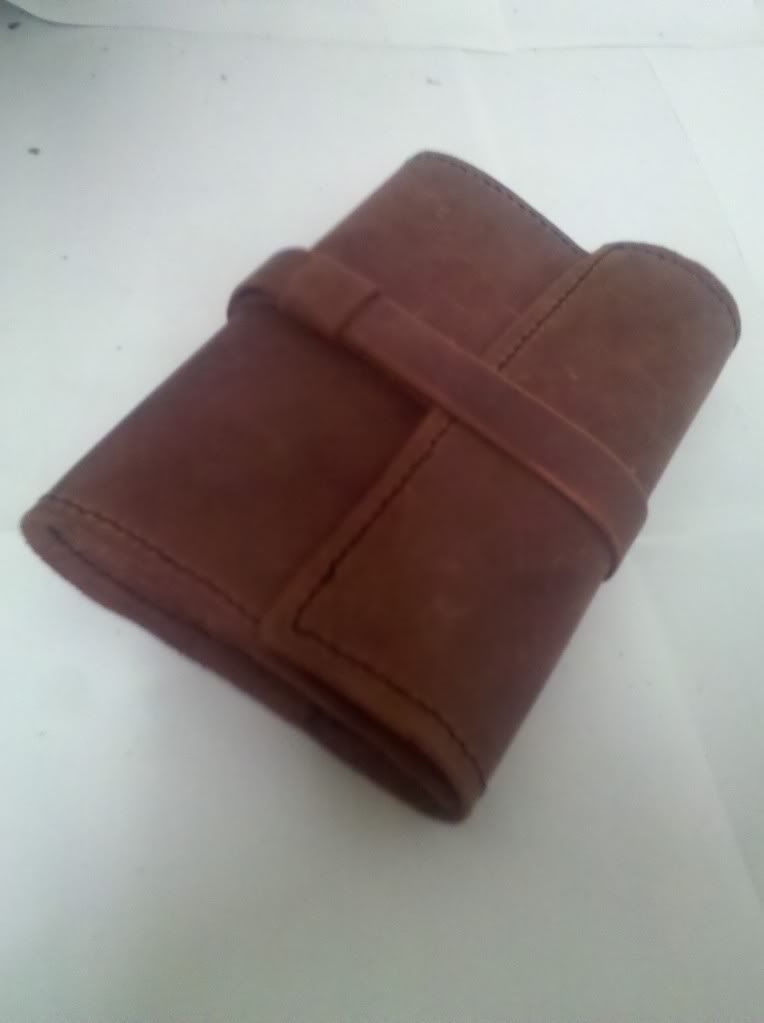
Here's the best part. Look how thin it is! I would say I definitely met the challenge I set out for myself.


So thin!

Anyone need a tattered old store bought wallet?

Wednesday, June 27, 2012

Growing Some Things and Reading Others

::Garden Update::
We went out to water the garden and guess what? There are tiny peppers!


I imagine the purple peppers are ready as soon as they turn completely purple, but I'm not sure about the sweet banana peppers. I don't know if there's a specific size they're supposed to be before they're ripe.

There's no sign of the tomatoes and the eggplants have blooms but no actual eggplants yet. I waited until they were super tall and falling over before I finally staked the tomatoes. There are still a couple shorter ones that I'll need to stake soon. Most of the spinach seemed to sprout quickly and then die off just as quickly so I don't think we're going to be seeing much of it in the future.

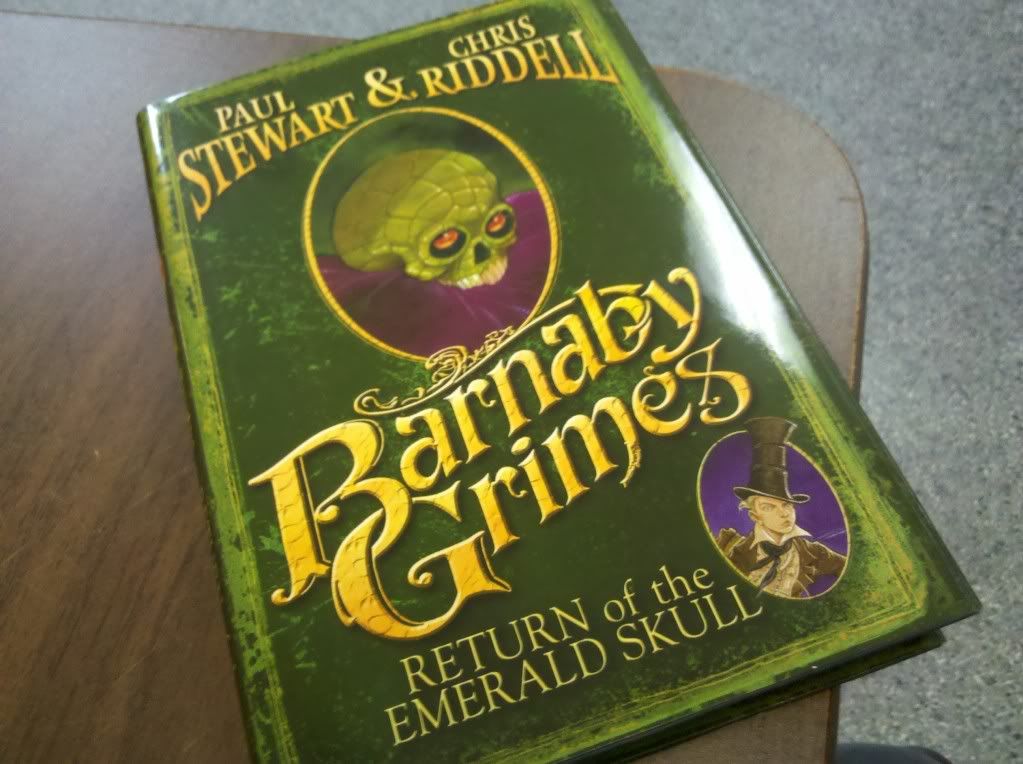
In other news, I've finally finished The Art of Manliness and I've started my next book.


Yes. It's a kids book. Or young adults? Whatever. It uses a huge, easy to read font. It's not very long. It's about a kid. It has pictures inside. You know what? I'm okay with all of those things. In fact, I'm pretty excited about some of those things. I love young adult fiction. I love how imaginative it is. I love how it mostly turns out how you expect. Not because I don't appreciate some good twists and turns, I actually really love them, but sometimes I love something that wasn't written with the express purpose of screwing with my mind. Some books and movies get so in to pulling one over on you and doing something unexpected that they become contrived. Real life doesn't always fool you. Sure it does sometimes, but a lot of times things happen exactly as you'd expect, and when you're already trying to convince me that there are magical skulls or flying machines or time traveling phone booths it's helpful to have some reality to connect to.


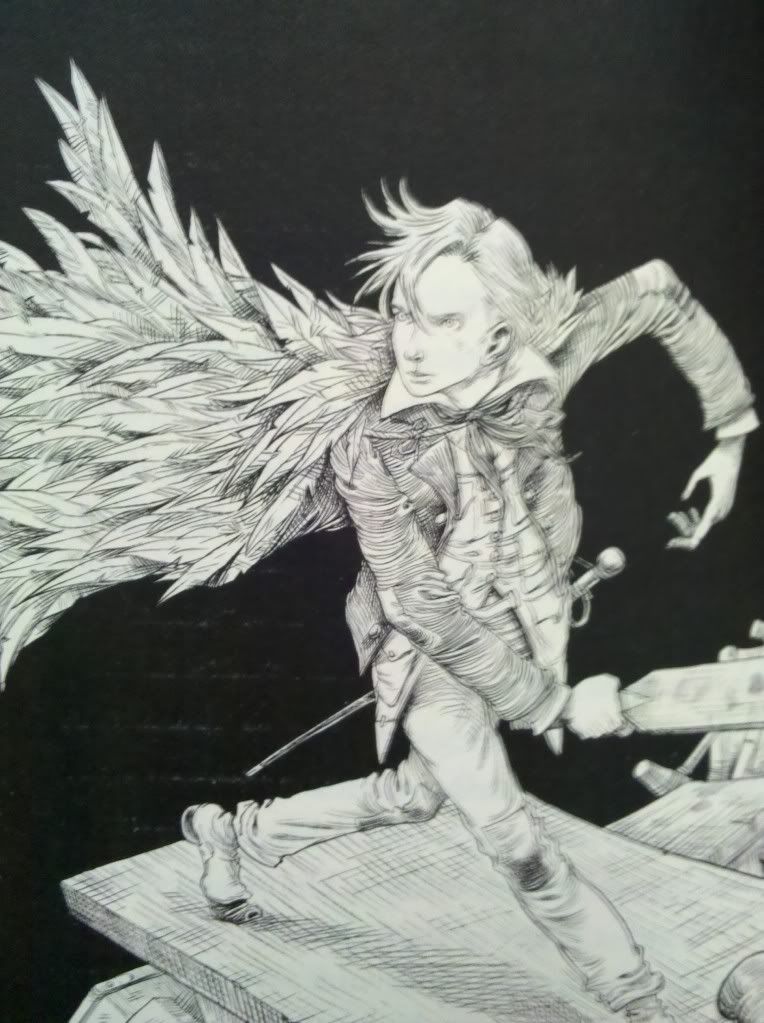
Illustrated by Chris Riddell

It doesn't have a lot of art in it, but it's there, and I'm glad. Why wouldn't I be? Why do adults think it's somehow juvenile to have art in a book? We build monolythic buildings to house art just so we can walk around feeling pretentious looking at it, but heaven forbid it be in a book! I like art in books.

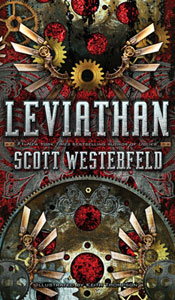
I'm only a couple chapters in so I don't know if this one will be any good, but it has a pretty good start. I think it's the second in the series, but I don't think this is one of those series where you really miss out from reading them out of order. It could prove me wrong. I'll keep you updated on whether or not it's any good. If you're interested in reading a good young adult series with some really cool art check out Leviathan by Scott Westerfeld. It's the first of three in a steampunk retelling of World War I.


The cover art in the subsequent books unfortunately went downhill
 Have you read any good books lately? Did any of them have art in them? Do you share my love of young adult fiction?

Monday, June 25, 2012

Sci-Fi Comparison

Last week I ended up posting my project on Friday and that felt rather appropriate to me so I think I'll continue with this practice. That way I can end the week with a project. The project I'm working on now is a wallet. Yes I know they're readily available in most stores but I have specific requirements for my wallet and I decided to challenge myself to see if I could make one. I'll go into that more when I post it on Friday though.

We had a fun couple days over the weekend. On Saturday we went and walked around the vegetarian festival. We felt really stupid because we ate before we went and were so full that we couldn't try anything there. I think we expected the same junk that's at every festival around here, but they had a lot of food that looked and smelled delicious and was all very reasonably priced. Next year we'll be prepared.

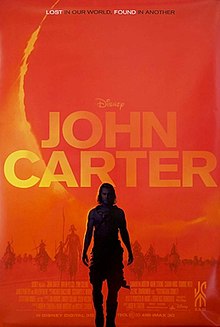
At some point as we were driving around my wife and I were talking about movies we had recently enjoyed and John Carter came up. I realize this movie wasn't really received very well. I also realize that everyone's opinions about movies are so subjective and are effected so much by comparisons, personal opinions, and even preconceived expectations that there's really no point in feeling like I'm supposed to line up with popular opinion. I really enjoyed John Carter. Here's the funny thing though. We were talking about how I likened John Carter to a combination of Star Wars and Indiana Jones and why I felt that was an accurate description and suddenly I was smacked in the face with the similarities between John Carter and Star Wars

In case you didn't know, Mars is called the red planet.

::Spoiler Alert! Before I go any further I feel I should insert this. I try not to spoil things for people who haven't seen movies, but there will be information you don't want to know if you haven't seen this movie yet. I say that not just because I'm sharing plot points of the movie but also because what I'm about to say may taint the way you watch it.::

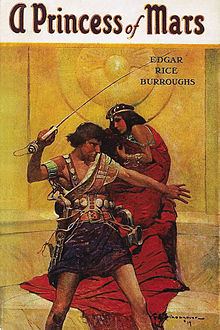
Now, I realize the movie John Carter came from a book series that far predates not only Star Wars but pretty much all other science fiction as well, so I'm not trying to say that it's a rip off of Star Wars. If anything I'm doing the opposite. Mostly I'm just pointing out similarities.

Original book cover.


For starters, John Carter finds himself on Barsoom; a desert planet with two suns or two moons or something. The movie envisions them more like suns but I don't know how that makes sense given that they're in our solar system. Either way Star Wars starts on Tattooine; a desert planet with two suns.

John Carter has powers that seem mystical to those around him and give him the ability to stand up to the forces of evil that are subjugating the galaxy. In Lucas' original screenplay of Star Wars Han and Luke were actually one character... with mystical powers that gave him the ability to stand up to the forces of evil subjugating the galaxy.

Ralph Mquarrie concept art for Star wars

John Carter saves a big dog-like creature from being beaten and it follows him everywhere refusing to abandon him. In Star Wars Han saves a big hairy Wookie's life and it swears a life debt to him.

John Carter saves a princess. Han/Luke saves a princess.

In John Carter there is an evil warlord who uses a strange energy weapon to fight people, but he's really just the right arm of a mysterious robed figure who's part of a group of evil beings bent on galaxy domination. In Star Wars Darth Vader uses a energy sword to fight people, and he's really the right arm of the emperor; a mysterious cloaked figure who's part of a group called the Sith who are bent on galaxy domination.

There are probably more similarities than that, but that's all I have thought of so far. Now, I'm not honestly saying that this means that star Wars is a complete rip off of Edgar Rice Burroughs books. To be honest I haven't even read them. I'm just saying that as time goes by I realize more and more that George Lucas is not the man I thought he was. Have you seen the movies? Have you noticed any other similarities? Or do you disagree?

Friday, June 22, 2012

Handmade Journal (Pic Heavy)

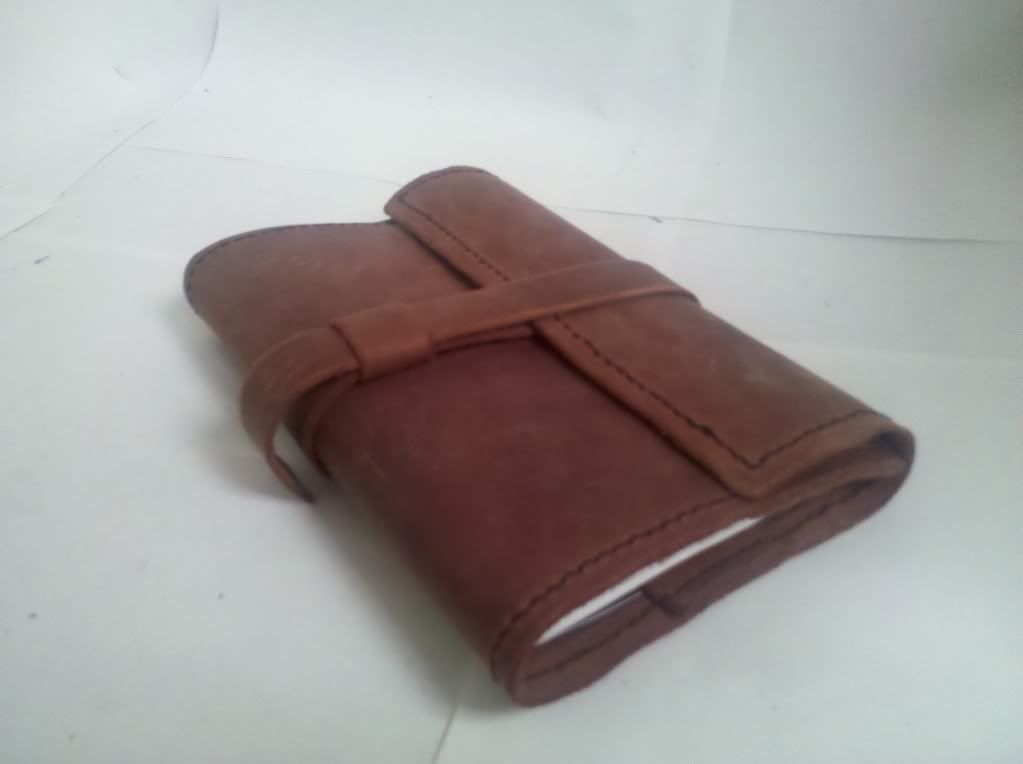
Finally! I have all of my pictures uploaded and am ready to reveal my finished product...


A handmade journal made from leather and recycled paper!

The inspiration for this project came from the huge waste of paper at my office. There are certain processes our system goes through that result in printing off pieces of paper with only a small amount of useless text at the top... which usually get thrown right in the trash. So I figured why waste it when I can use it?!

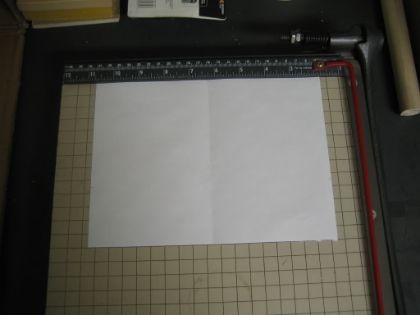
After collecting enough of these pages I used a paper cutter to trim the printed part off and even out the size a little. The size I decided to go with was 7x9, which would give me a journal page that was seven inches tall and five and a half inches wide.


This was my test page that I folded and creased and marked on until it was generally useless for anything other than being a template. I cut about three pages at a time, since if you do more than that the cuts get really ragged. Once you've cut everything to the right size, separate the pages into piles. I did eight piles of six sheets.

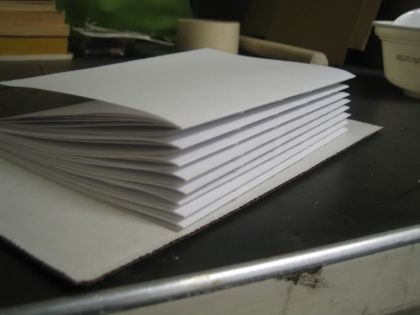
Fold each pile in half. 1 page at a time. Yes this takes forever. Here's the end result:

Each folded group of pages is called a signature. I don't know why. Once you've folded them you need to punch holes in the creases so you can sew them together. Punch four holes, spaced evenly apart, along the creases. Make sure it stays in the crease and doesn't stray onto the page itself.

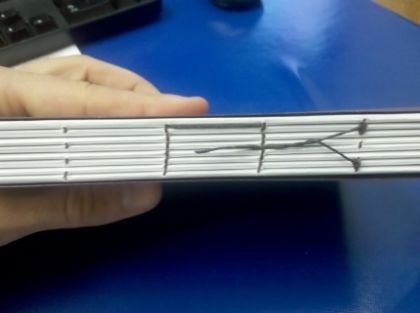
Sew the pages together using a complicated method that's really hard to explain. No really, here's one of the sites I used to figure out how to do it. The site actually explains the way to do the whole binding process in a much more detailed way than I am explaining it so I would recommend using it if you plan on making one of these for yourself. I used a strong waxed thread that I got from my local Tandy Leather store, but you can use any strong thread. If you want to wax it just run it over the bottom of one of those fat candles! This is what mine looked like when I was done with it.


After you've bound the pages the need to be reinforced. You can glue cheese cloth to the back which I haven't done, but would recommend. Then you need to put some sort of cardstock on the outside pages. I used some stuff we happened to have around. I think it's water color paper, but it was stiff enough.


Measure it the same size that you used for the pages (in my case 7x9) and fold it the same way as well. Put a thin layer of glue on one side and fold it over one of the outside pages. After you've glued one side you can glue the other side and then move onto the opposite page of the book. Apply pressure as it dries.


Next measure and cut your leather. I used a pre-dyed leather that I got out of the scrap bin at Tandy.

I was using the cardboard as a straight edge so my cuts were straight... turns out it wasn't exactly straight. If you don't have a super sweet leather cutting knife like the one pictured just use an exacto or a box cutter or some really strong scissors.

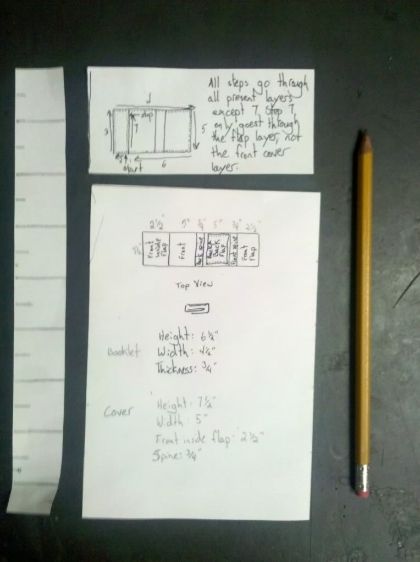
To figure the size I drew some crummy sketches and wrote some tiny numbers.

Or: I measured the width x2 (front and back), plus the thickness, plus how much I needed it to overlap for the inside flap that held the booklet in and the outside flap which held the book closed. A total of sixteen inches. For the height I just added about an inch more than the height of the booklet. So you understand the parts I'm talking about I'll put this picture here... even though it's kind of a spoiler. You'll also need to cut a strip of leather the same height and about an inch or so wide to hold the back cover of the booklet in place.


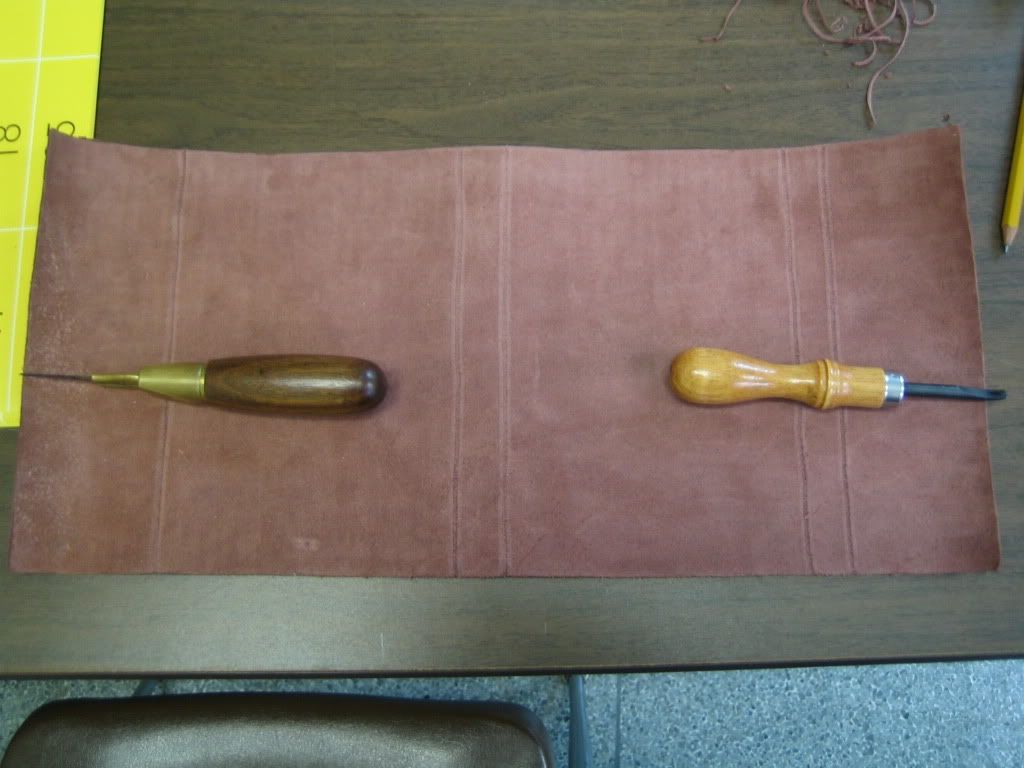
I scored where it needed to folded.

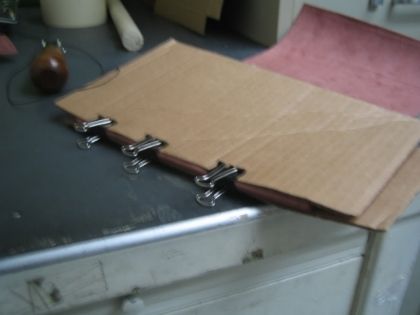
First I wanted to form the inside flap so I folded on my scored line and clamped it down. Make sure you have something in between your clamps and leather so it doesn't make any ugly marks in it.


Using a stitching tool I made the marks I would use when I stitched it.

When you make the stitch marks wet the leather first. It helps the imprints stay. If you don't have a special tool for this don't worry. Wet the leather, and then (using a ruler as a straight edge) run the back edge of a butter knife along your stitch line. Then use a fork to make the stitch marks.

Start sewing.


I started by sewing the flap down. Remember not to sew it shut though. Also, don't get carried away and forget to put that strap in. I almost did. Try to plan your sewing so that you begin and end in an easily concealable place.


I used a sewing awl to do the stitching. If you've never used one check out this video. It really was invaluable. The one change I would make to the instructions in the video is that I would figure about 16-18 inches of thread for every 12 inches you sew. Maybe I'm just not good at measuring, but I ran out half way through.

The next step is the strap for the closure. I started with a strip of leather much too long, sewed it on and then cut it down to the size I wanted it. I sewed it to the inside of the flap because that just made the most sense to me. I didn't care what the inside looked like but I did want the outside to look good.


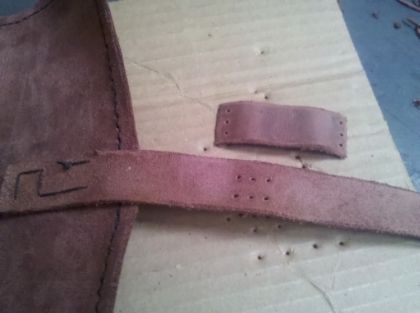
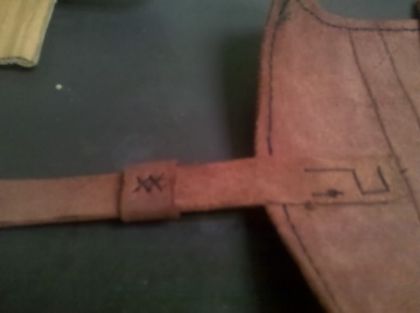
I punched holes into the strap and made a smaller strap out of the excess I cut off which I sewed to the longer strap. This was the hardest bit of sewing I did on this project.


The cover is now done and just needs the booklet inserted. Some people choose to stitch the booklet to the outside cover, but I wanted something I could easily change out when I finished with it, which is why I opted to include the flaps to hold it in. To insert the booklet I slid the back page under the smaller flap as far as it would go, then inserted the front page under the front flap and pushed it in until it was even between the two.


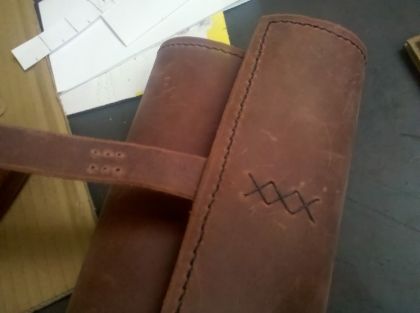
TaDa! Now just wrap the strap around and insert it into the little belt loop thingy!


As a finishing touch I used an edge beveler that rounds out the edges of the leather to make it look less rough.


I haven't decided what to do with it yet, but there's so much potential! We'll see. I hope you enjoyed it. Have you ever been inspired to make something out of the wasted material that you see around you? How did it turn out?