Friday, October 19, 2012

Sword of Altair: Complete

I feel as if I should have some big awesome reveal for this thing now that it's finished... but I don't. The pictures I have aren't even that good. That being said, I'm still super excited about it!

My last update finished with me painting it silver. Since then I painted in the detail on the handle and I added the leather grip.

For the detail I just watered down some black latex craft paint, painted it on, let it dry just a little bit... and then wiped it off. I had to do several coats but I think it turned out really well.

Because the shape of my grip is not uniform it was a little hard to cut the leather to match the pommel. I started by wrapping paper around it and making a template but I still ended up tweaking it quite a bit after I cut it out. I ended up gluing half of the grip on just so it would hold tight while I made my adjustments.


After I had it how I wanted it I glued the rest and put a bunch of rubber bands on to hold it tight.


Now it's done!


I want to get some really good pictures of it so when I do I'll probably add those in here. Also, the handle does look a little plain to me so I might be tweaking it or adding something to it. I'm not sure, but whatever happens later happens later. Right now I'm counting this done.

If you want to see this thing from start to finish you can check out these links:
-Sword of Altair (WIP Part 1)
-Slow and Steady (WIP Part 2)
-Eureka! (WIP Part 3)
-It Looks Like a Sword! (WIP Part 4)
-So Close... (WIP Part 5)
-Progress Report (WIP Part 6)
-Primed (WIP Part 7)
-Latest Sword Update (WIP Part 8)

Monday, October 15, 2012

Missed Deadlines

Well the plan was to have the sword done by this past Friday. That didn't happen. It is very close... but not quite done. I hate it when I set deadlines for myself and then I can't keep them. Work has been crazy but this is the last week before it calms down a little. Next week I'll be on vacation (YAY!) and then the lady who runs our warehouse will be back and I can go back to taking real lunches and working on my projects (another YAY!). I'd like to get this sword done before vacation starts and considering the amount of work left I don't think that will be a problem. Right now I'm just tweaking the grip before I fully glue it down. But still, let's hope everything goes well and I get it done. I'm taking some stuff on vacation to work on another project. It's a set of boot spats for the costume my brother-in-law is wearing to NekoCon. I'll try to get some pictures of it, and assuming it comes out good write a blog about it.

This past weekend was pretty awesome. On the way to the farmer's market Saturday morning we stopped at a yard sale. They had one of those kids motorized jeeps for $20! So we snapped that up. We also found a whole box of Thomas the Tank Engine wooden train set pieces for $4. What were they thinking?!? We grabbed that too. I also picked up a palm sander for $7 which is cool since I've been wanting one of those for a while. Now I can sand all kinds of things and refinish furniture and it will be great! I'm already excited about using it.

Well, time to get back to work. I can't wait for vacation!

Monday, October 8, 2012

Latest Sword Update (WIP Part 8)

Our connection went down on Friday so I wasn't able to post the update for my sword. So I'm going to talk about it today because I'm super excited to show it off!


I can't remember where I found it, but I saw that some guy used the "Rustoleum hammered silver" on a sword and used light coats so he got the metal look without the hammered look. So that's what I did. I definitely need more practice with spray paint because it was not easy to spray light coats evenly. Maybe I'll get one of those trigger attachments. I can't wait to finish this and post the finished pictures! I'll have to get some goods ones instead of just cell phone pictures.

Tuesday, October 2, 2012

Instructables Contest!

Sorry to neglect you guys yesterday, but rather than posting a blog I spent some time making an Instructable.


I've posted a total of five Instructables now and have plans for at least four more in the near future. I like making them but one of the reasons why I'm trying to focus on making more of them right now is because they're running contests! Well, they're always running contests, but they have a couple contests right now that I'm eligible to enter. Right now I have two contest entries: How to make the Hammer of Thor and Wooden Toy Dagger. If you're an Instructables member or feel like signing up you can vote and help me win some cool prizes. I'm entered in the 3rd Annual Make it Stick Contest and the Halloween Prop Contest.

Here are my other Instructables in case you want to check them out.

Pendant Necklaces
Peg People: A Fun Toy for Most Ages
Breakfast Board: An Unconventional Start to the Day

The ones I plan on creating next are for the rest of my Thor costume, my wife's Hawkeye costume, the sword I'm currently working on, and possibly a pirate costume one.

Friday, September 28, 2012

Primed (WIP Part 7)

I went to Home Depot the other day to look at paint. I ended up grabbing a can of Rustoleum Paint & Primer in "metallic dark steel". When I got back I started looking at the paint and decided that I really don't like the metallic fleck in the paint. I've never seen a sword blade with metallic fleck in it so considering I'm trying to make this look realistic I don't think I really want it on mine. In the meantime, and at the suggestion of my wife, I checked the basement and found a can of Rustoleum primer and a can of Rustoleum clear coat sealer! Yay! So now I have the sword primed and I just have to find some time to get back to Home Depot to exchange the paint I got for some other color. And since I found the primer and I don't want the metallic fleck it should be less expensive than the paint I originally got, so that's cool.


The primer that I found is some sort of maroon-ish color. It might make the end result appear darker, but I think it will still work. It better work. I guess I could have tested it on another piece of wood but I got excited.

So just a reminder of where I stand  on all of the items on the "To-Do List":
1. Thin out the blade and do basic shaping.
2. Add detail (carve the crossguard and pommel detail, and minor blade details).
3. Finish detail on blade and draw-file the bevelled edge.
4. Sand
5. Attach all three parts using the threaded rod and some adhesive.
6. Paint and Seal
7. Attach leather grip.

 THE END IS NIGH! THE END IS NIGH!

Tuesday, September 25, 2012

DC Trip

We had quite an exciting weekend.

Saturday was exciting enough. We started it by going to see my wife's brothers run a 5k, which they won! Well, one of them came in first and the other in second. Then we went to the farmer's market. Then we went to a birthday party. Then we came home to celebrate one of my wife's brothers birthday.

On Sunday we went to DC. It has been forever since I've been. My wife and I have never gone together and it was the first time I've driven up there. To add to the fun of the trip, and detract from the possible stress, we drove up to Alexandria and took the Metro into DC.

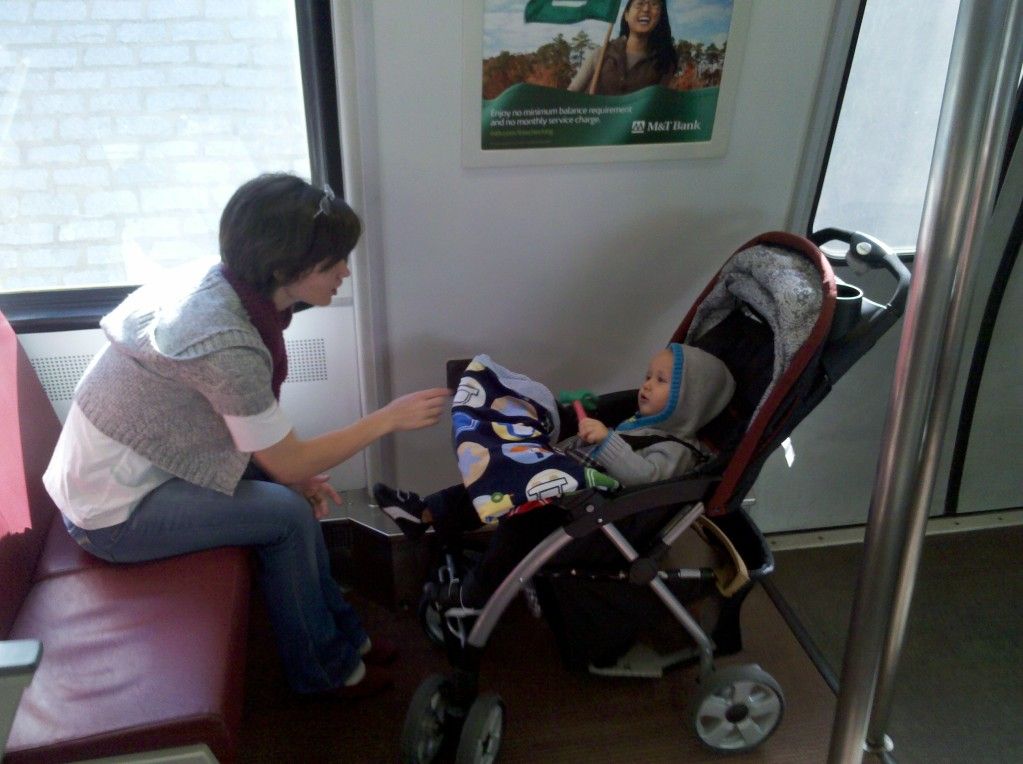
The boy entertaining the rest of the passengers with his hammering skills

Once we got there we headed over to the Spy Museum.

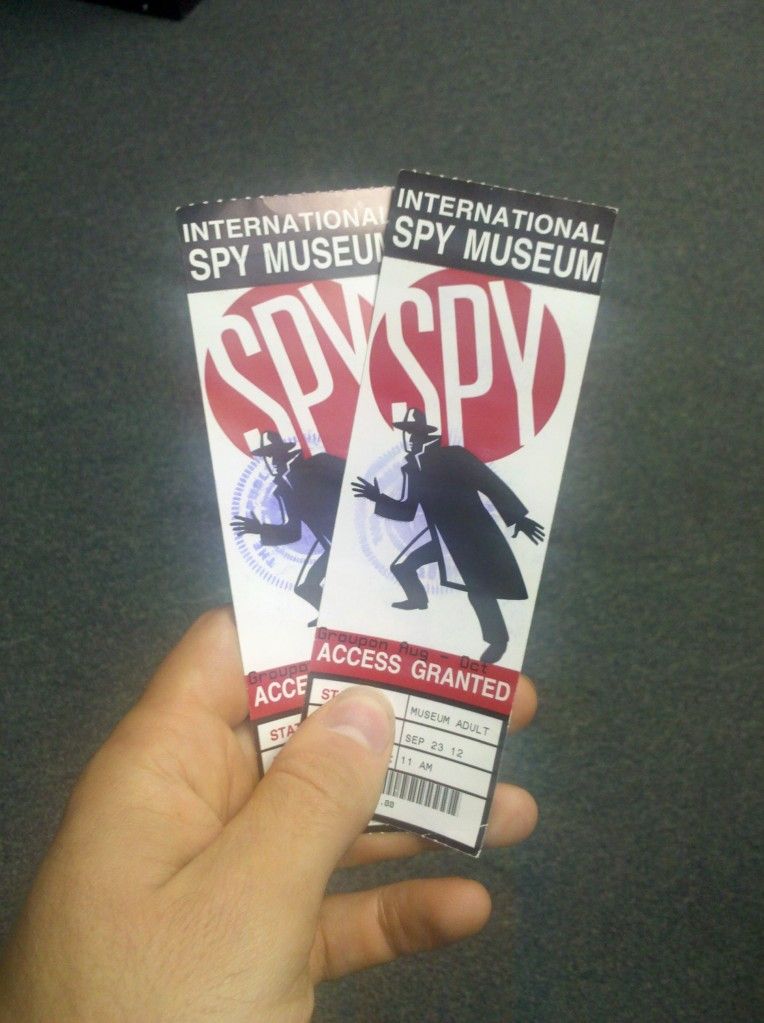
Upon entrance tickets had to be eaten. No one could know who you were.

The beginning of the museum is set up like spy training. You're supposed to remember a cover so you can fool the guards (there are tests on various computer kiosks if you want to participate). My cover identity was Gary Wozniak; a 25 year old teacher living in Canada. Originally from Waipu New Zealand and on his way to Singapore for a three month long business trip. Yes, I still remember that. No, I did not cheat and write it down. There was a lot of cool stuff there, including duct work that you could climb through. It measured the sound you made and let you know if the guards could hear you or not. It had lots of other cool stuff, from very real spy equipment to real historical accounts to Bond gadgets. Our boy's favorite parts were the giant mirror that you were supposed to use to practice quick and easy ways to make yourself look different and the duct work you could climb through.

For lunch we split a sandwich and fries from the Spy Museum cafe and ate it sitting outside of the American Art museum.

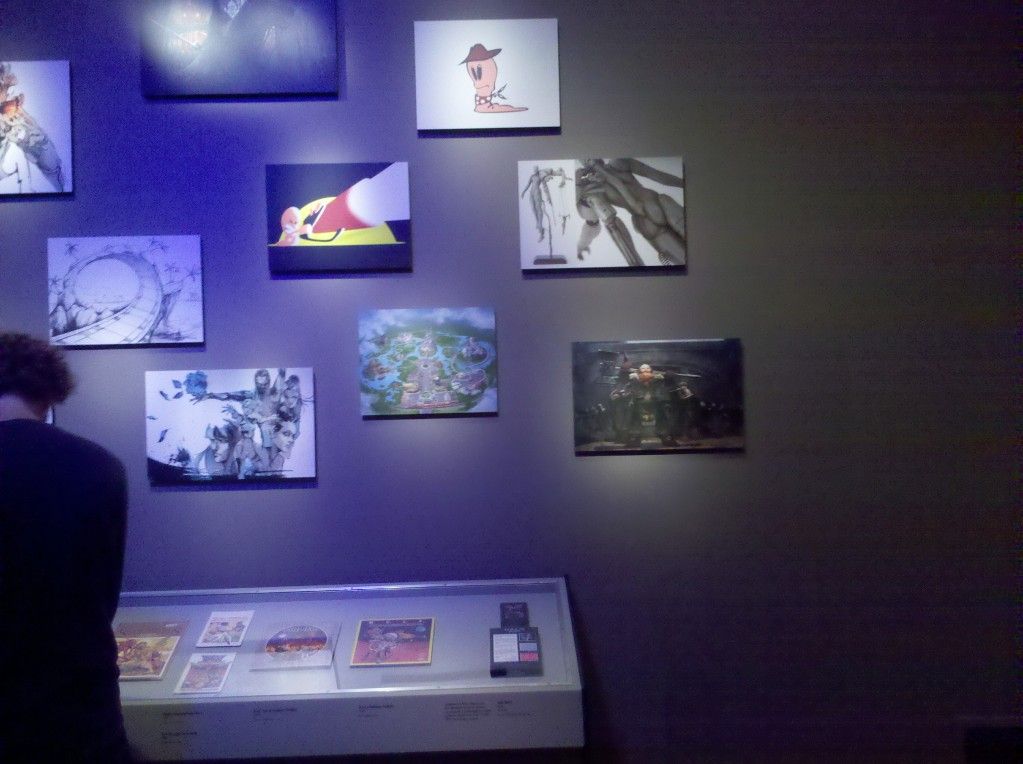
After lunch we went inside to see the Art of Video Games exhibit.

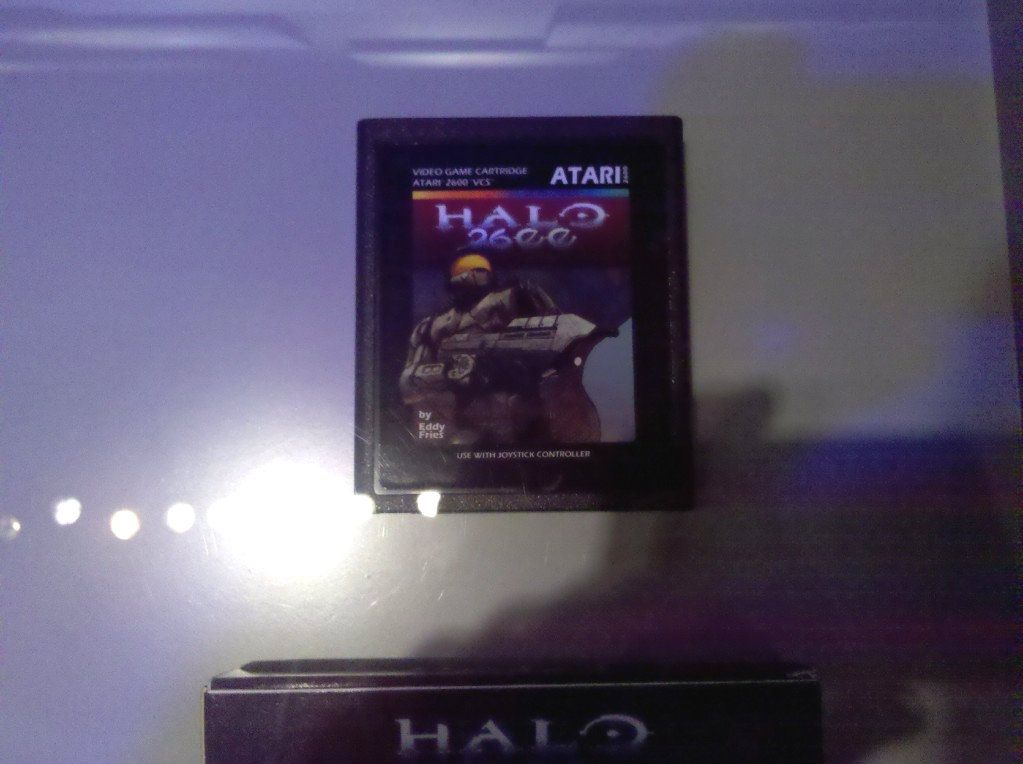
A couple guys thought they had just discovered that Halo was actually an old game.

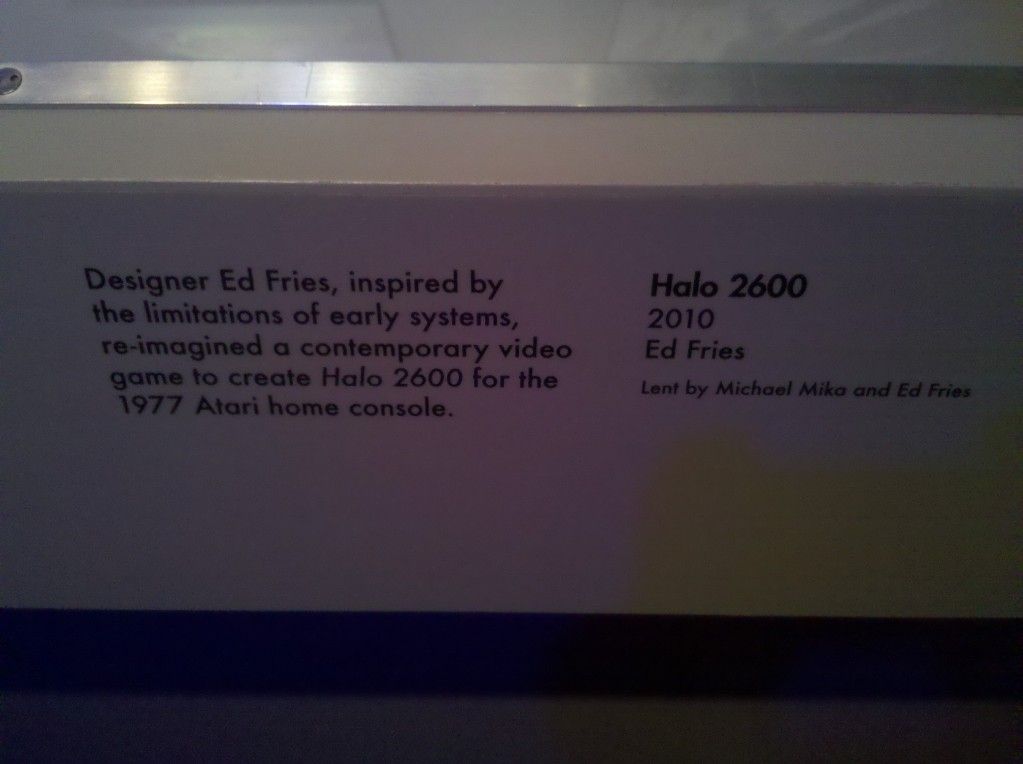
Clearly they didn't read the card.


I would have to say that I was pretty underwhelmed by the exhibit as a whole, but I think it's more me and less the exhibit. For instance, I'm not an outsider to video games. Someone who is new to gaming would probably find it informative. Also, they wouldn't look at what was there and see everything that was missing. Such as Pong, which I saw no mention of. I think one of the other things was that I love concept art and design. When I think of "the art of video games" I think of the art involved in making video games. I get that video games are an art, but when it comes to the actual art involved in making them there wasn't a lot there. The only video game art displayed was the art in the picture above and one panel of concept art that looked like it was from the new Diablo game.

After the Video Game Exhibit we set out for the Museum of Natural History. we hadn't planned on stopping there because we weren't sure how much we could cram into the day but we ended up having a lot of extra time. We had so much time in fact that on the way over there we stopped at the sculpture garden.

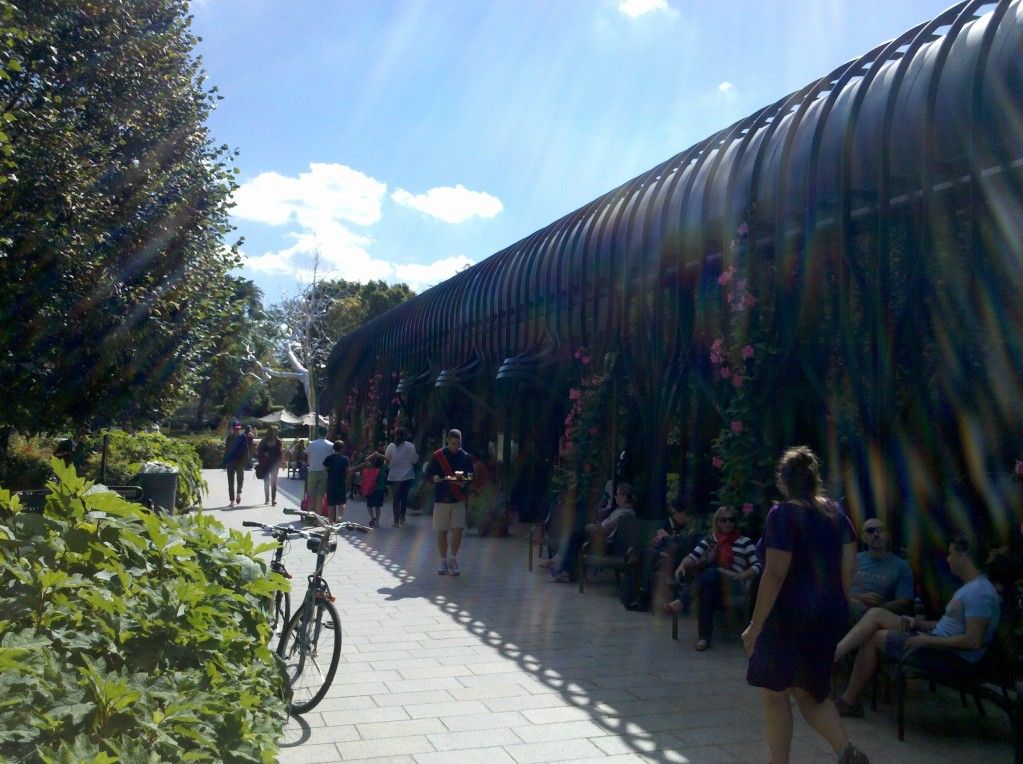
The garden cafe with a giant silver tree in the background.

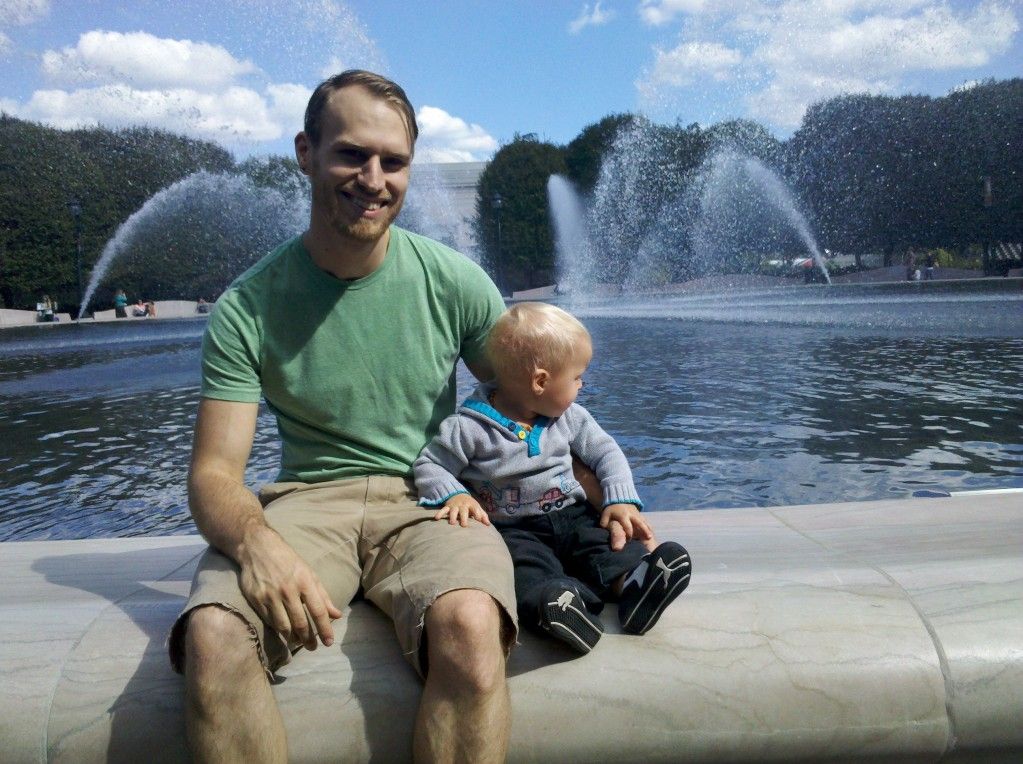
Sculpture Garden Fountain
 On the other side of the sculpture garden there was some sort of even going on so we decided to check it out. It turned out that there was some sort of book fair going on, but after walking around for a while we still didn't really know what was going on so we left.


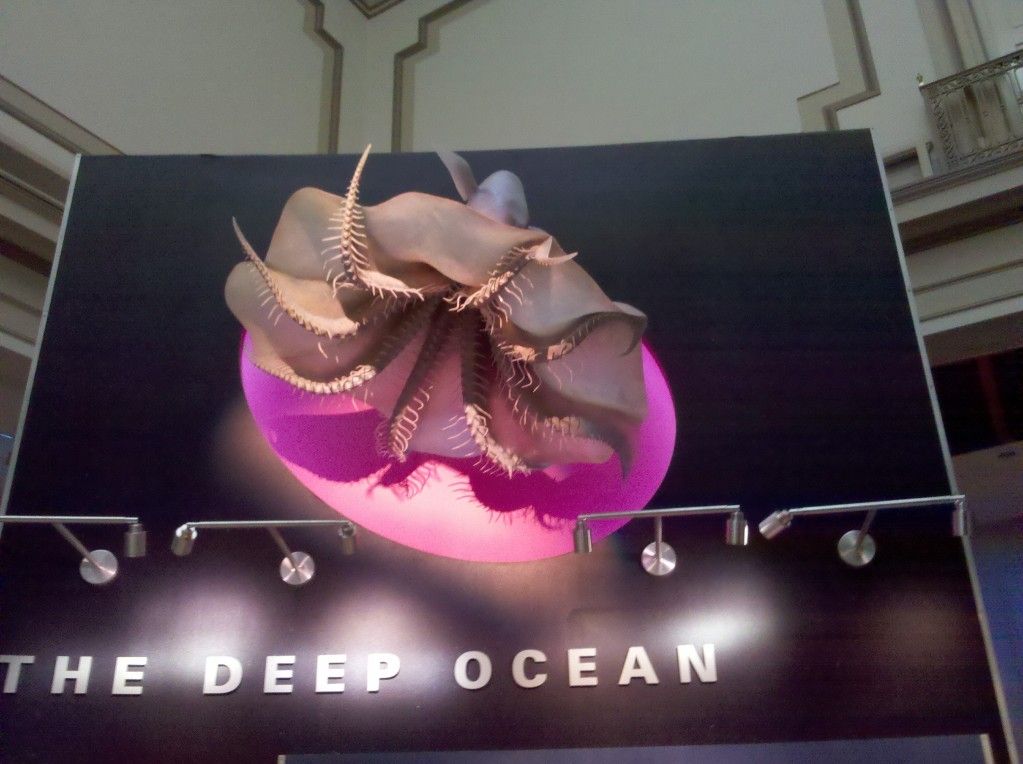
We finally went to the Museum of Natural History and wondered around looking at all of the dead animals.


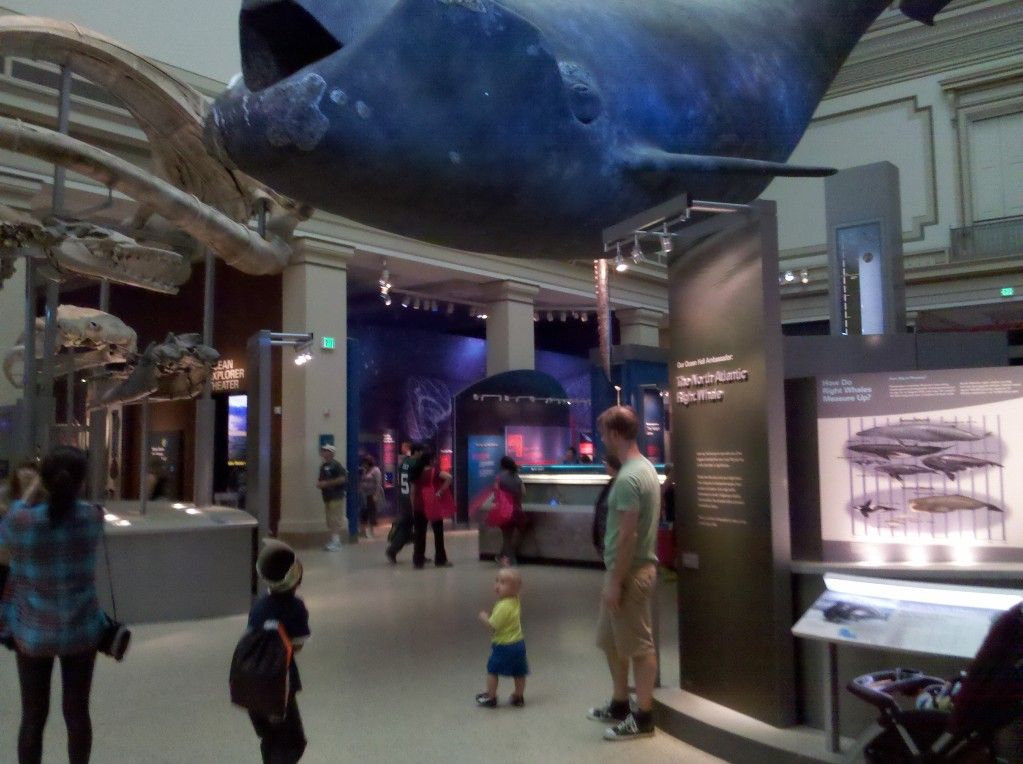
Our boy was quite excited about this whale.

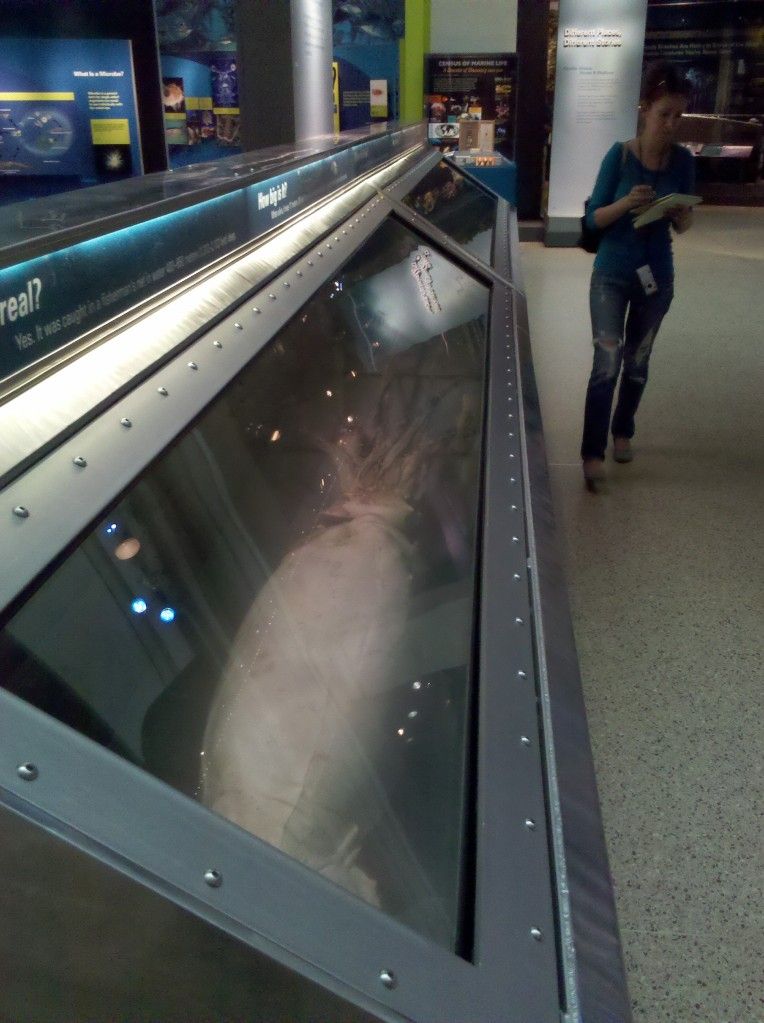
Before the preservation process this giant squid was 44 feet long.
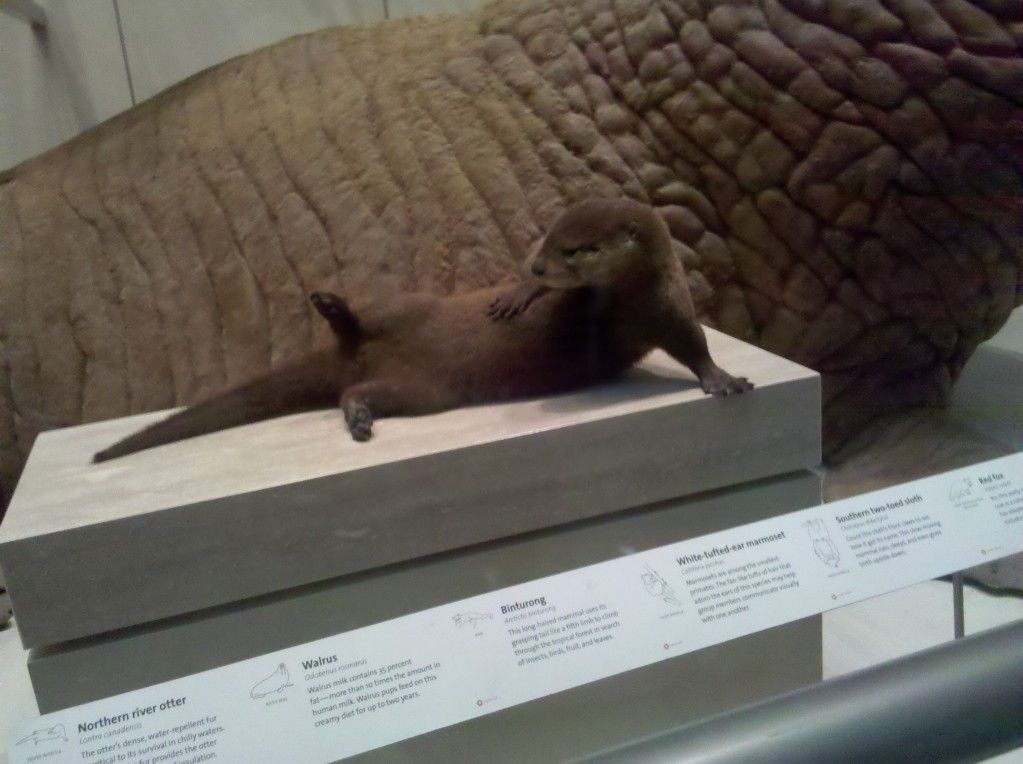
Me no likey.

I want one of these.

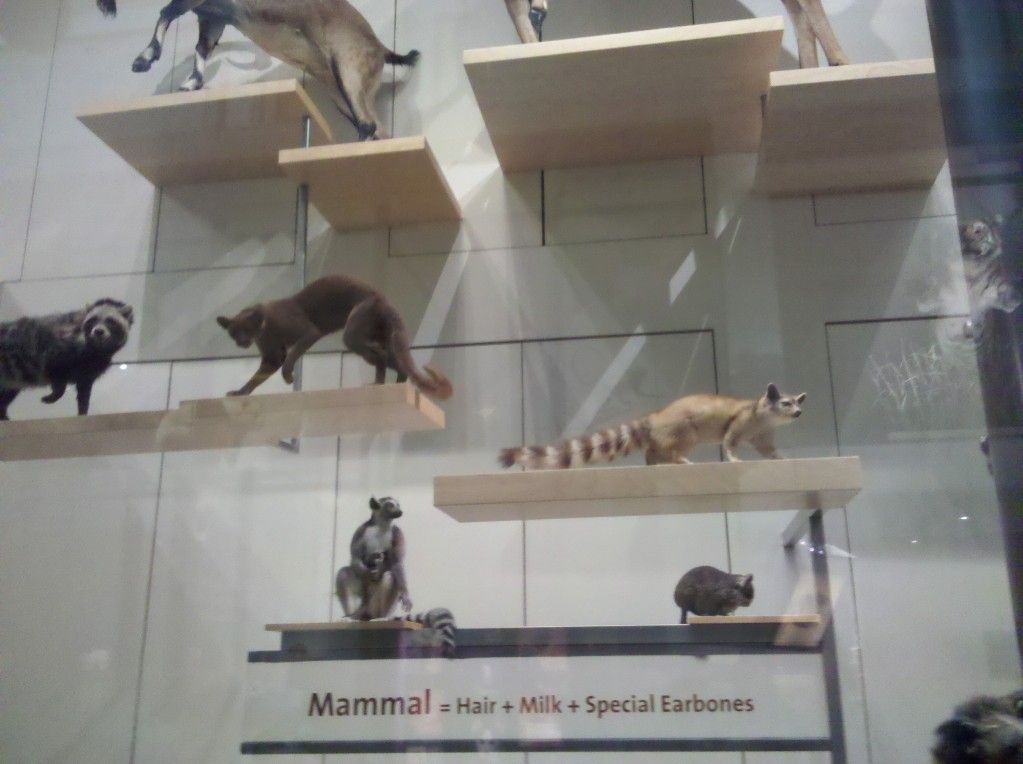
And I want this awesome cat and this ring-tailed thing.

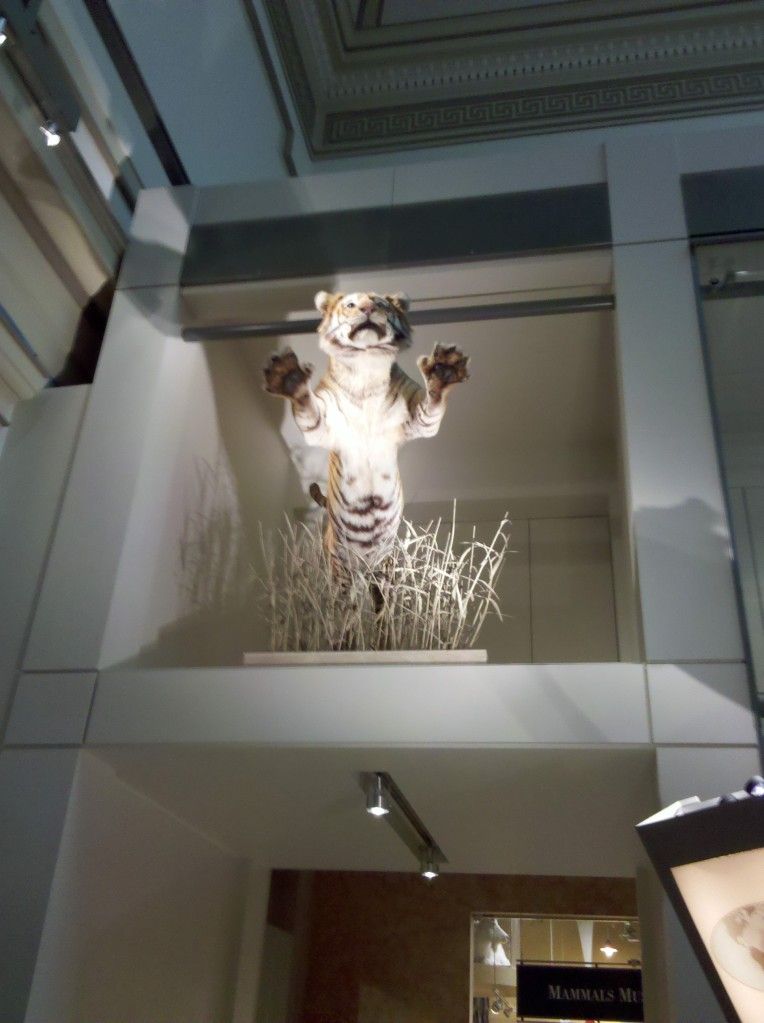
And I want this tiger, which is perfect because I think it wants me.

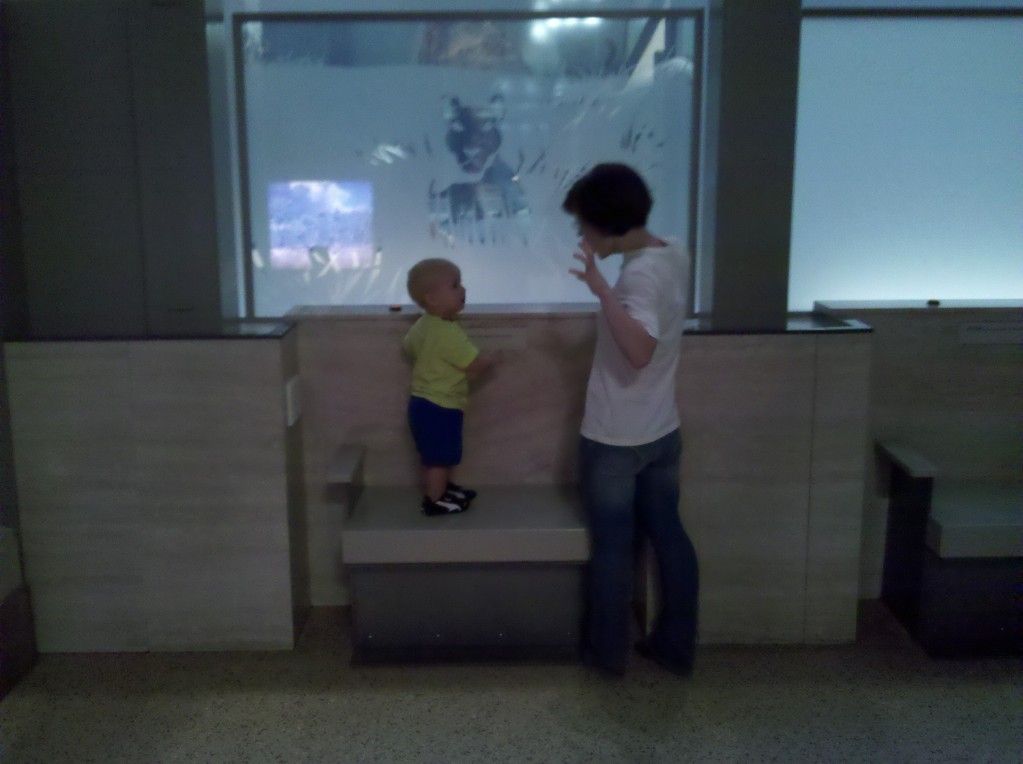
Meredith teaching our boy how to roar.

Our jungle boy

Did you know there is only one floor to the Museum of Natural History? There is when you have a one and a half year old. It's funny what children do and don't appreciate. For instance, he couldn't care less about a 44 foot long squid, but OH MY GOODNESS A BUTTON! It doesn't even matter what that button does, though if it lights up that's a plus. It's hard when you want to spend time looking at things that you appreciate, but I think that's part of having kids; re-learning to appreciate things we've forgotten about.
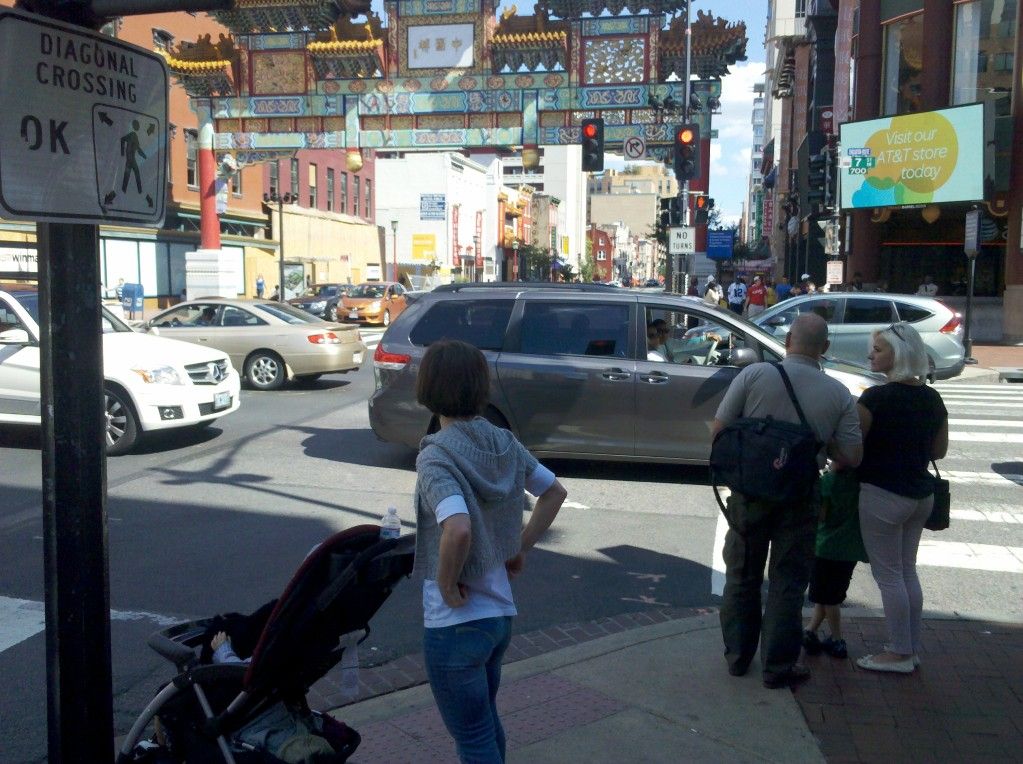

China Town!

After the museum we headed over to China Town to find something to eat. This is as close as we got. We were hungry and realized we weren't in the mood for sitting down in a nice Chinese restaurant so we just stepped into a little place called California Tortilla. It wasn't anything to write home about, but it was filling. After that we headed back to the metro.

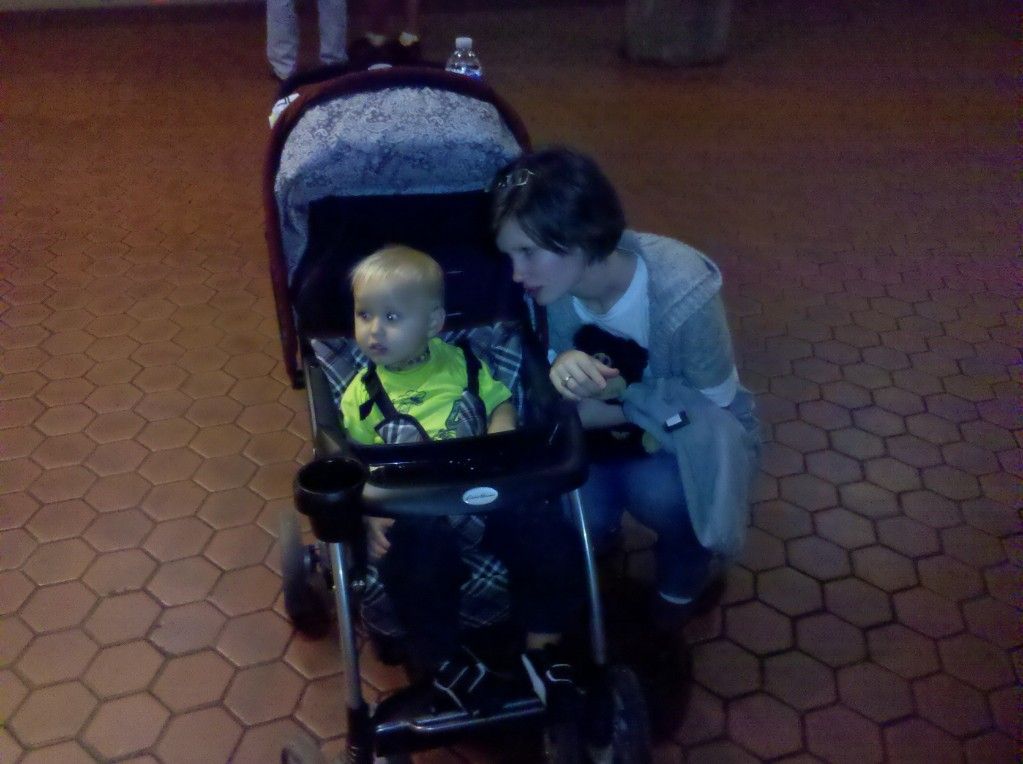
Waiting for the Metro.
 All in all it was a wonderfully full and enjoyable day. Now we'll have to start planning where to go next...

Friday, September 21, 2012

Progress Report (WIP Part 6)


And it's a sword!

Seriously. Check it out.


Everything is shaped correctly (or at least correctly enough for me). It's sanded. The crossguard, blade, and handle are all screwed together and glued in place. Everything fits together properly.


The remaining to-do list consists of painting it and wrapping the handle in leather. The Leather shouldn't be too hard. I see that going fairly well considering that I've worked with leather before and the handle is pretty simple and straightforward. The painting is the part that makes me nervous. I've never done anything like this before. I want to paint it so that it looks like metal and I'm not sure if that just means picking up some metallic silver paint or if there's more to it. I've heard some people seal it in some way so that the wood grain doesn't show through when they paint it but I'm not sure if that's some special process or just primer. I also want to highlight the detail work in the crossguard and pommel in black, but I don't want it to look like I just painted it black.

Anybody done anything like this before? Any advice on techniques? Paint types? Sealers?