
I measured in from the edge of the brim, drew a nice line around with a pencil, and used my handy-dandy heavy duty scissors to trim it off. Let me just say, if you thought it was hard to cut through leather, holy bananas is it hard to cut through two layers of it.
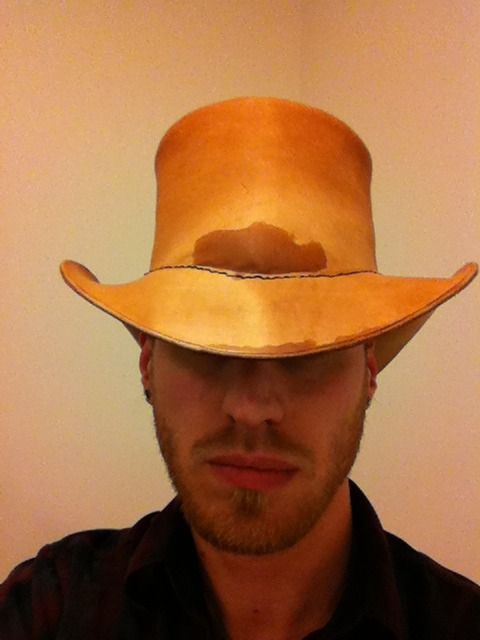 |
| The dark spot on the front is where I was fixing a spot where it had formed wrong. I just wet it and wore it for a little bit. |
Ta-Da! Significantly less western. Here's a before shot for comparison:

So with the brim formed, glued, and trimmed all that was left was to burnish the edge.

That tool with the wooden handle is an edge trimmer, and the blindingly white disk next to it is an edge burnisher. It's just a plastic disk with a smooth groove all the way around it. Basically you use the trimmer to round the edge. Then you wet the edge of the leather and rub that groove along it really hard and fast and it smooths out the edge really nicely.
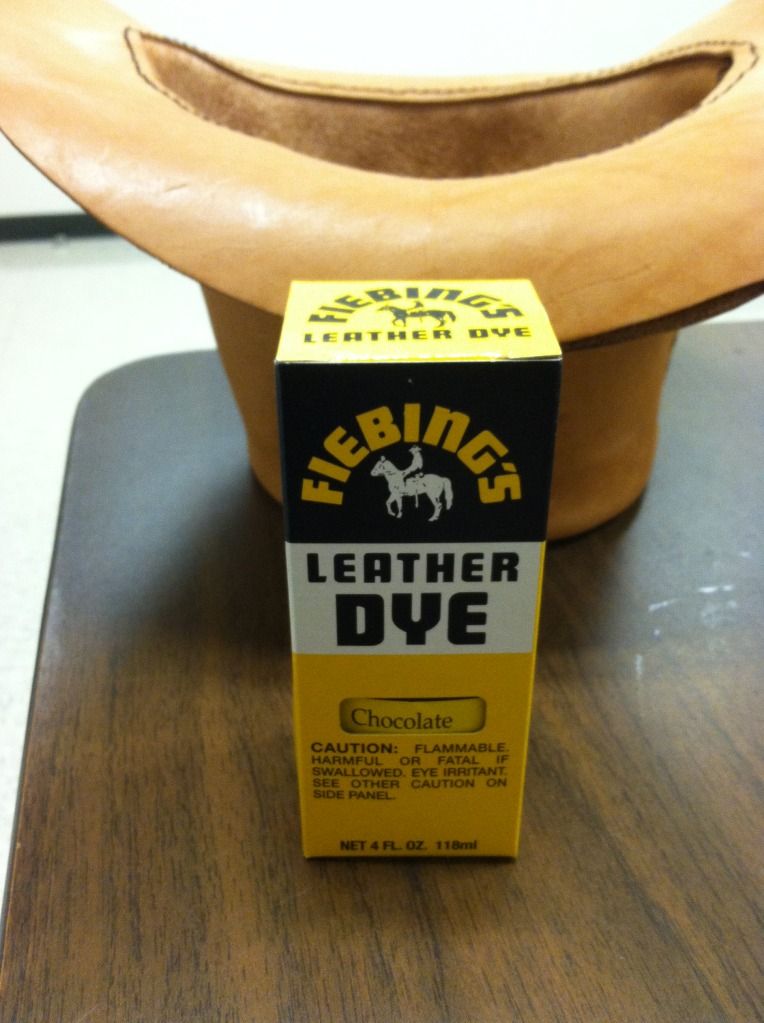 |
| This dye is the I think someone at the leather dye factory has a sweet tooth. |
The next step was to dye it. I happened to already have this dye on hand. It's a little darker than I wanted but I figured I'd go for it and see what I ended up with.
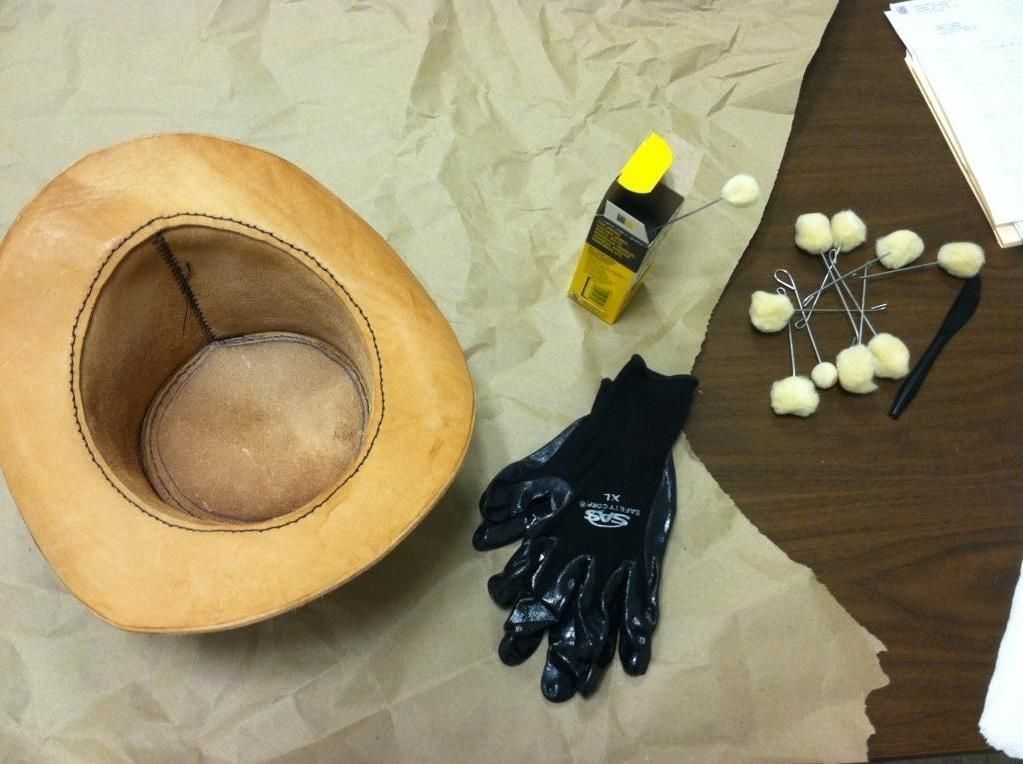 |
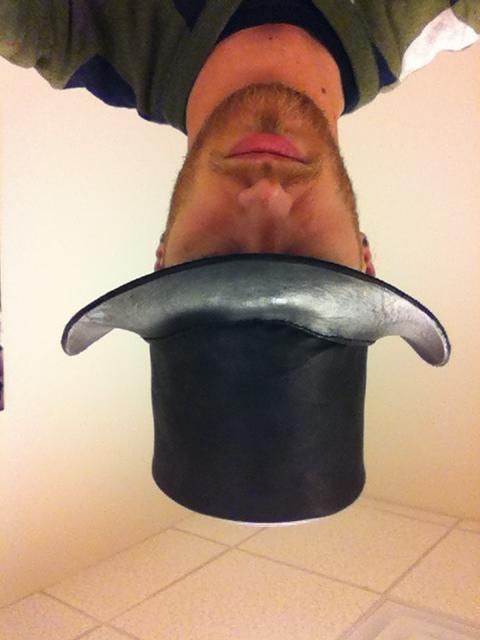
| I have tried everything to get this picture to orient itself properly, but apparently it nothing I can do about. |
Rubber gloves are an absolute necessity, unless you don't care about having stained hands for days and days. I used these little daubers but you can use a sponge or a rag or whatever you have lying around that you don't care about completely ruining.
There's a trick I learned the first time I stained leather. When I say that, I mean that someone told me to do it a certain way, I ignored their advice, and surprise surprise it turned out they were completely right and I felt stupid. Keep a rag or some paper towels on hand when you're dying leather. As you spread it, use the rag to wipe the excess off and kind of buff it as you go. This helps keep a nice even stain and avoid streak marks. For my first project I thought it looked fine and I wouldn't need to do it, but as it dried streak marks that I hadn't even realized were there suddenly became apparent. I will never make that mistake again.
Dun da da daaa! (that supposed to be one of those trumpet announcement sounds, just go with it)

Isn't it beautiful?!

I think so.

I left the inside undyed.


Technically it's not finished. It still needs to be sealed, but that's all. The sealer is a clear coat that you put on once it's stained to protect the leather from being damaged. It also helps keep the stain from rubbing off onto other things (thankfully our old apartment never noticed the spot where I hung my pauldron in the closet and it left a mark on the wall). You can get leather stain that is supposed to have a sealer in it but I've used that kind before and it's not really all that good. You apply a couple coats just like the stain. I'm planning on doing a matte coat because I don't want my hat to look really glossy.
There you have it!
For parts 1-4:
The Beginnings: A Top Hat
Leather Top Hat: Stage 2
Leather Top Hat: Stage 3
Leather Top Hat: Stage 4
Looks great bro... perfect for the new business
ReplyDeleteHaha, thanks man. I'm getting there.
Delete