Friday, February 8, 2013

Leather Top Hat: Stage 5

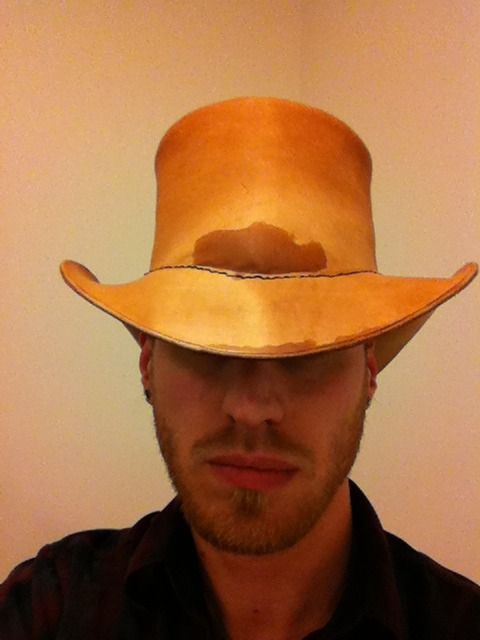
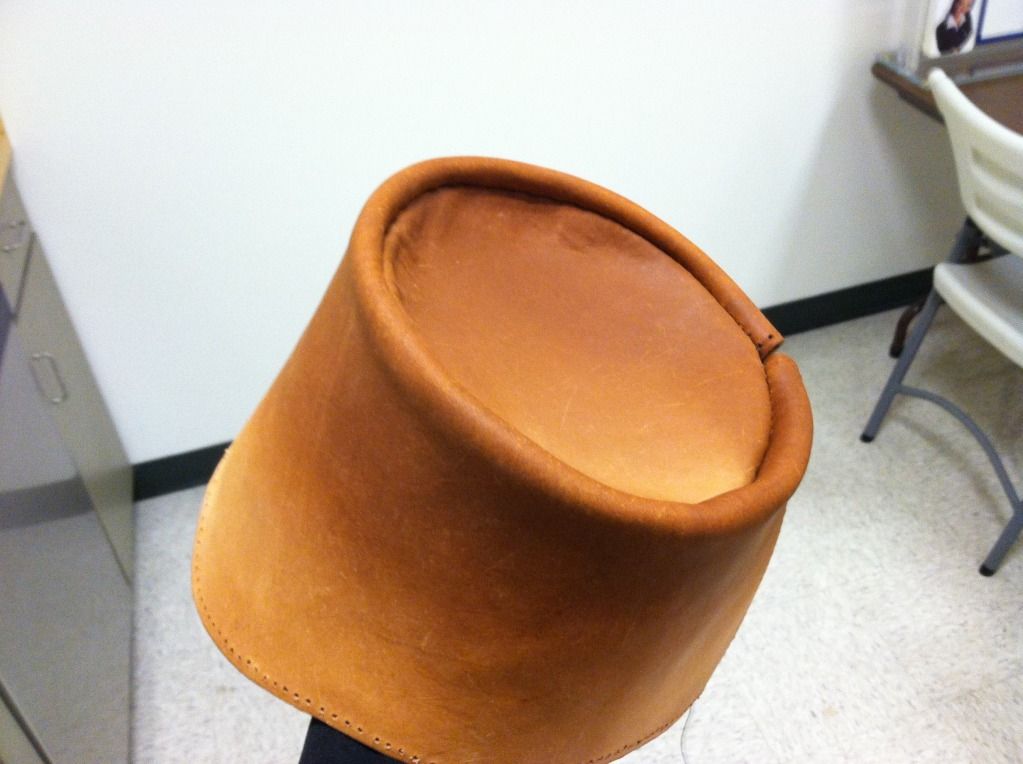
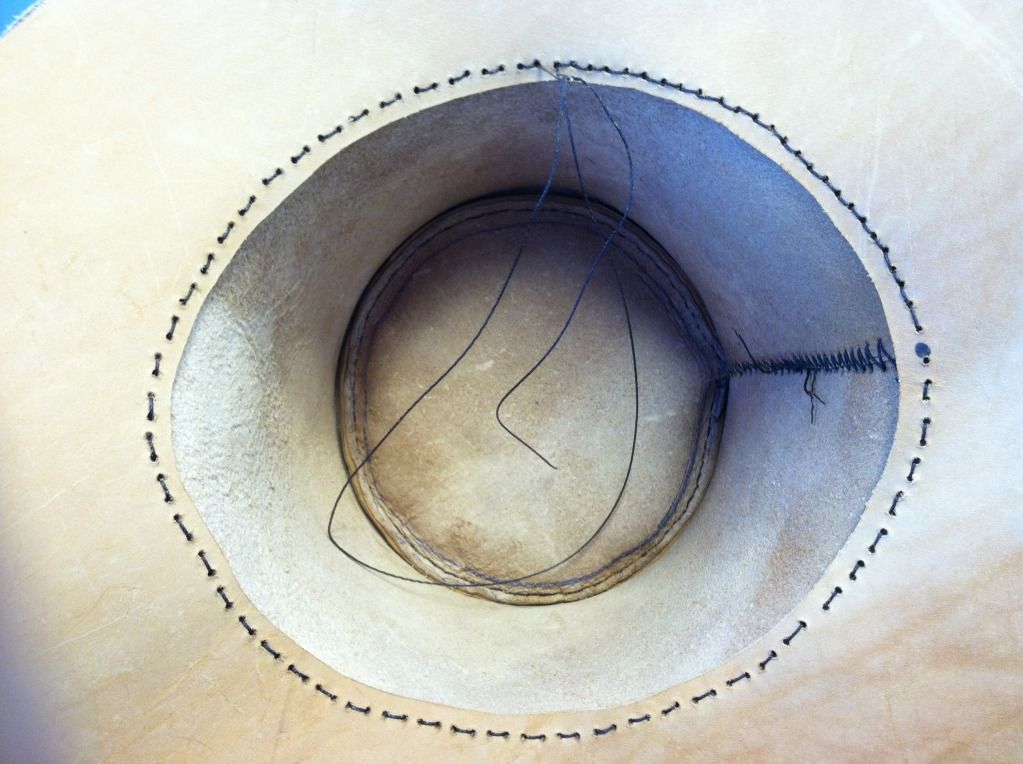
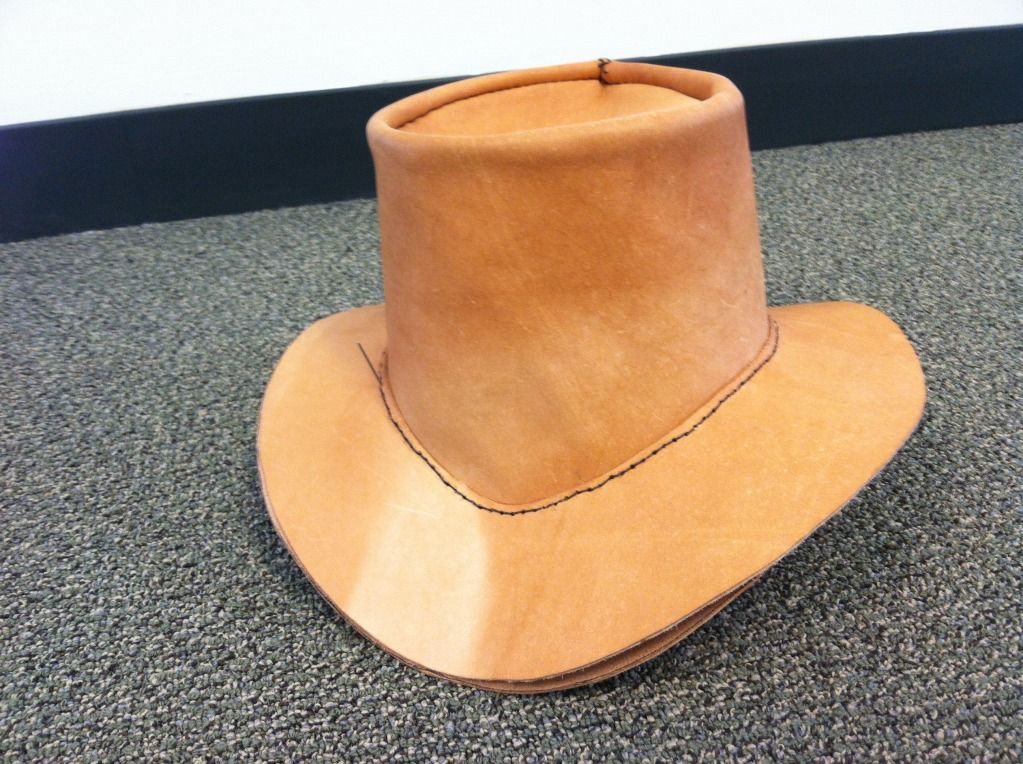
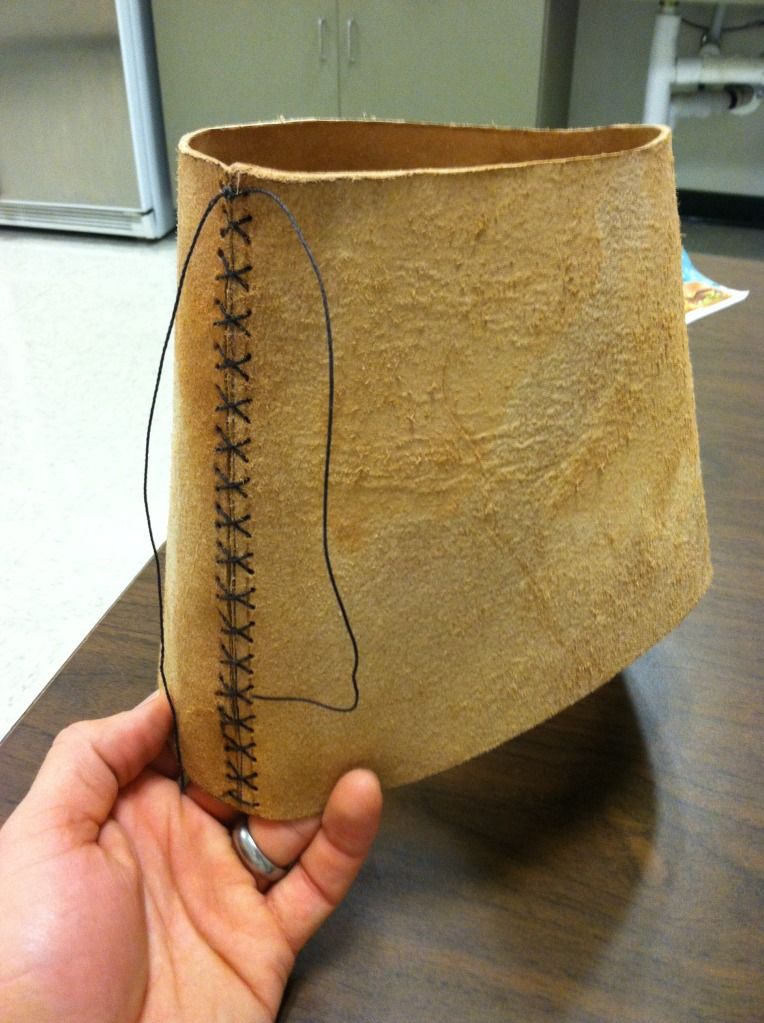
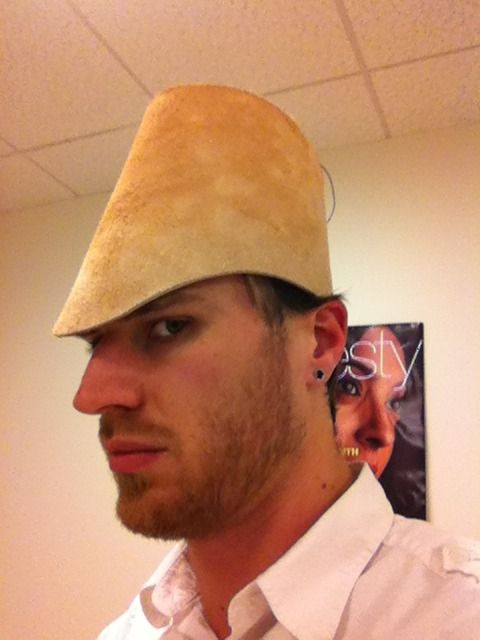
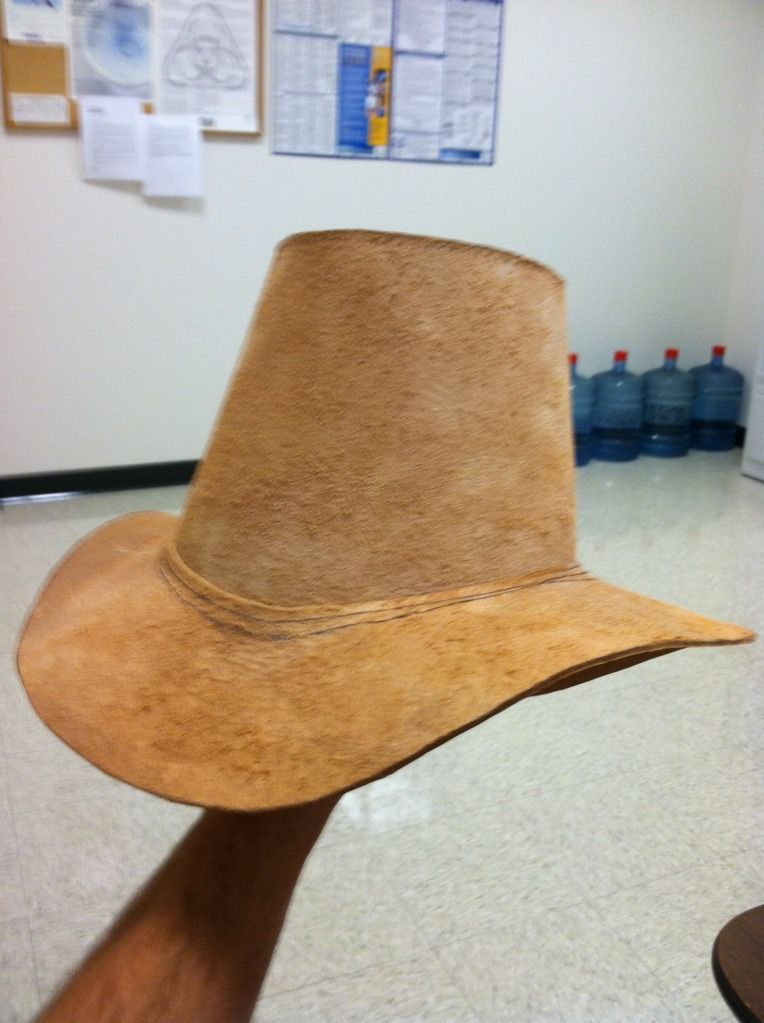
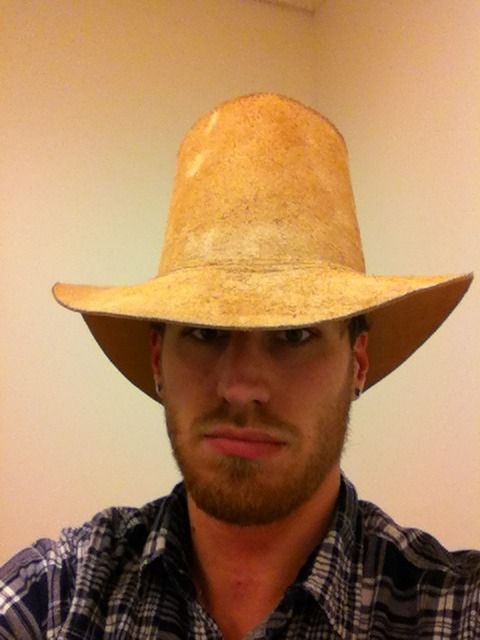
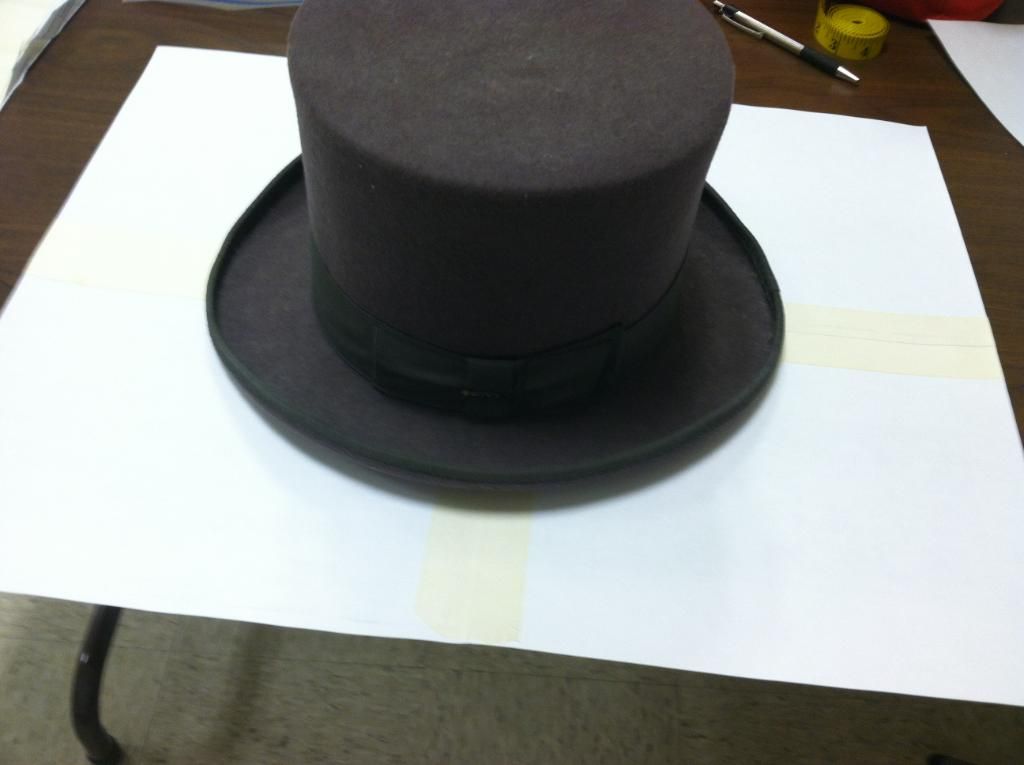
So the next step in the process was to make this hat look less "western". All I had to do was trim the brim down and it looked a lot better.


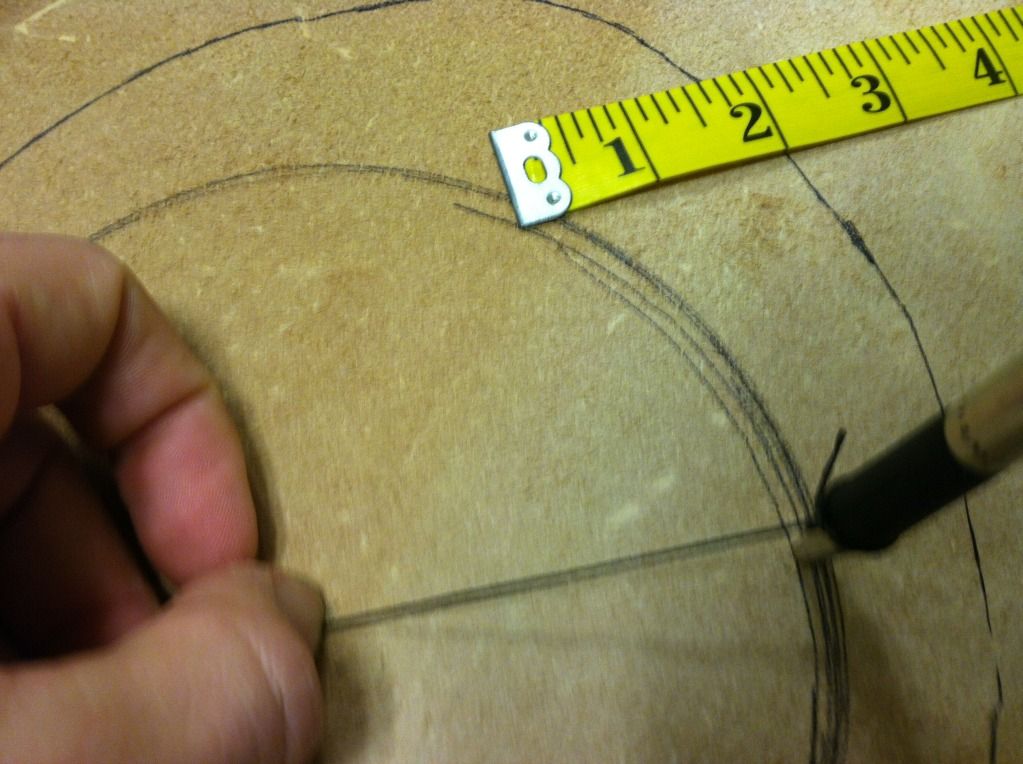
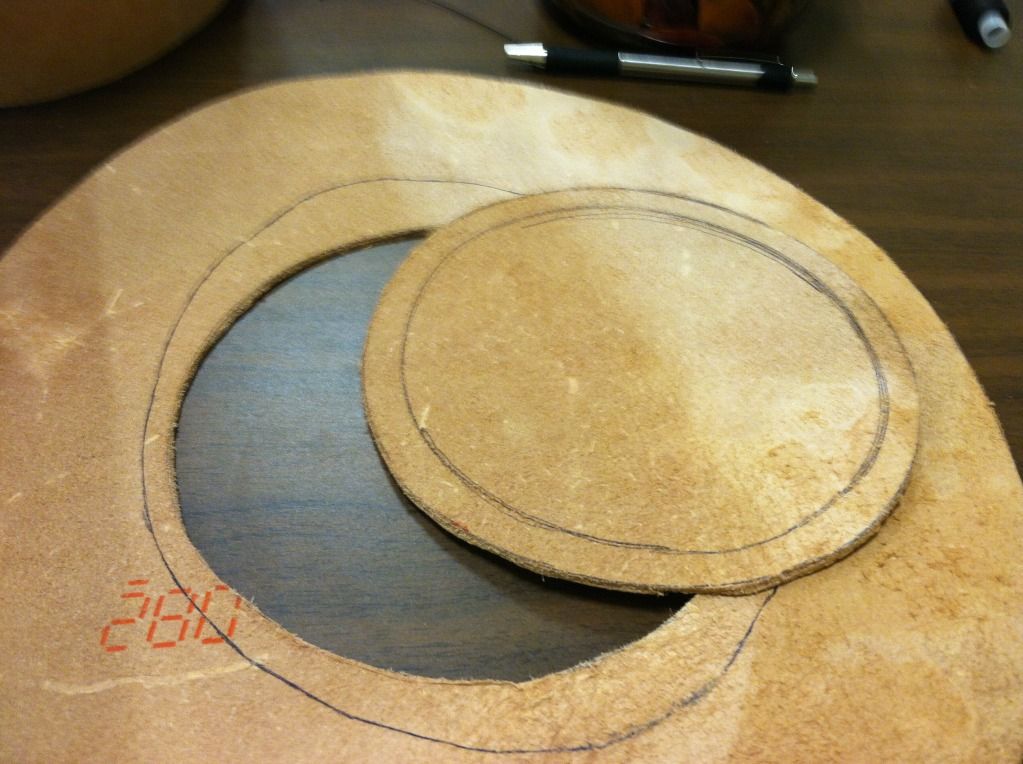
I measured in from the edge of the brim, drew a nice line around with a pencil, and used my handy-dandy heavy duty scissors to trim it off. Let me just say, if you thought it was hard to cut through leather, holy bananas is it hard to cut through two layers of it.


The dark spot on the front is where I was fixing a spot where
it had formed wrong. I just wet it and wore it for a little bit.


Ta-Da! Significantly less western. Here's a before shot for comparison:


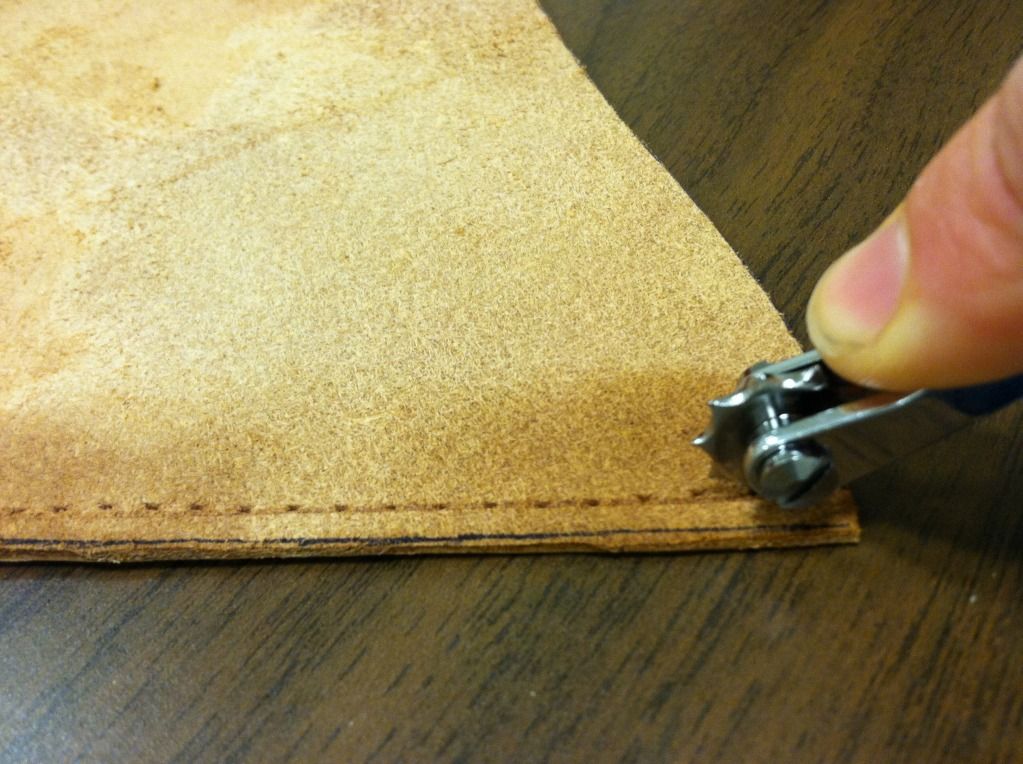
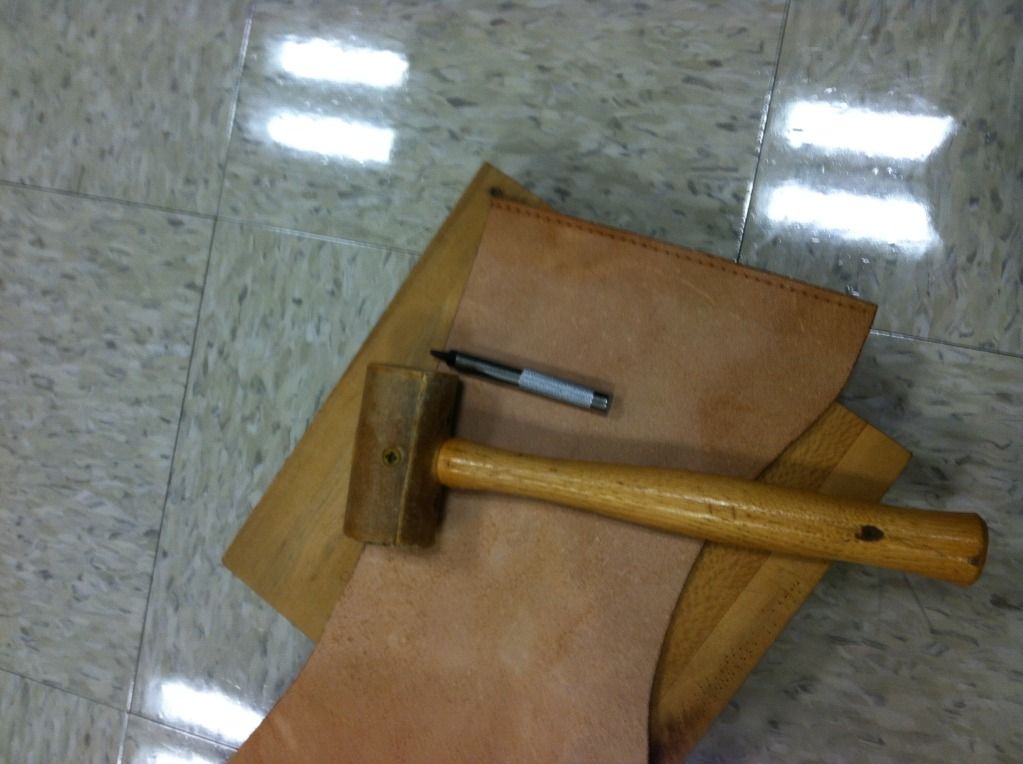
So with the brim formed, glued, and trimmed all that was left was to burnish the edge.


That tool with the wooden handle is an edge trimmer, and the blindingly white disk next to it is an edge burnisher. It's just a plastic disk with a smooth groove all the way around it. Basically you use the trimmer to round the edge. Then you wet the edge of the leather and rub that groove along it really hard and fast and it smooths out the edge really nicely.


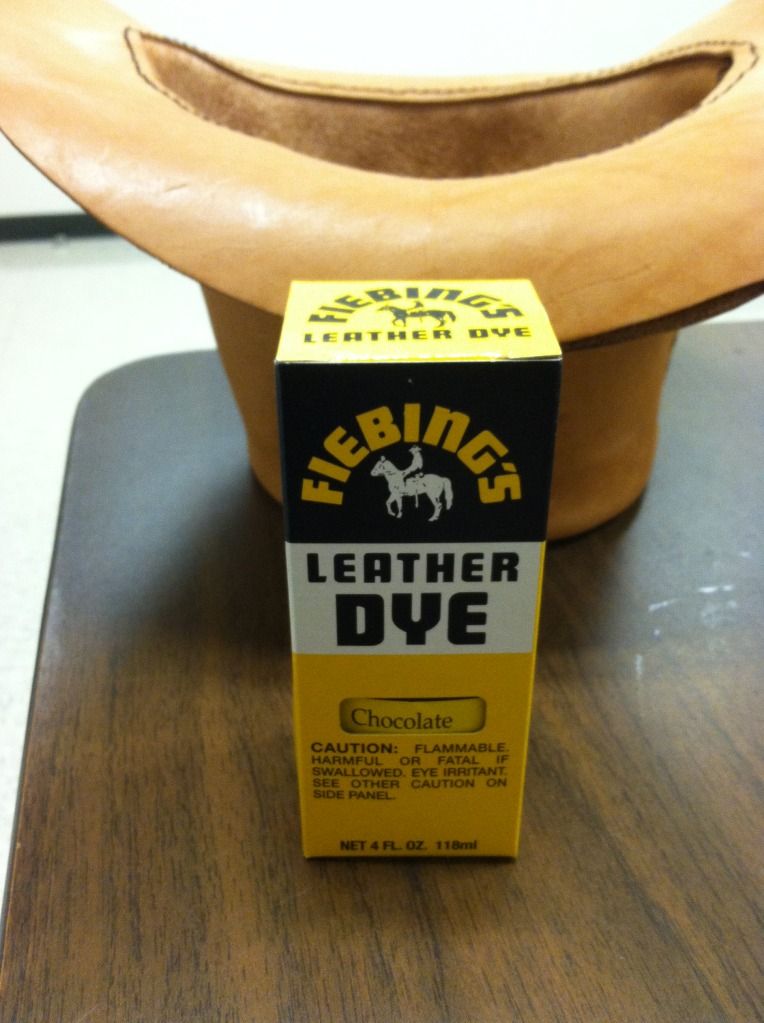
This dye is the flavor color of chocolate. I have another one called cherry chocolate.
I think someone at the leather dye factory has a sweet tooth.


The next step was to dye it. I happened to already have this dye on hand. It's a little darker than I wanted but I figured I'd go for it and see what I ended up with.


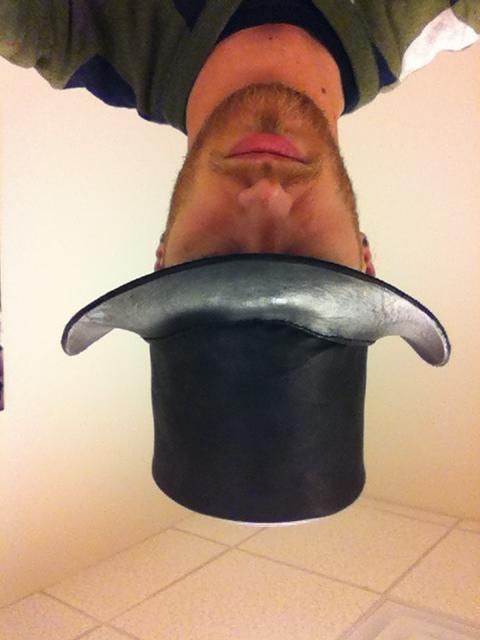
I have tried everything to get this picture to orient itself
properly, but apparently it wants to be up on its side like
this has decided it wants to be squished and there's
nothing I can do about.

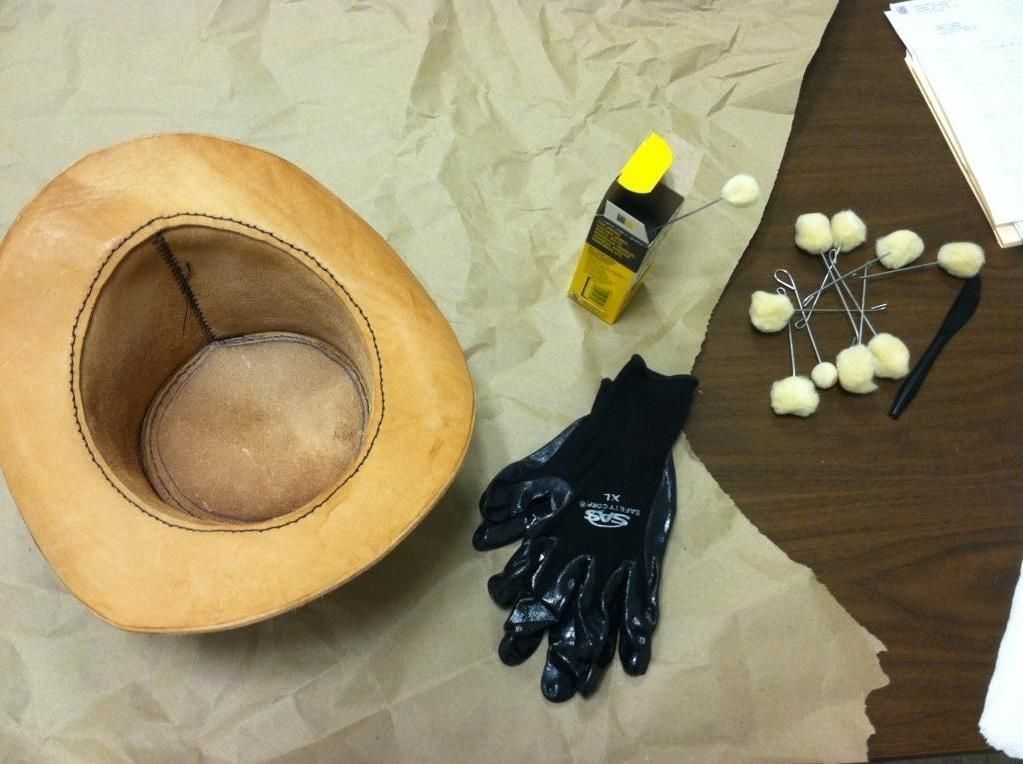
Rubber gloves are an absolute necessity, unless you don't care about having stained hands for days and days. I used these little daubers but you can use a sponge or a rag or whatever you have lying around that you don't care about completely ruining.

There's a trick I learned the first time I stained leather. When I say that, I mean that someone told me to do it a certain way, I ignored their advice, and surprise surprise it turned out they were completely right and I felt stupid. Keep a rag or some paper towels on hand when you're dying leather. As you spread it, use the rag to wipe the excess off and kind of buff it as you go. This helps keep a nice even stain and avoid streak marks. For my first project I thought it looked fine and I wouldn't need to do it, but as it dried streak marks that I hadn't even realized were there suddenly became apparent. I will never make that mistake again.


Dun da da daaa! (that supposed to be one of those trumpet announcement sounds, just go with it)


Isn't it beautiful?!


I think so.


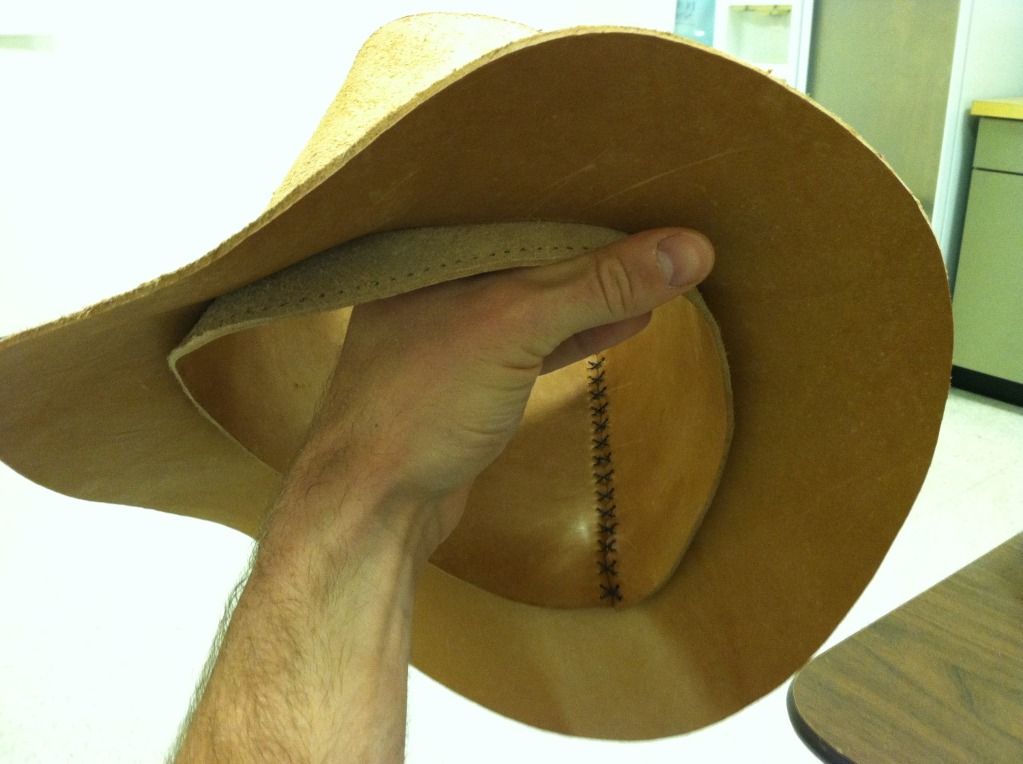
I left the inside undyed.


Technically it's not finished. It still needs to be sealed, but that's all. The sealer is a clear coat that you put on once it's stained to protect the leather from being damaged. It also helps keep the stain from rubbing off onto other things (thankfully our old apartment never noticed the spot where I hung my pauldron in the closet and it left a mark on the wall). You can get leather stain that is supposed to have a sealer in it but I've used that kind before and it's not really all that good. You apply a couple coats just like the stain. I'm planning on doing a matte coat because I don't want my hat to look really glossy.

There you have it!

For parts 1-4:
The Beginnings: A Top Hat
Leather Top Hat: Stage 2
Leather Top Hat: Stage 3
Leather Top Hat: Stage 4

Wednesday, February 6, 2013

Perception Isn't Key

I'm going to get a little philosophical today.

I've been thinking a lot about perceptions recently, what other people think about us and what we can do about it, and I've come to some personal conclusions that I want to discuss here.

I have an almost constant running dialogue with myself in the back of my mind. It's where I discuss what people think of me and the impact of what I say on how they view me. I'll let you in on a little secret, one of my best talents is not letting on how insecure I am and how much I actually care about what people think of me. Once I passed on some interesting information I saw on the Oprah show with the immediate disclaimer of "I wasn't watching it or anything! I just happened to be flipping channels when it was on and something caught my attention." While my disclaimer was true, my need to share that disclaimer was obviously because I didn't want anyone to think that I might be the type of guy who watched the Oprah show. Frankly, I don't know what type of guy that is, but I didn't want to be thought of as him. (Side note: notice I still felt it necessary to point out that the disclaimer was true?)

The funny thing is that no matter what I do, I cannot control what other people think of the things I say and do. In fact I can't really control half of what I think of the things others say and do. I don't mean that in some sort of "I'm helpless against my own prejudices and opinions" kind of way. I mean that in the way that the tiniest of things contribute to how I think and perceive people. For instance, you now know that I have seen at least some of the Oprah show and thought it was valid enough to not only form my own opinion on, but also share it with other people. Chances are, without you even meaning to let it, that bit of information will change the way you think about me in at least some small way. Maybe not a lot, but little bits of information here and there are all that's needed.

So, as guardians of our persons, how do we deal with the issue of what people think and perceive about us? To my mind there are only three things to be done about this problem and only one of them is actually a viable option.

Option #1: Languish over what people might think of you.
No really, this is an option that many people choose. You can torture yourself thinking of what you did and what you could have done differently, or what the other person might think of you because of what you did. You can go over endless options of ways it could have gone better and then go over how that better option would make the person think better of you. (I've done this) Or you might stew over the fact that people don't see you for "who you really are". Regardless of the exact method of "languishing" the point is you'll get depressed and waste a lot of time doing nothing but wallowing in self pity. The problem with this method is it doesn't change anything.

Option #2: Close all of your doors.
Erect high walls. Don't let anyone know anything about you, or at least not anything that might be "damaging" to your desired image. Of course this will also result in zero real relationships. No one will really know you or who you are. Your true self will never really feel validated (which is what we all really want right?). You'll just feel a false sense of validation for this fake self you've created. The other problem with this method is that regardless of how many doors you close or walls you erect you still can't actually control how people choose to perceive this closed off, fake you. You can create a terrific mask that portrays exactly what you want people to see and nothing that you want to hide, and people will still manage to make assumptions about you that you don't like.

Option# 3: Get over it.
I don't mean this in that way where I insist that you immediately change the way you think, feel, and act. That's just not realistic. It definitely takes time. I don't mean like a couple tries. I mean a long time. I know this because I'm currently on this journey myself. I haven't finished it by a long shot, but I do know that I have a much better handle on it now than I used to. I know that when I'm tempted to fret and worry about what others think of me I at least realize that is what's happening. I know when I'm goaded into arguments to try and validate that my thoughts and opinions are "right" I realize (if not before than at least after) that is what's happening. I also realize that I don't need to argue with someone and lose my peace just so they see things my way and don't think I'm crazy for believing what I believe. I don't mean to say you should never debate or discuss things, but there is definitely a line (for me anyway) where I'm arguing because I am personally wrapped up in the outcome, because I want the other person to see it my way and perceive me "correctly".

The key for me is thinking, "how does someone else's perception of me affect me?" Let me give you a real life example:
I'm driving down the road. I'm going the speed limit. The person behind me decides I'm not going fast enough and crosses yellow lines to pass me.

Option #1: My reaction is something like: What the heck?! I'm going the speed limit douche bag! Of course my reason for this reaction is because now I think that guy thinks I'm just some dumb slow driver who doesn't belong on the road. Now, I'm annoyed that he thinks that.

Option #2: When I see that it looks like he's going to pass me I speed up so he can't/doesn't need to. Ha! That showed him. Now he knows I'm not some granny driver! (Except his actual perception of me is probably that I'm the douche bag)

Option #3: Huh. <- That's it. Why does there need to be anything more? Who cares if that guy passed me? Who cares what he thinks of me? He seems like a dangerous driver and I'm probably better off with him zipping off far away from me. It's definitely better than having him tailgating me. Who cares if he thinks I'm a granny behind the wheel? Besides, aren't I assigning my own perceptions to him by assuming he's being a jerk? Maybe he's rushing to the hospital, trying to get home quickly because his kids are home alone after school, or any number of other reasons.

I know there are far more personal examples, but I think this one was one of the first realizations that I had on this topic and it seems much easier to work up from impersonal situations to the more personal ones.

Well, those are my thoughts. I'd love to hear yours...


Friday, February 1, 2013

Leather Top Hat: Stage 4

Now to the wet forming!

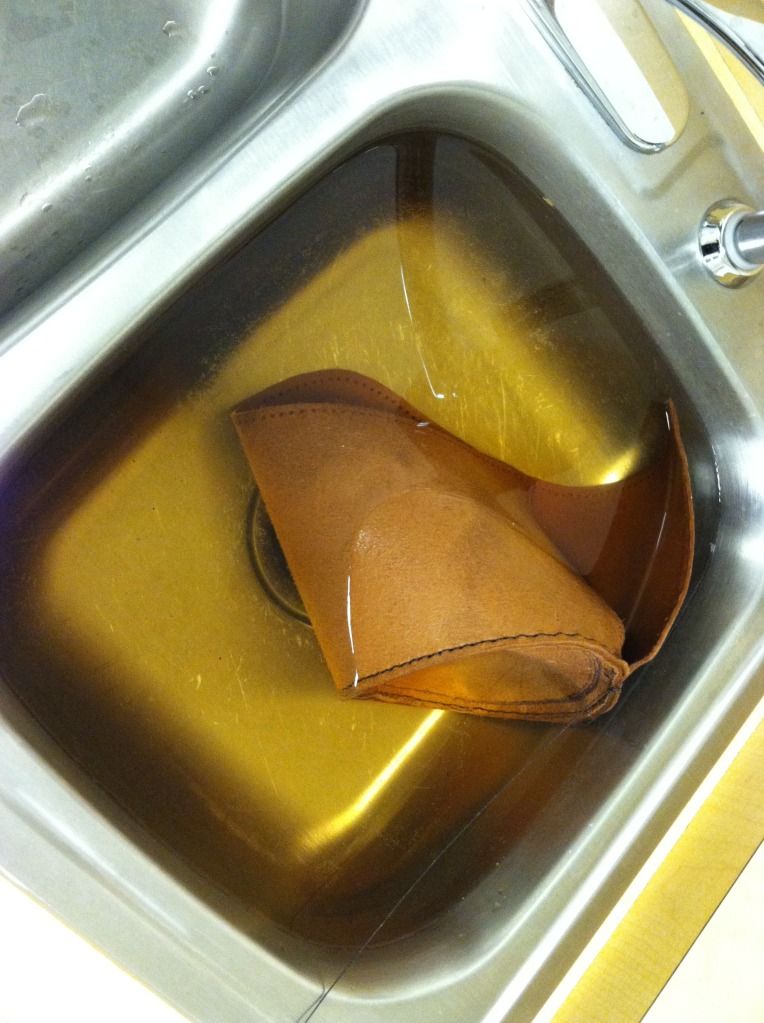
I tried the hat on again to check how it felt. The brim is kind of huge, but I know I'll be trimming that down anyway. Aside from that it's pretty good. I decided to try and form the brim first and then glue the two sides together. I'm not sure if that's the best way to do it but it's the decision I made so, ONWARD! Once it's formed and glued I will trim it down. It might be hard to cut in that form, but it's already going to be hard enough to keep it shaped correctly anyway.


I set it in some water again, this time only submerged just past the brim, and set to building something to hold it in place so it would take the right form.


I had to make a box to get the right size. I folded the sides one way and the front and back the other way. Then I used my travel mug and some paper towels to keep the crown from buckling where I was forming the brim. That's the most use that mug has gotten in months.


Trying it on again. It's still drying in the picture as you can see by the different shades of leather. I waited for it to dry and then glued the brim layers together. I didn't take another picture because frankly it doesn't look much different.

*thinks about it. snaps a picture*

Okay, fine. Here's a picture of the hat with the brim glued.


I had hoped to have the whole thing done this week, but that clearly didn't happen so I'm moving my expected completion date to the end of next week.

Until then, maybe I'll come up with some other things to talk about... Have a great weekend!
Friday, January 25, 2013

Leather Top Hat: Stage 3

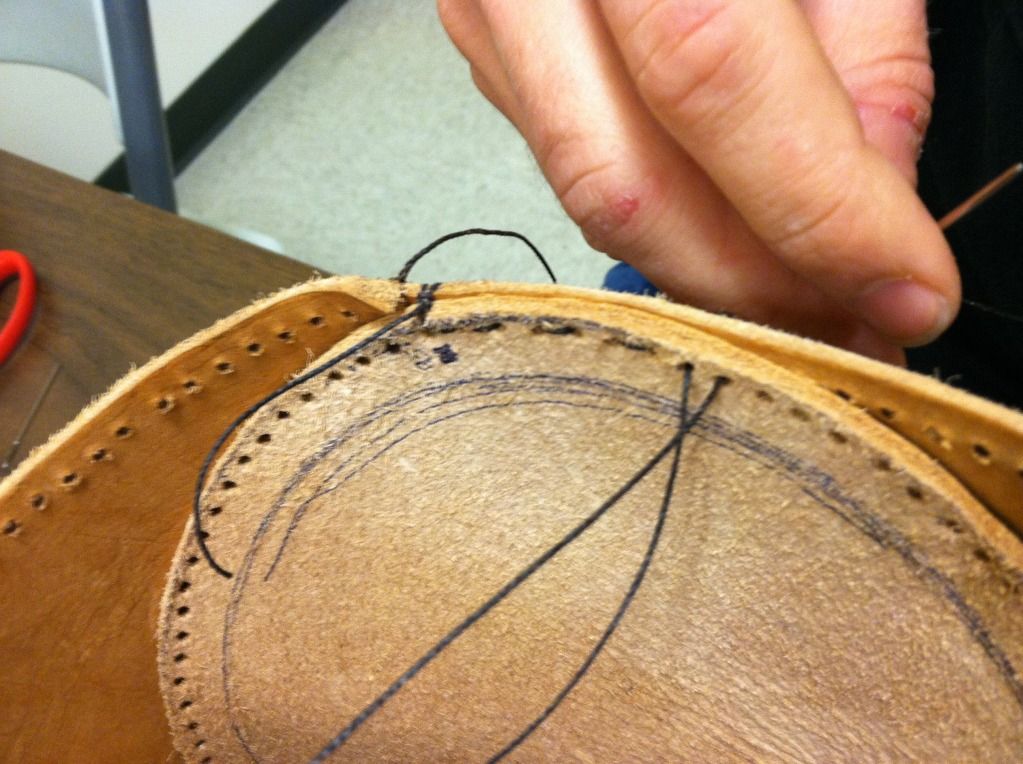
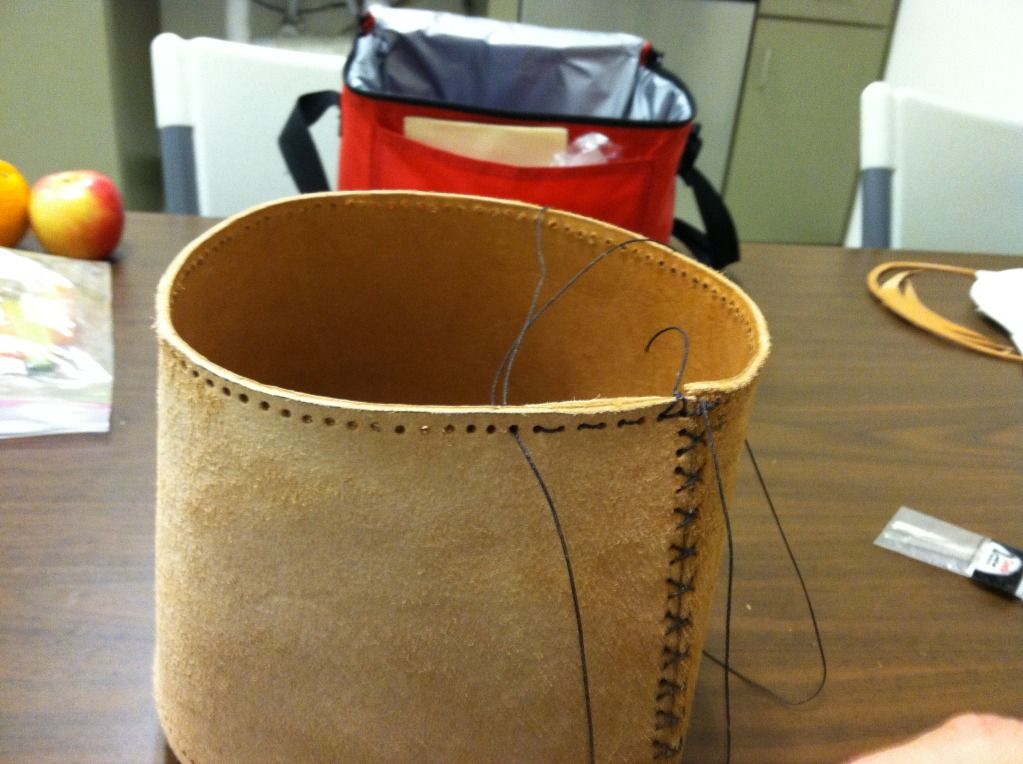
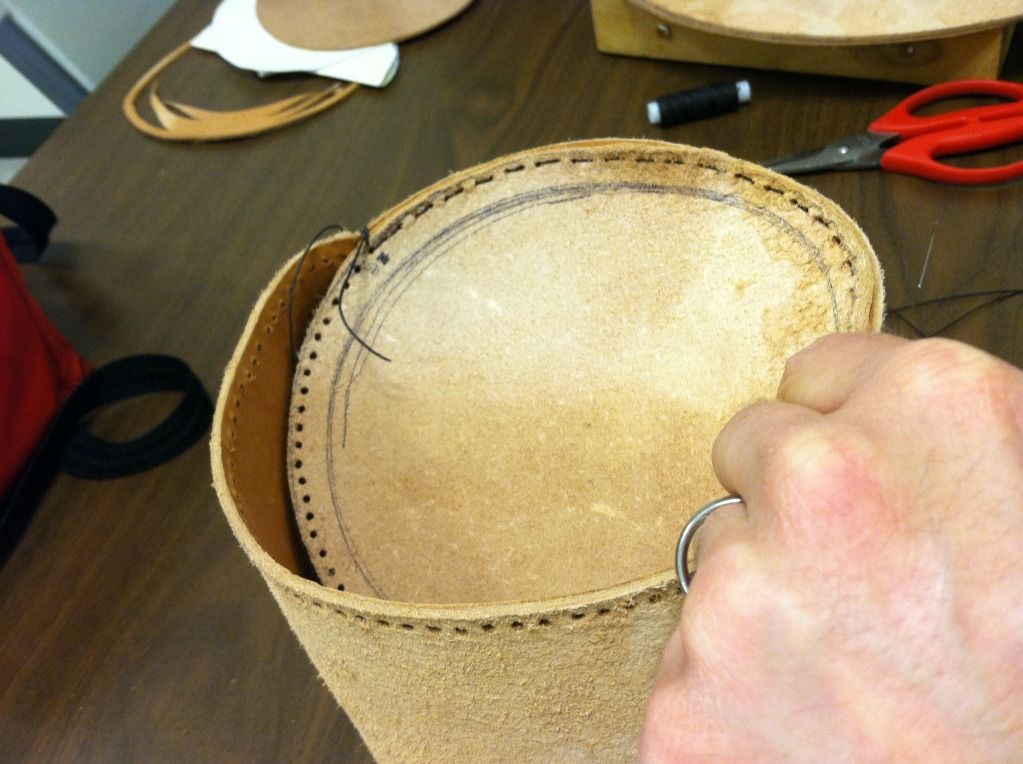
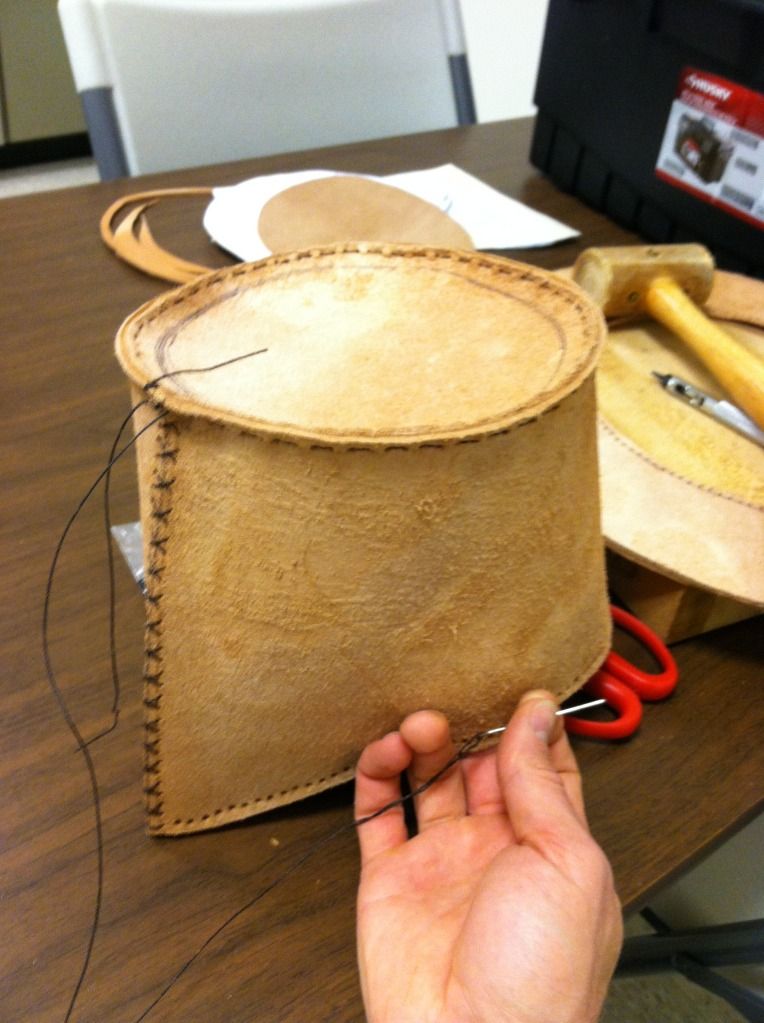
Alright, this is the stage where it actually looks like something resembling a hat. Well, I guess it looked like a hat last time, but it looked like an inside out hat that wasn't actually attached together. So now that I've punched all 600 and some holes I can flip it inside out and sew it together.


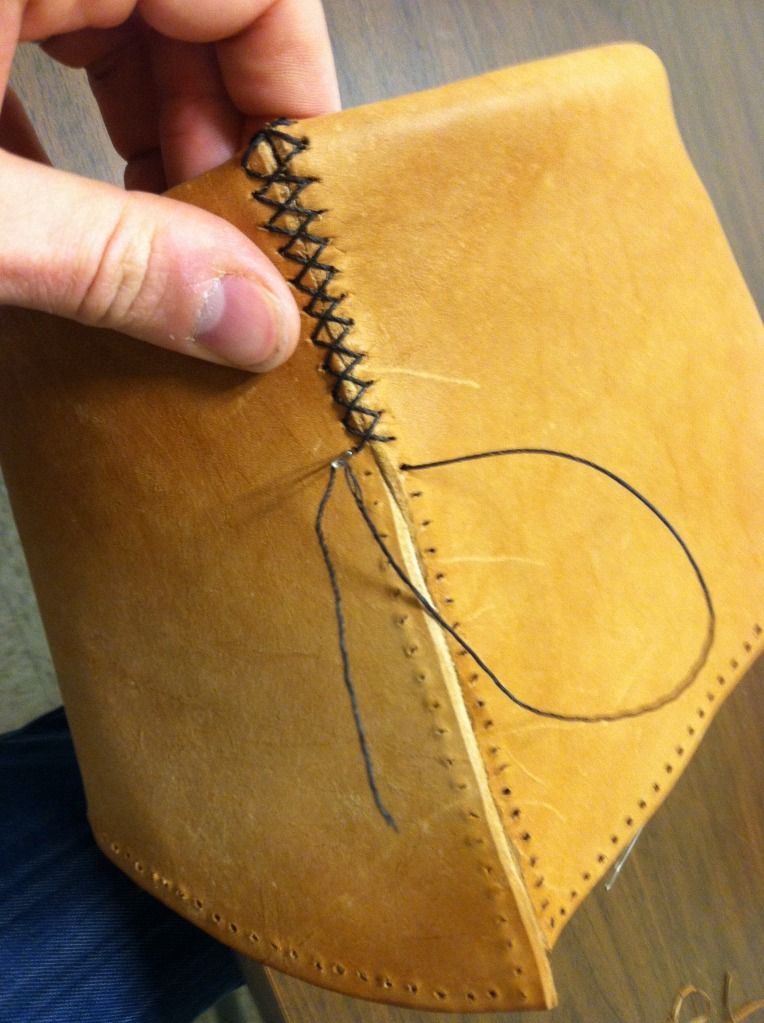
Sewing the top on.


Outside view.


Halfway around.


Done! Goofy looking, but done.


Soaking to soften up so I can flip it right side out.
I undid the back seam stitching to make it easier to flip.


Flipped and drying.


Stitching the back up again.


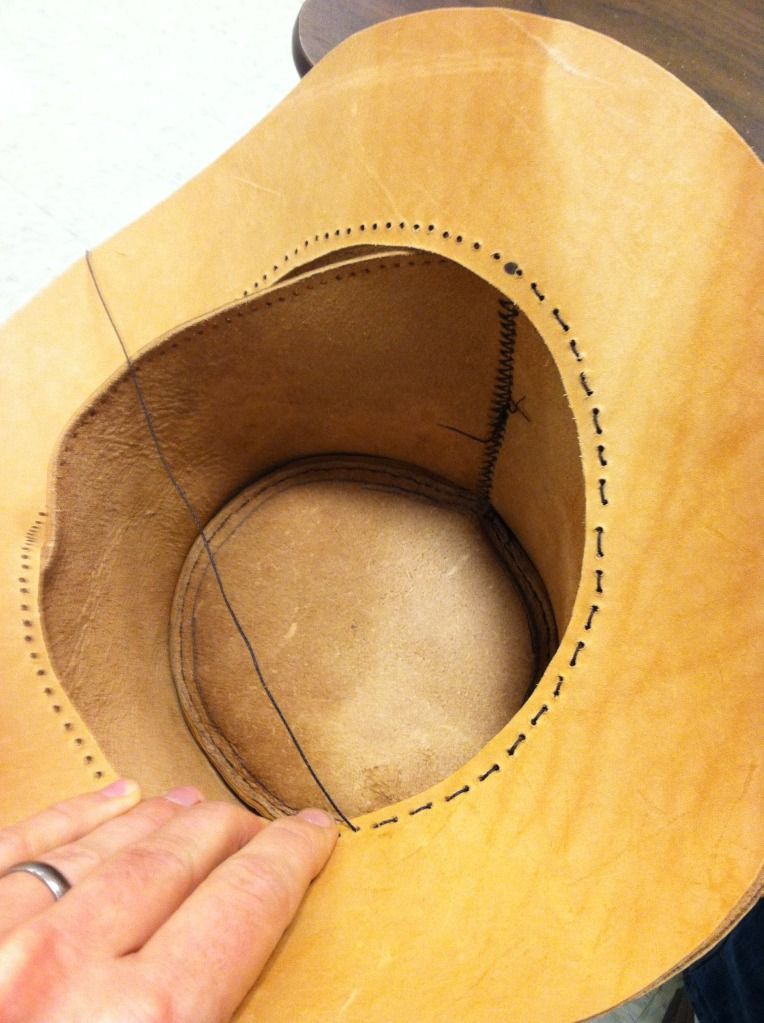
Stitching the brim on. The crown goes in between the two brim pieces.
It's very important not to miss any holes.


The second pass around gives it a solid stitch line.


Ta-Da!


I actually have a couple more inches to stitch, but my thread ran short. So once I finish that I can wet-form the brim, glue it together (or vice verse, I haven't decided which order to go in yet), and stain it. Then I can add embellishments or call it done. I'm legitimately surprised at how quickly this has gone.

Friday, January 18, 2013

Leather Top Hat: Stage 2

So now that I have the pieces cut out I can move on to the next stage of my leather top hat. Assembly!


I started marking holes for stitching with my handy dandy, uh, hole marker,
or stitch marker, or whatever.


Started punching holes. I've been counting the holes because I have to match them up.
All told there's about 600 holes to punch. I've done about 300 so far.


Stitched up the crown. The crown and top have to be sewn together
inside out and then flipped back right side out.


Checking the fit. I did this at pretty much every stage so
I wouldn't get way into it and then realize it didn't fit.


This is my make-shift compass so I could cut a circle for the top.


I cut the top out of the oval that I would be cutting out of the brim so there was less waste


Pulled the brim down over the crown to test the fit. It didn't fit the first time
so I cut the hole a little bigger until it fit. I'd rather have to widen the hole
three times and it fit then widen it once and it's too big.


All of the holes marked and ready to be punched.


Another test fit. I might end up trimming a lot of the width off the brim
but I'd rather have it too big and trim it down then have it be too small.


Everything seems to be going well so far. My to do list is now:
-Punch remaining holes in brim and both crown halves
-Stitch top to crown
-Flip right side out
-Stitch brim to crown
-Glue brim halves together
-Wet form the brim to the correct shape
-Stain and seal

I think that's it. There will probably be numerous tweaks as I go along so who knows whether or not that list will remain accurate.

Tuesday, January 15, 2013

The Beginnings: A Top Hat (WIP)

Alright, I am making a leather top hat.

Or at least I'm making a variation of a top hat. I'm aiming for something that I would term a "stylized coachman's hat" and if you look up coachman's hat and are unsure of what I mean, I mean more like the tall one rather than the short one. I have to say that this might be turning out to be one of my more ambitious projects. Not because the actual process is so unbelievably hard, but because I'm making my own pattern and this means I have to make sure everything fits together correctly and fits me properly, as well as just looking good in general. And I'm only giving myself one shot, because I only have enough leather for one, and I don't want to buy more.

Because this might end up being rather long I think I'm just going to post pictures with short captions of what's happening rather than going through everything that I did in a more detailed fashion. If I think something looks confusing I might elaborate, or you can ask me anything in the comments.


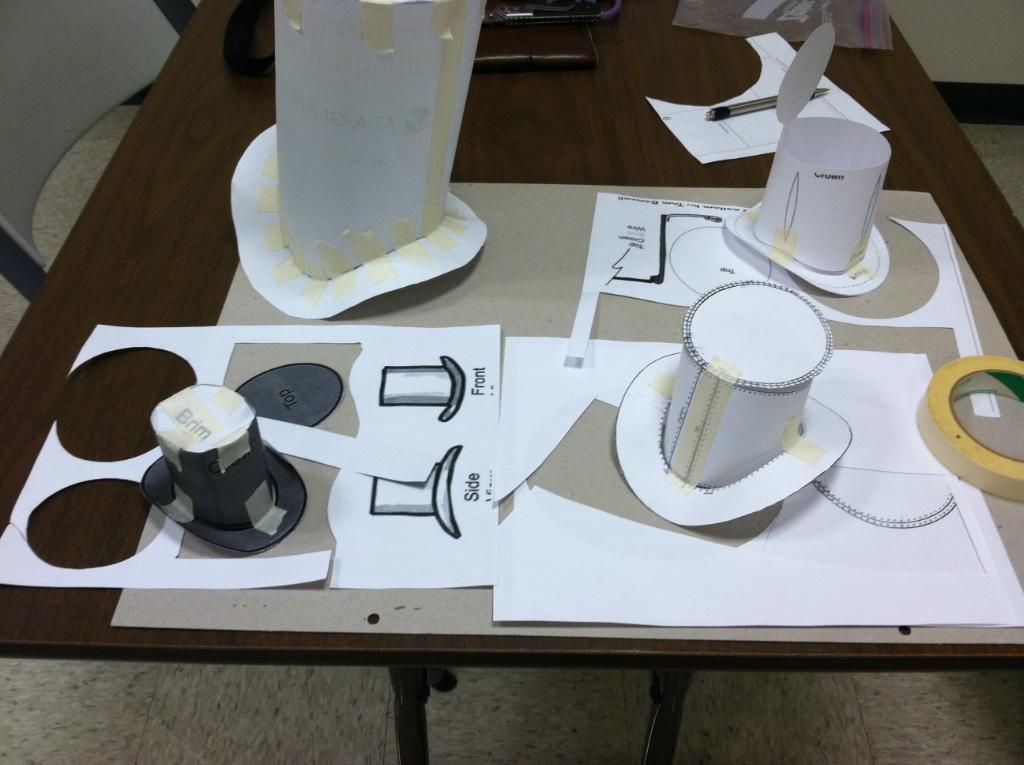
Playing with some patterns. I just winged the top left one. The others are from Tom Banwell and here.

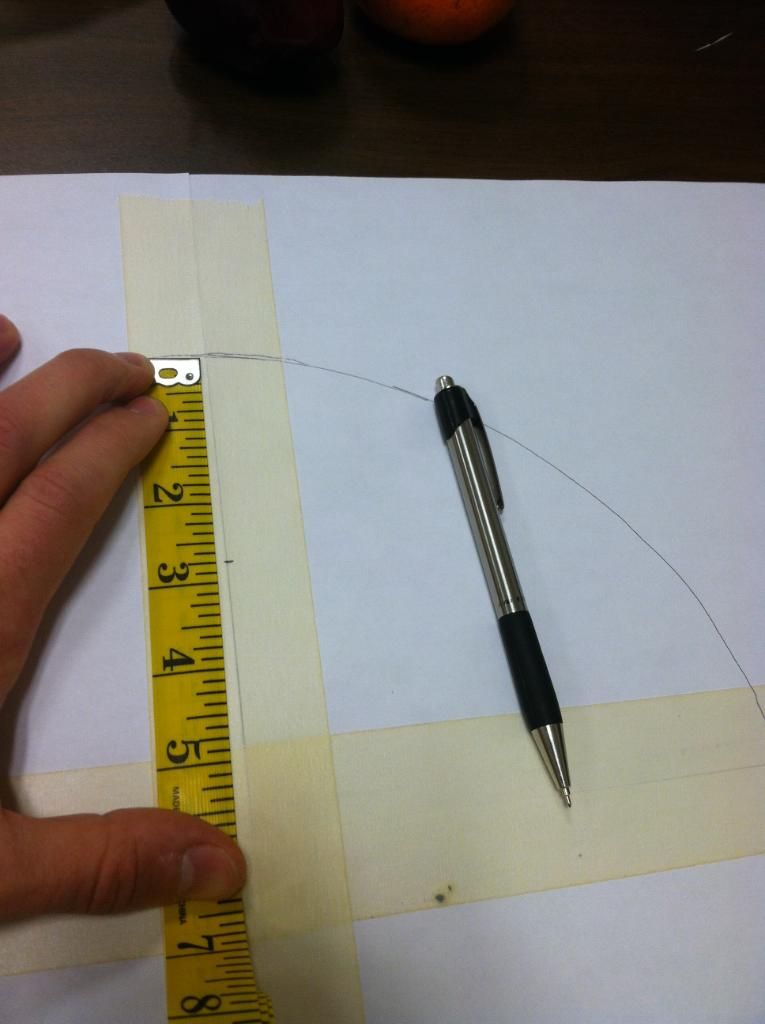
Tracing the size of the brim from my other top hat.


Figuring the inside size.

Starting on the Crown.


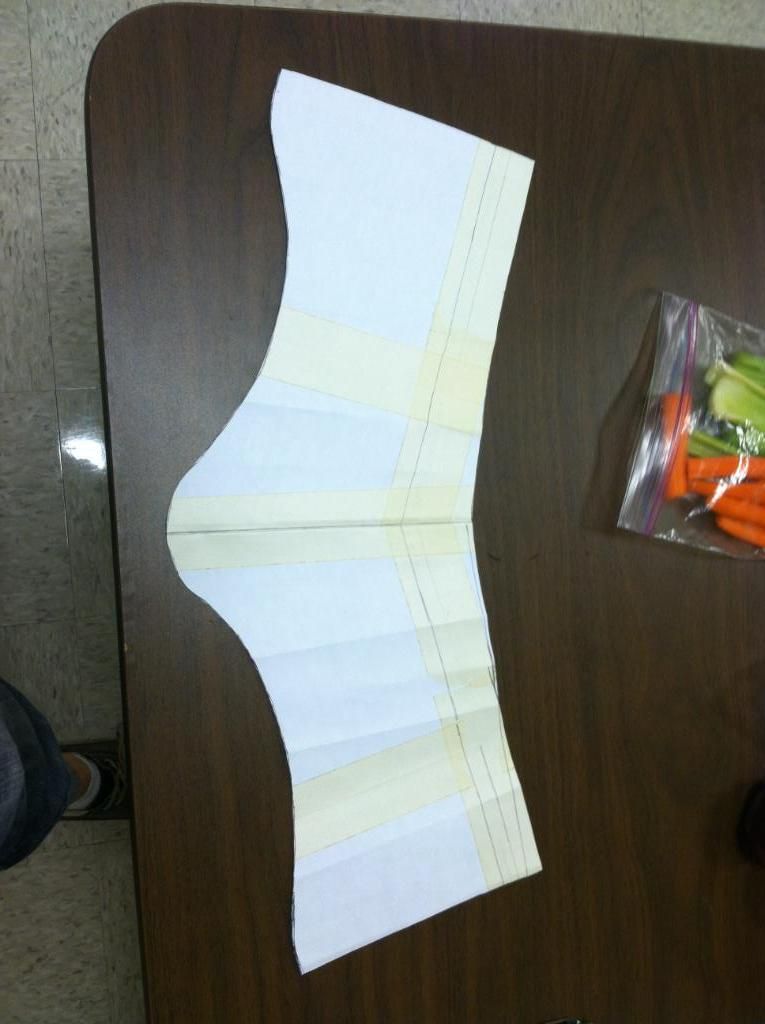
The moment I realized I was making a pattern for underwear.
 

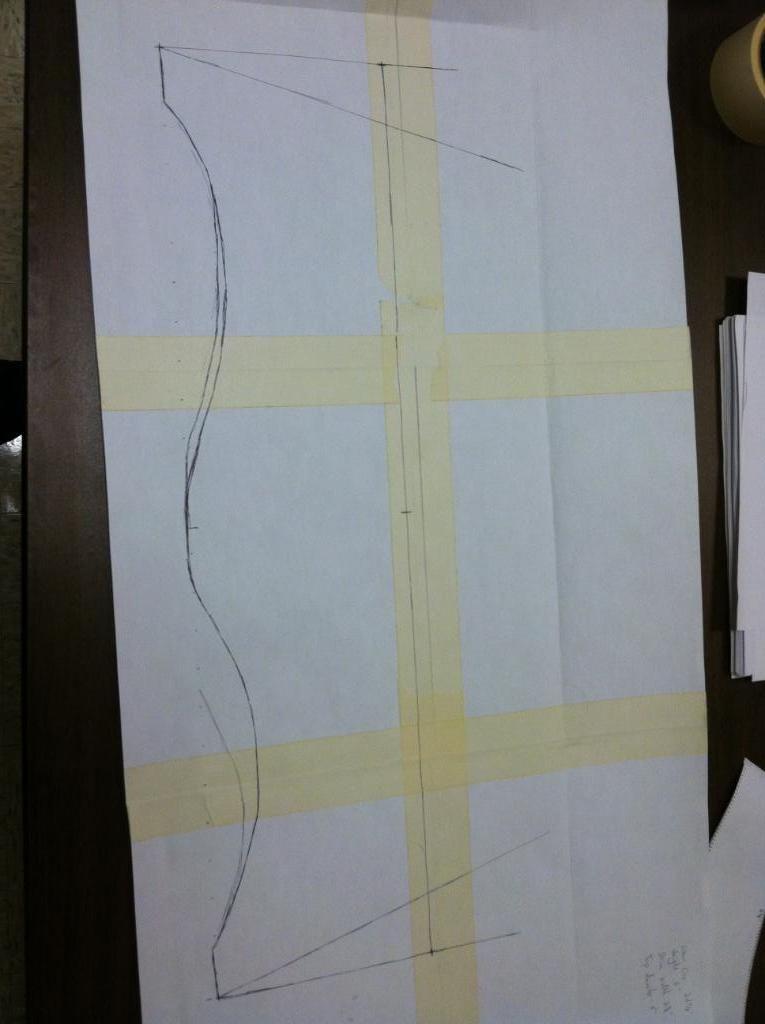
The finished pattern.

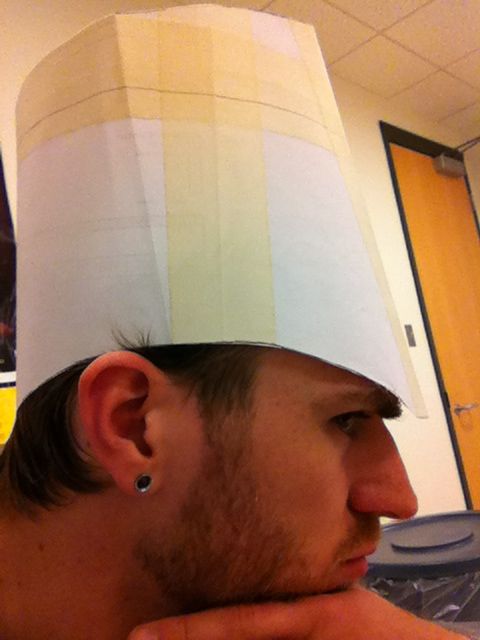
Checking the fit. Need haircut.

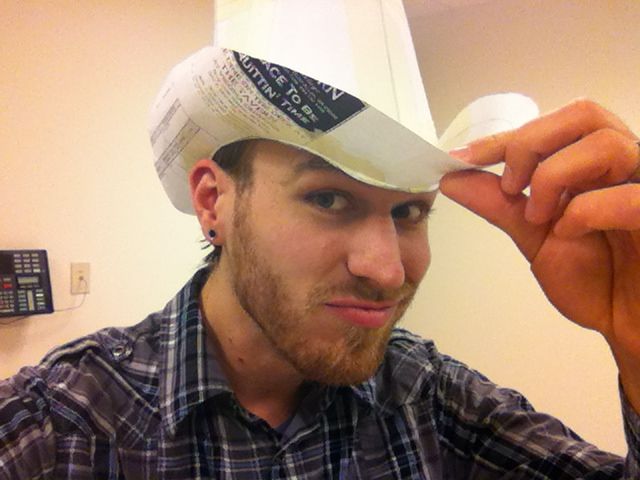
Attached brim to crown. Looks suspiciously like cowboy hat. Hope I can fix that.

Disassembled the pattern for tracing.

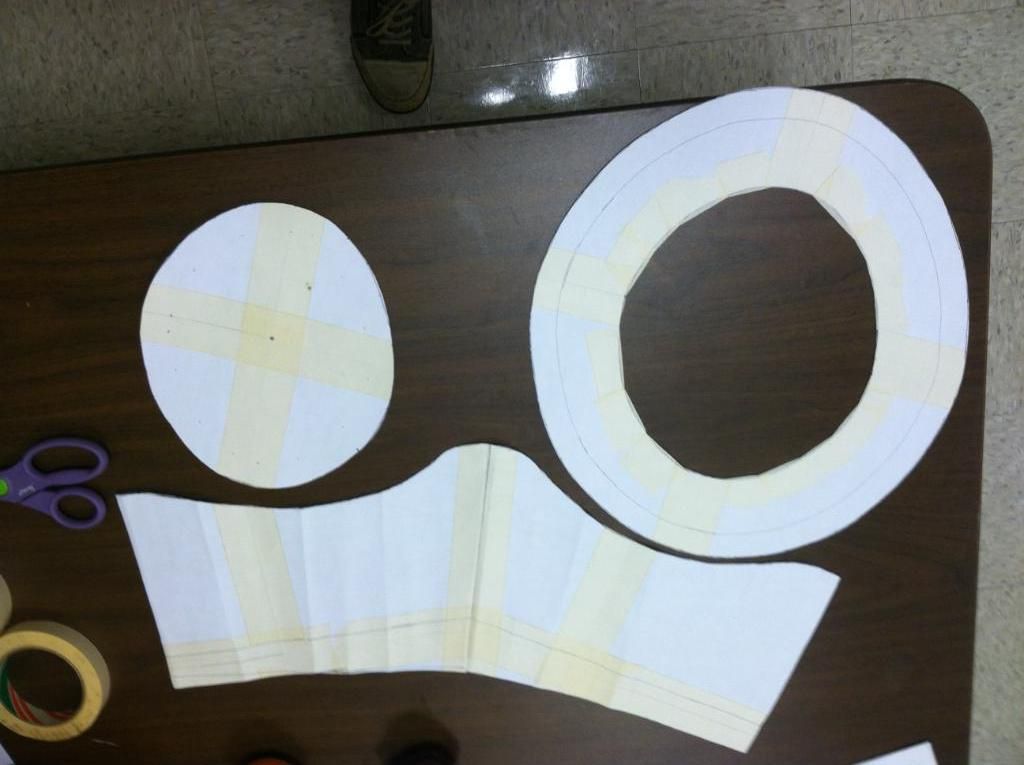
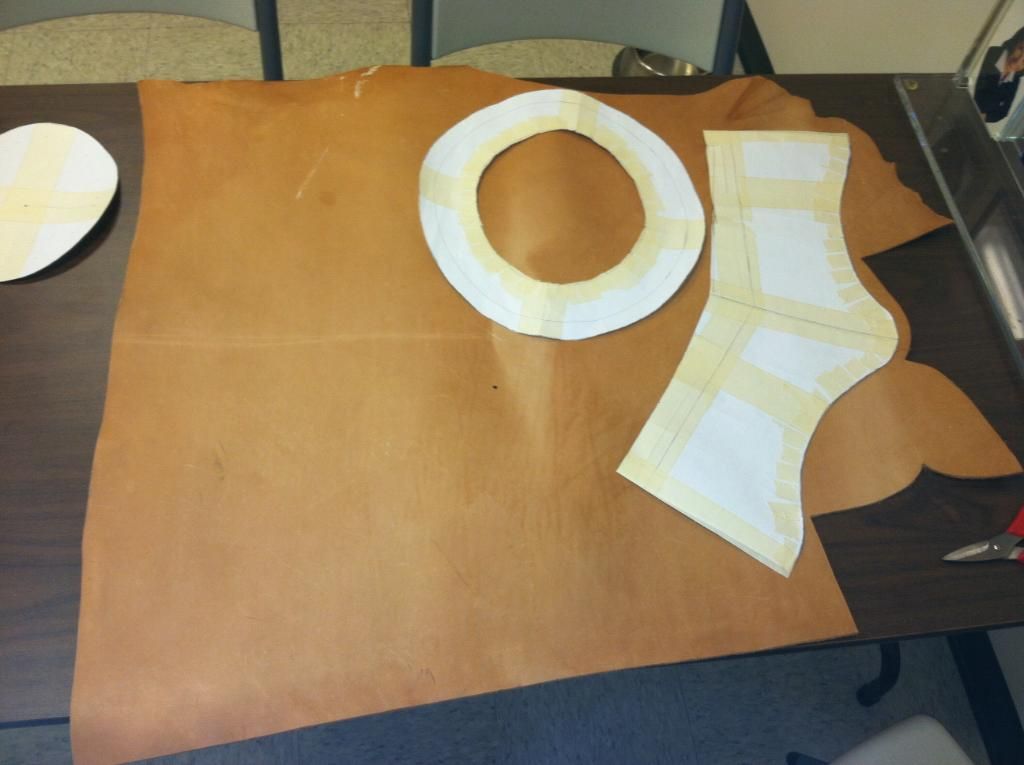
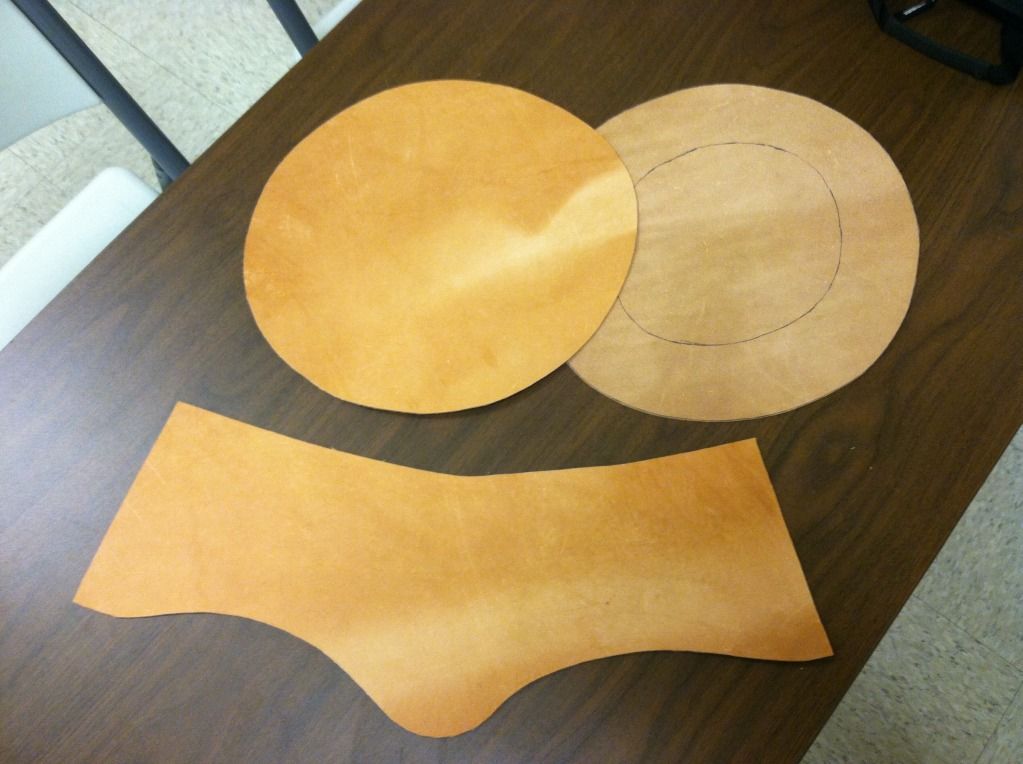
The pattern cut out.

The reason there are two brims is because the leather is smooth on one side and rough on the other so to fix that problem you make two brims and sandwich them together rough sides in and glue them. I still haven't cut out the inside circle (which will also be the top) because I might shorten that low dip in the middle of the crown piece to make it a little less "stylized". If I do that it might change the size a little and I don't want to cut it too big.

More to come...
Tuesday, January 8, 2013

Holiday Aftermath

Have you ever thought about the word "aftermath"? It's kind of a strange word. What does it have to do with math? Shouldn't it just kind of mean "sum"? Anyway...

With the Holidays completely over I have finally decided to come out of my hole. I sort of took an impromptu vacation from blogging but now I'm back. And with a holiday recap no less!

Let's see what happened...


There were holiday Events:
My family always likes to spread Christmas over several days instead of just one, so there was a siblings gift exchange a few days before Christmas. Then there was Christmas day with my wife's family and then mine. Then after Christmas my wife's family had extended family over and we played the gift game! You may know the gift game by one of countless other names (such as White Elephant) but it's always the same set of rules. Everyone puts in a gift, you take turns unwrapping gifts or stealing gifts that other people have unwrapped. This year we put in a giant kangaroo marionette puppet and a pair of practice nunchacku. I don't know why I didn't take a picture of that kangaroo, it was three feet tall and awesome. I ended up with a $20 Barnes and Noble gift card. I don't know when that became an acceptable gift game gift but I'm happy it did. I used it to buy Pushing Daisies, which is a hilarious show.


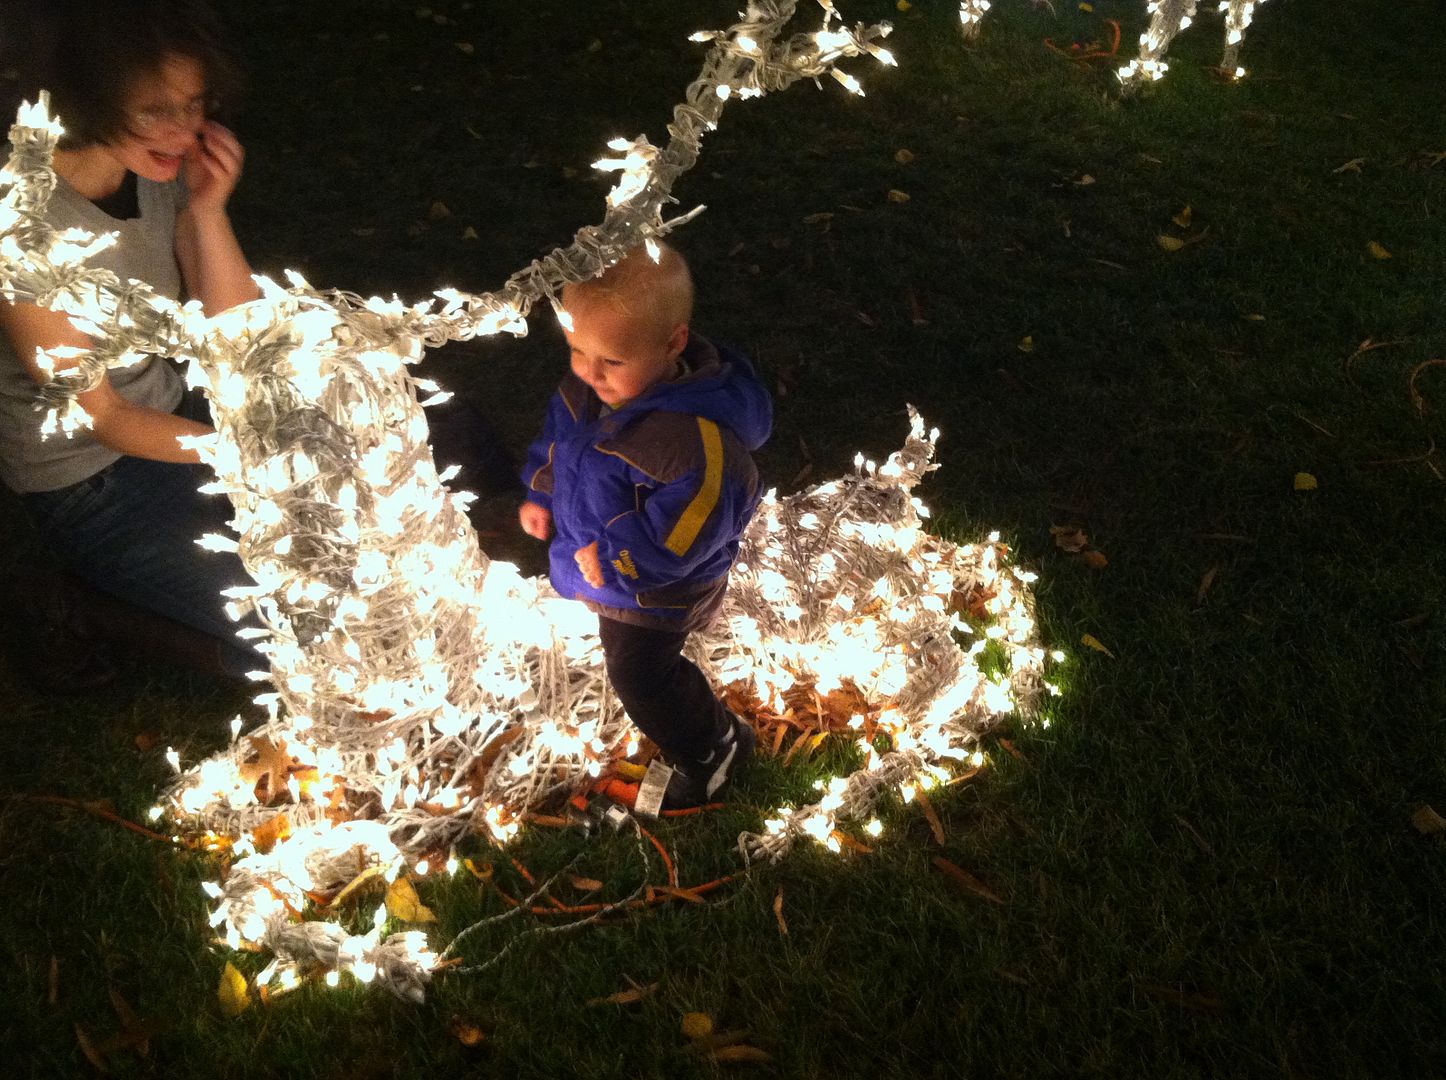
We also went to see the lights downtown., much to the delight of our son who spent the entire time trying to jump off of everything and touch all of the "yight up deer".


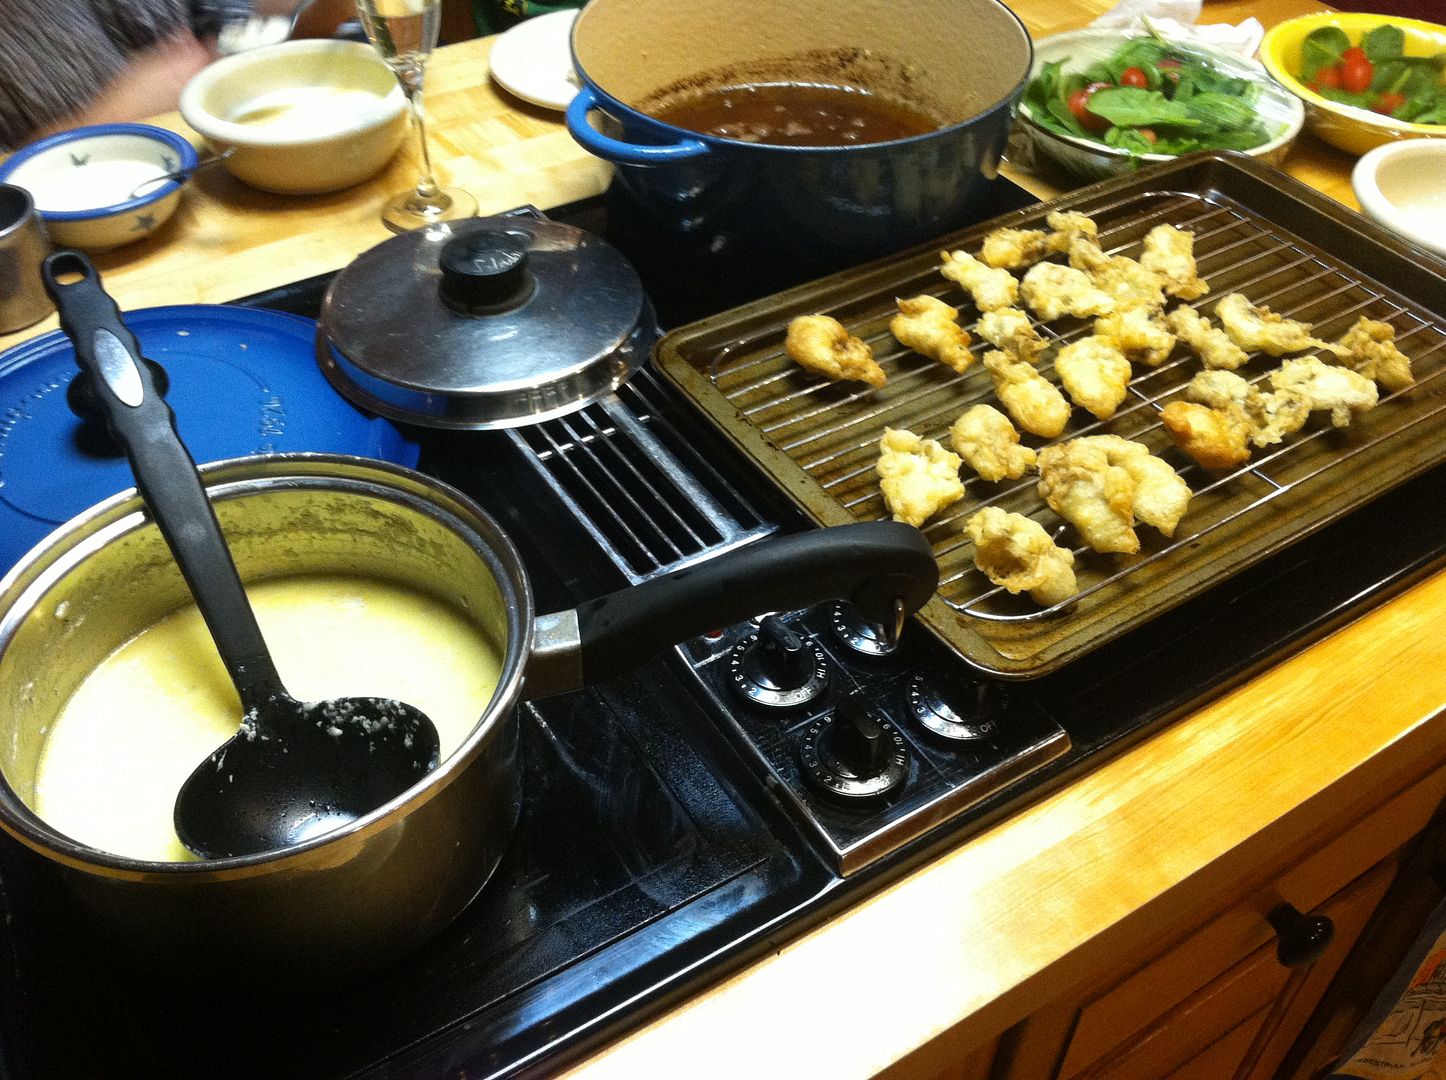
We had a cooking adventure when Meredith's dad wanted oysters one night. We agreed to make them if he bought them, which was an awesome deal. We made oyster stew and tempura fried oysters. It was the second time I've fried anything in oil and just as messy as the first. We had salad to offset all of the cream and butter and fried-ness. Since we were already frying things I tried a couple fried Reese's Cups. They were pretty good, but I wouldn't saying the frying process really made them irresistible. Next time I'll make sure I have Oreos on hand.


Deliciousness


There are gifts that we made:
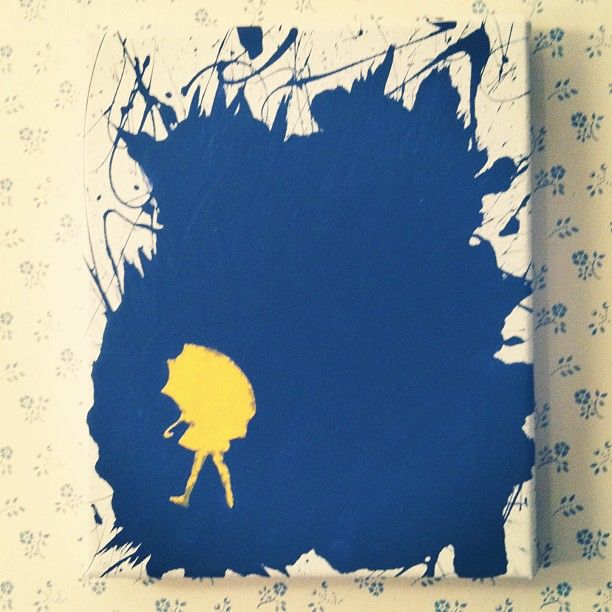
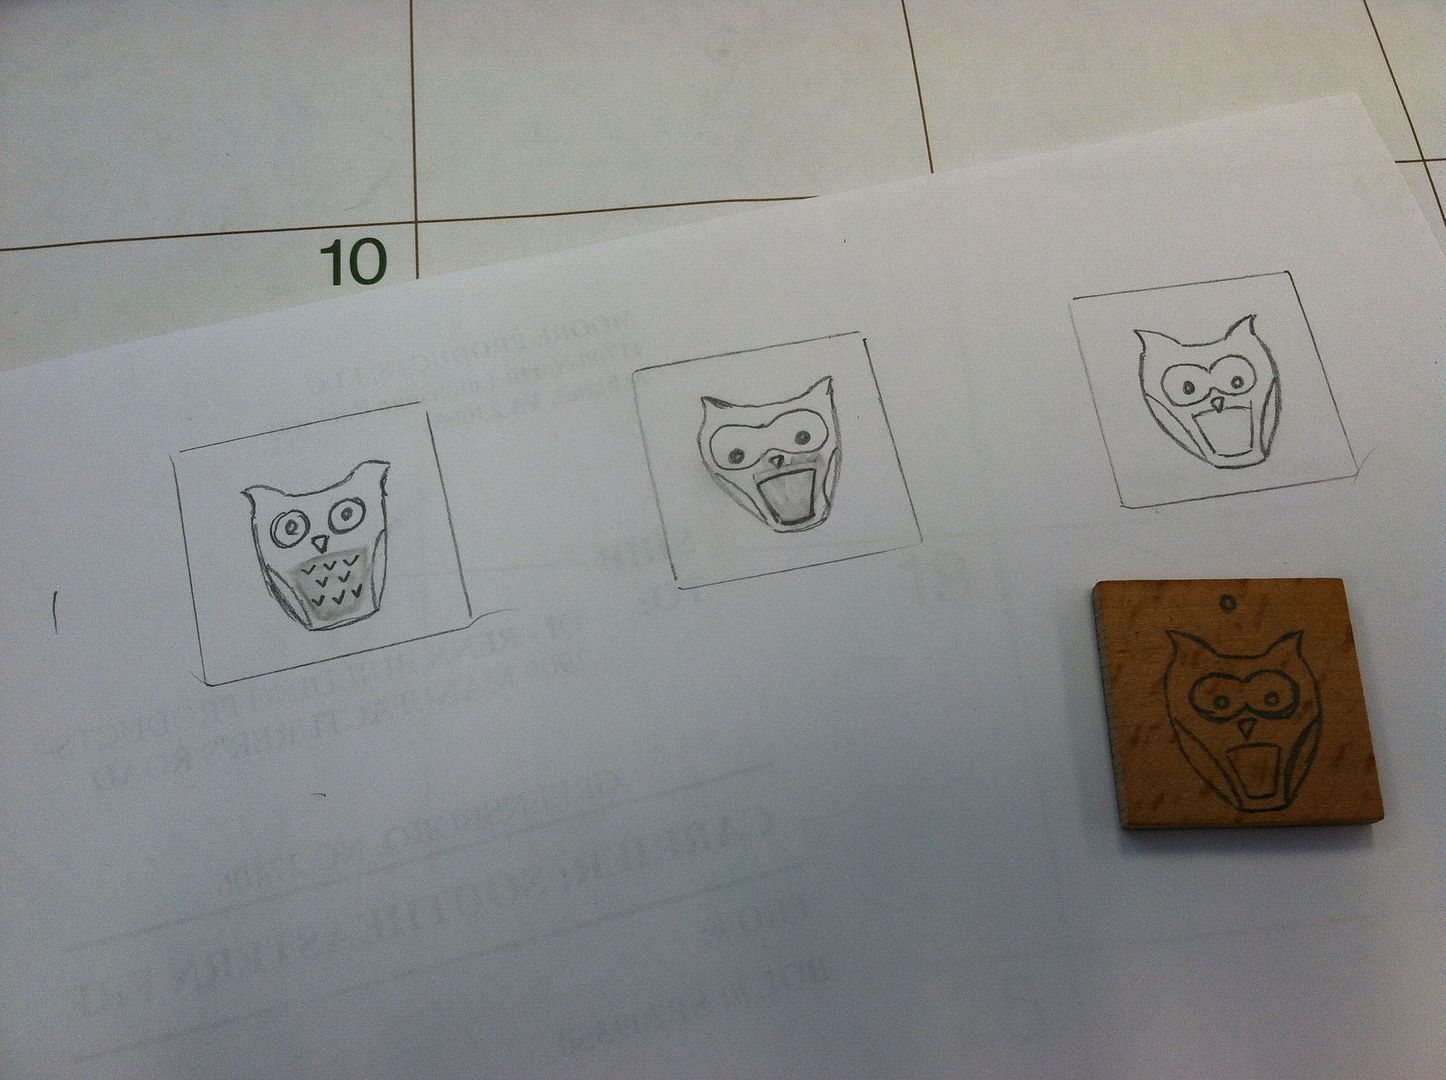
This year we made three (?) Christmas presents. One was a splash paint canvas for my sister-in-law of the Morton Salt Girl, one was a wooden owl pendant necklace for my sister, and one was a fox hat for another of my sisters. I feel very stupid because I neglected to take finished pictures of any of them. Thankfully my sister-in-law took a picture of hers so I stole it off her Facebook page. The necklace is very similar to these that I made for my wife. I'll have to get a picture of it and of the fox hat. All three were joint projects of my wife and I.


Morton Salt Girl with conveniently matching wallpaper.


Owl Pendant in Progress


There are gifts that we got:
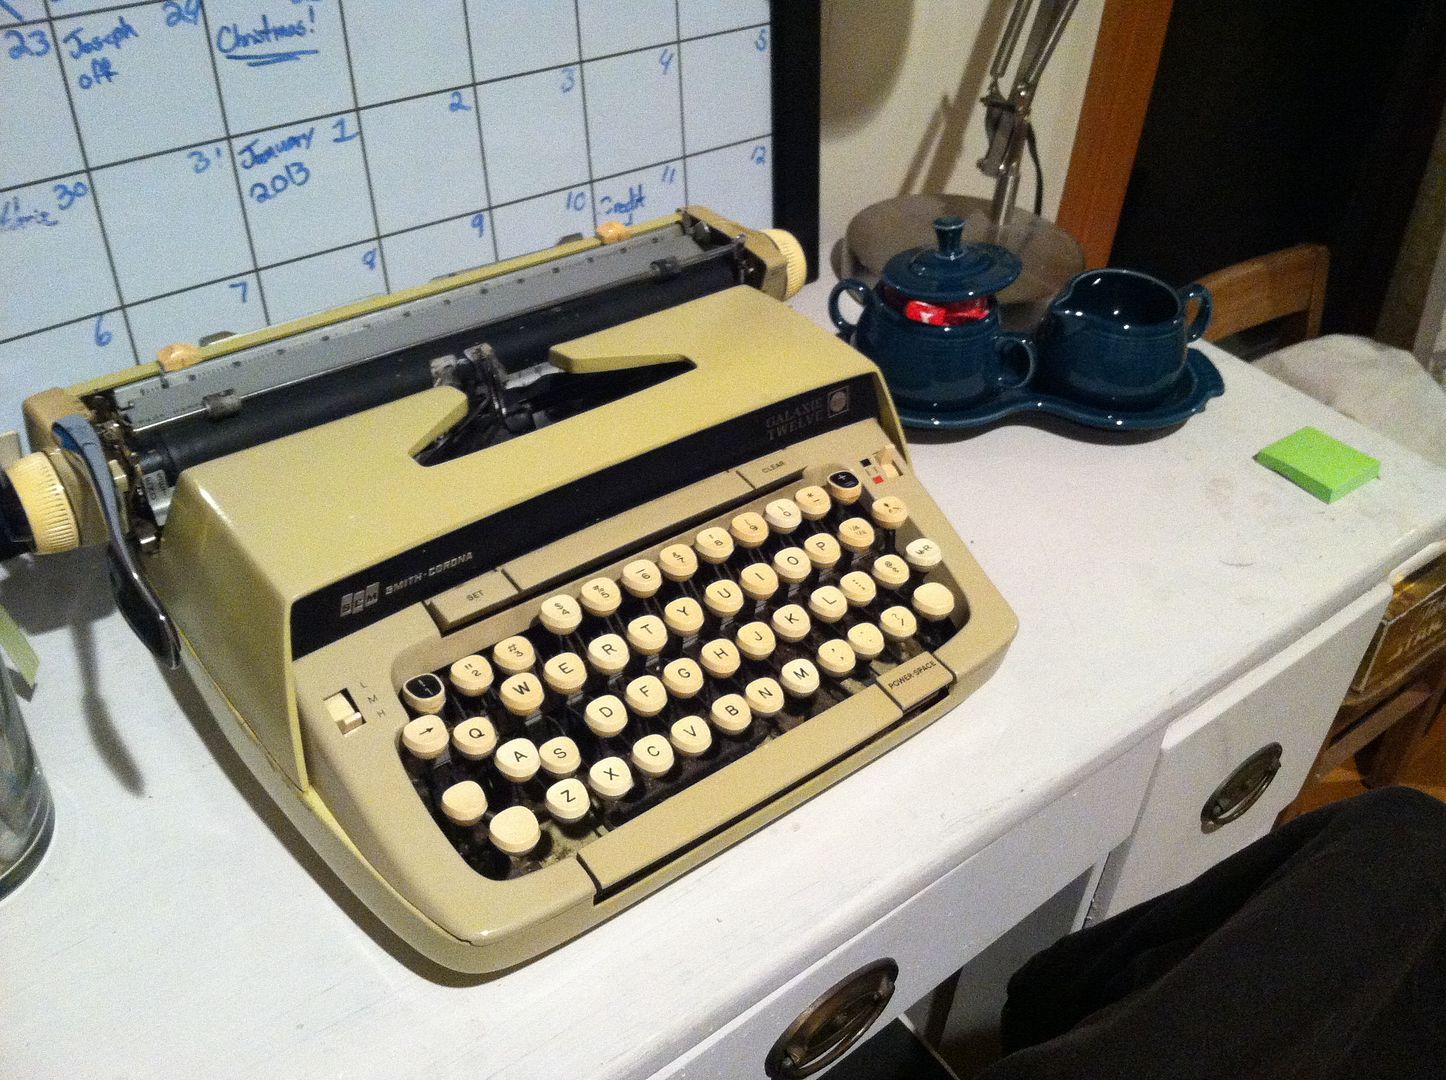
One of the things we put on our list this year was a vintage typewriter. We just thought it would be cool to have a typewriter. They look cool but they're also really neat and fun to type on. I think we both have this romanticized idea of our kids typing away at them and writing all kinds of adorable stuff, but even if they don't it's still a really cool thing to have around. That being said I never imagined we would get one. Of course I forgot that my nannie had two of them in her attic. So we got a typewriter for Christmas! My dad even went online and found a company that sold the ink ribbons for it, which is good because the ribbon on it probably dried up before I was born.
We also got a membership to Lewis Ginter Botanical Gardens, which is cool. It came with tickets for the Gardenfest of lights (which normally costs even for members) which is an amazing Christmas lights display spread all over the garden.
We got a Home Depot gift card which I immediately spent on Router bits.
My wife also got me the newly released album Matt & Toby from Matt and Toby of Emery. I had really been wanting it and it's awesome. Definitely go listen to it.


Our typewriter and a little cream & sugar set that we got

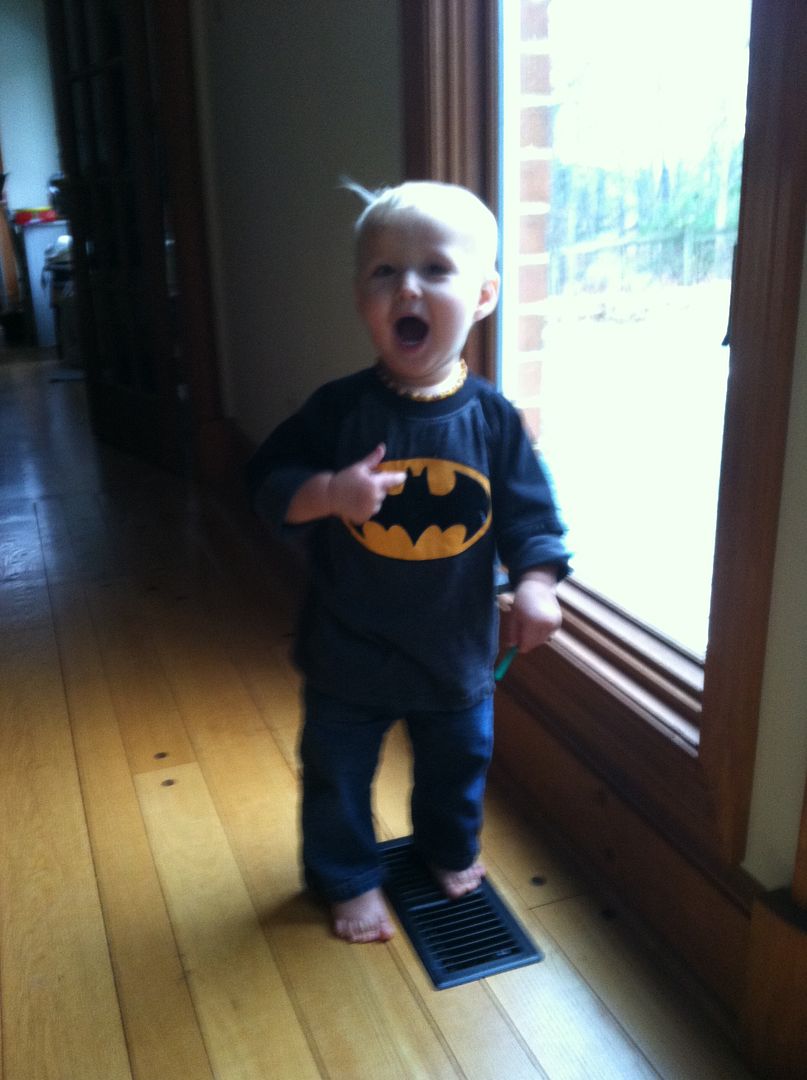
Oh and our son got a Batman shirt from his uncle and aunt.

I'm Batman!


There's costumes that we wore:
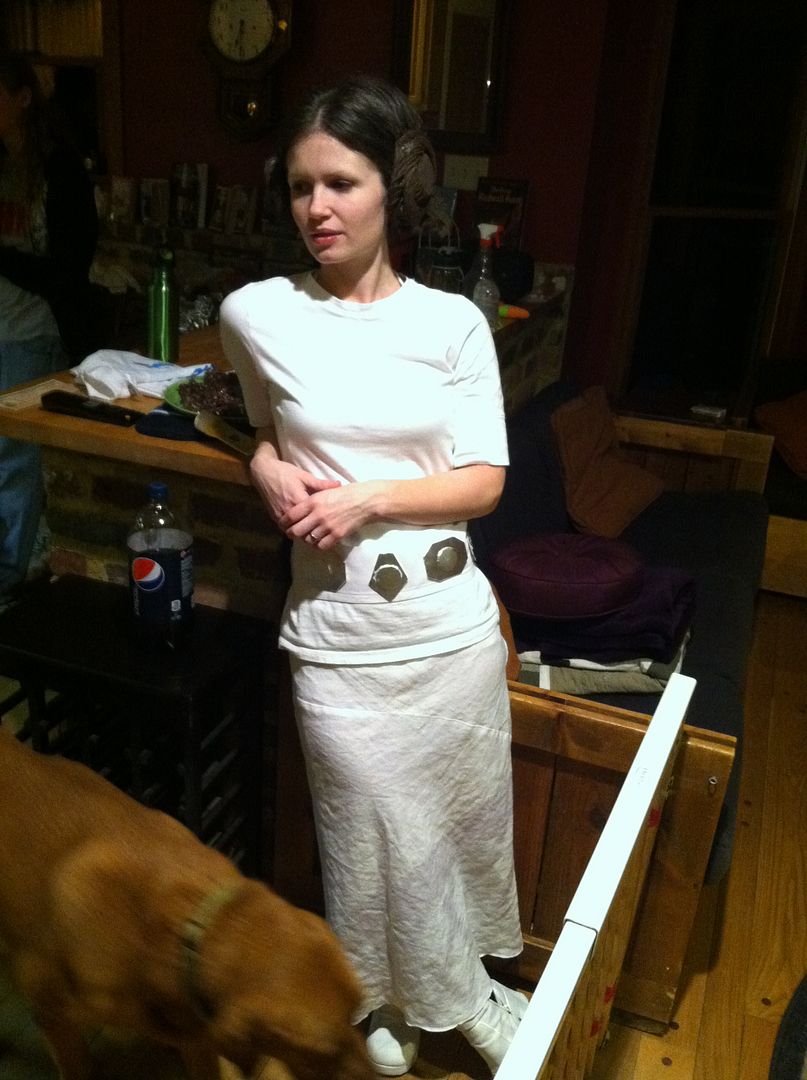
After Christmas there was a New Years Costume party at my family's house. The theme was famous couples, duos, trios, etc. Pretty much any group. We decided to go as Han, Leia, and Chewie. The costumes weren't terribly accurate, but we whipped them up pretty quickly and they worked out well. I only have a picture of my wife because once again I forgot to take pictures. I am a bad blogger.


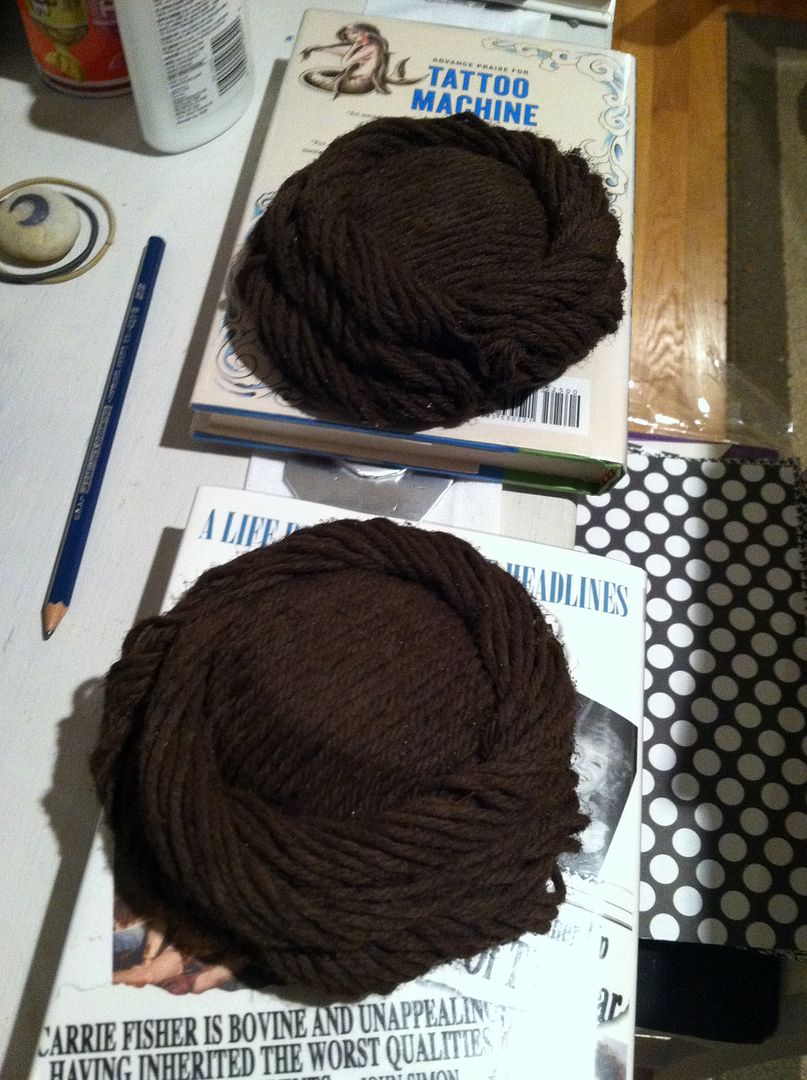
Hair buns

My Princess Leia


And There's now:
So now that the holidays are over with I imagine I'll get back into the swing of things. I've pulled out an old project and hope to have a leather top hat finished in the near future. I've also been looking at some sword designs and might try a couple more of those soon. They won't be as involved as my Altair sword was. Probably more quick and dirty. At least a bit simpler. Especially since I've got some more tools to try out.


I'm kind of thankful the holiday season is over and I'm looking forward to all of the things this new year will bring. Are you excited to start a new year? What about it excites you?