 |
| Yowzers |
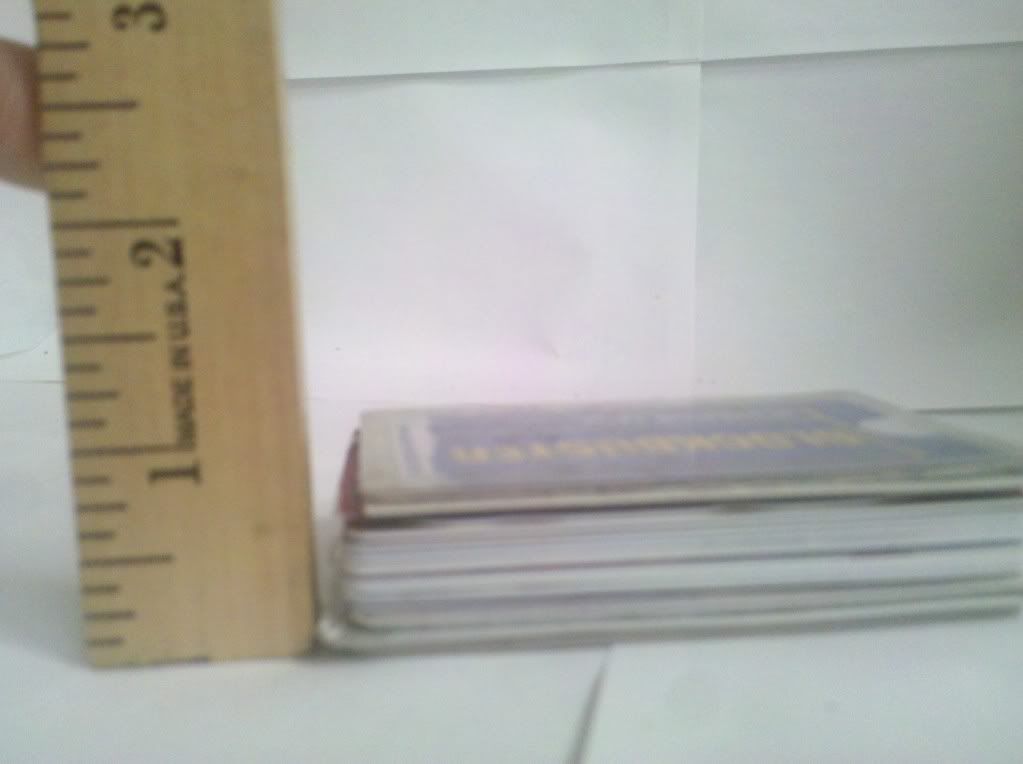
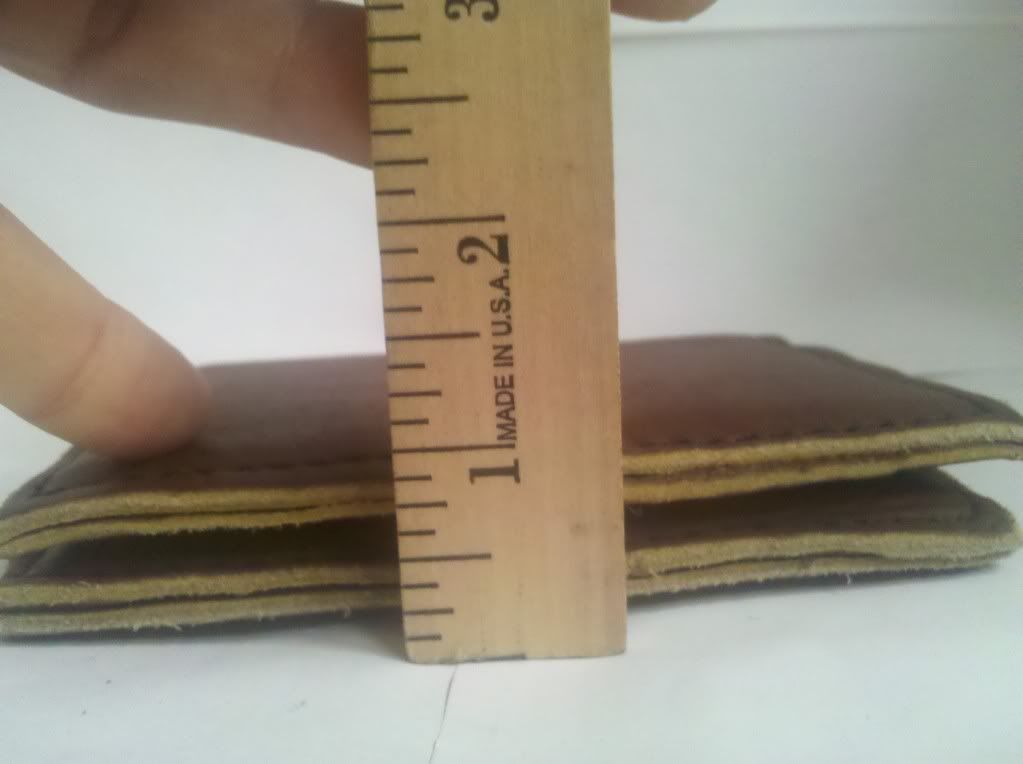
That's right. About an inch sans wallet. Adding the wallet makes it even thicker.
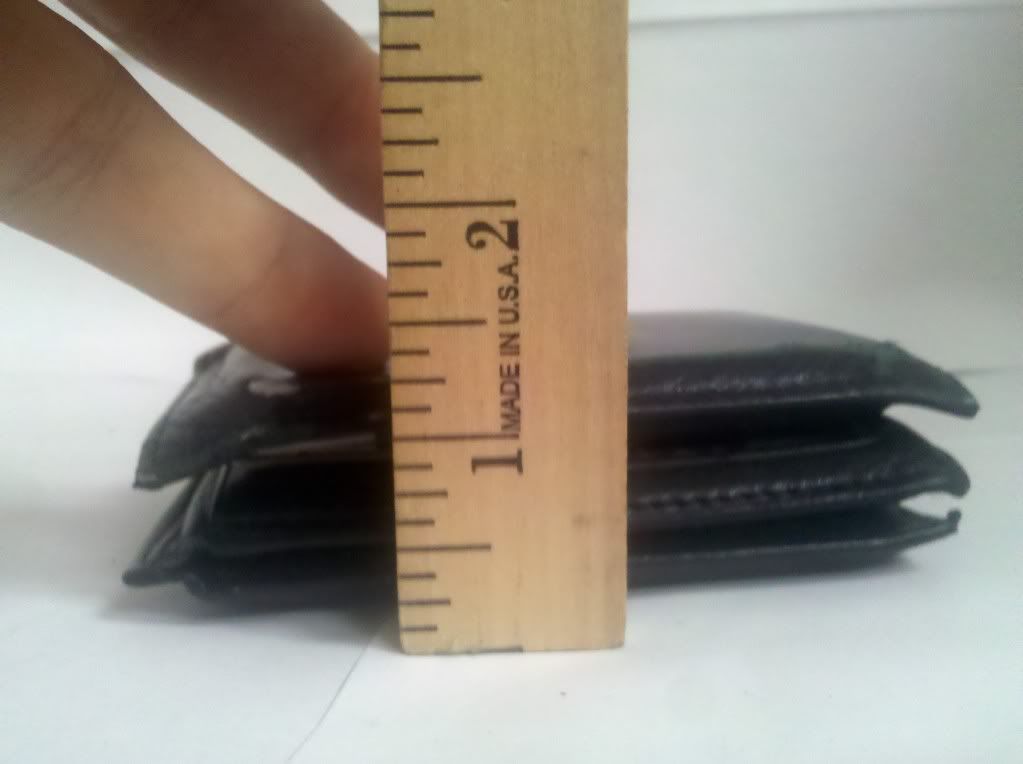 |
| Pressing down to simulate my weight over the course of an 8 hour day. |
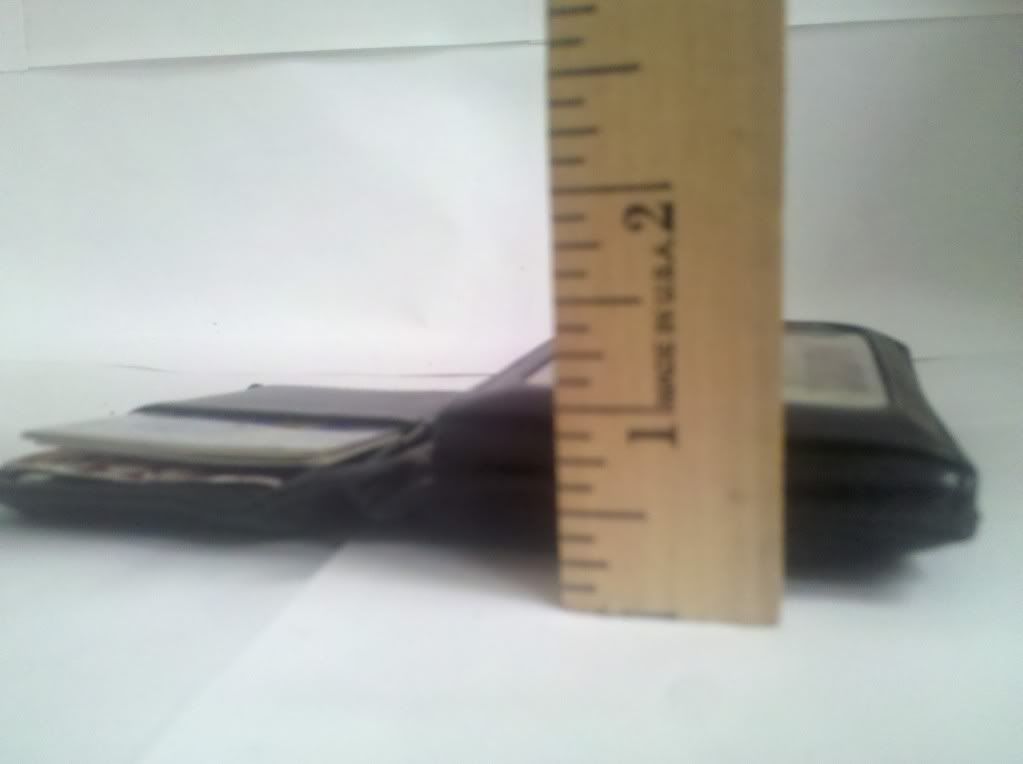 |
| Still pretty thick. |
 |
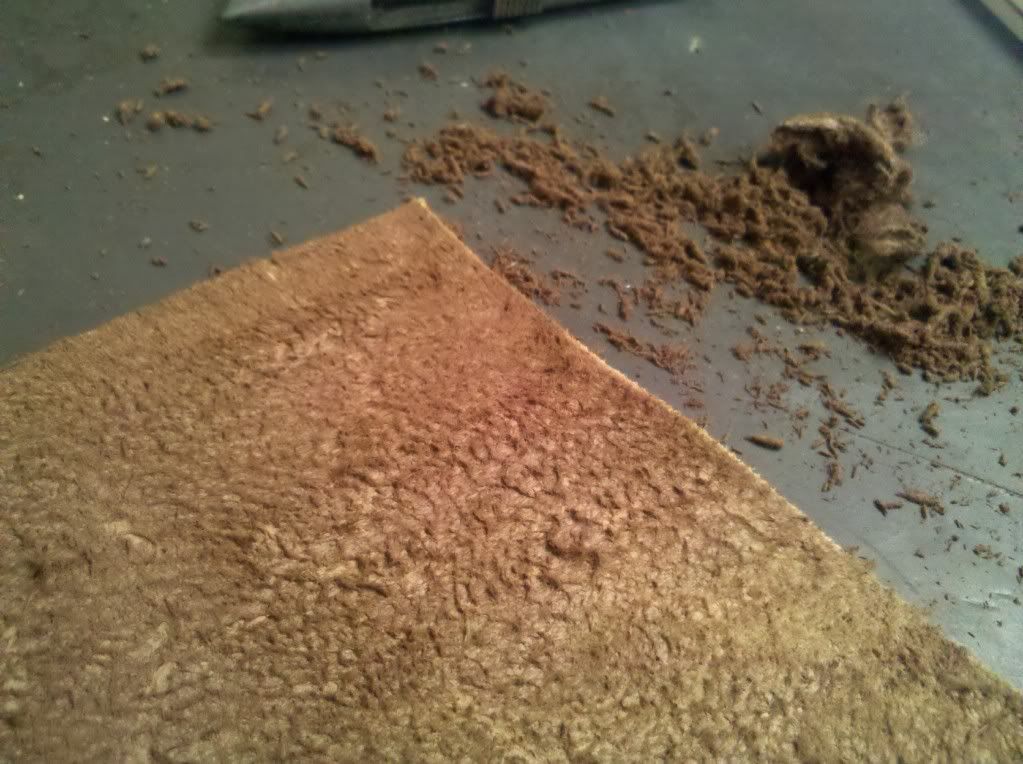
| Baaa |
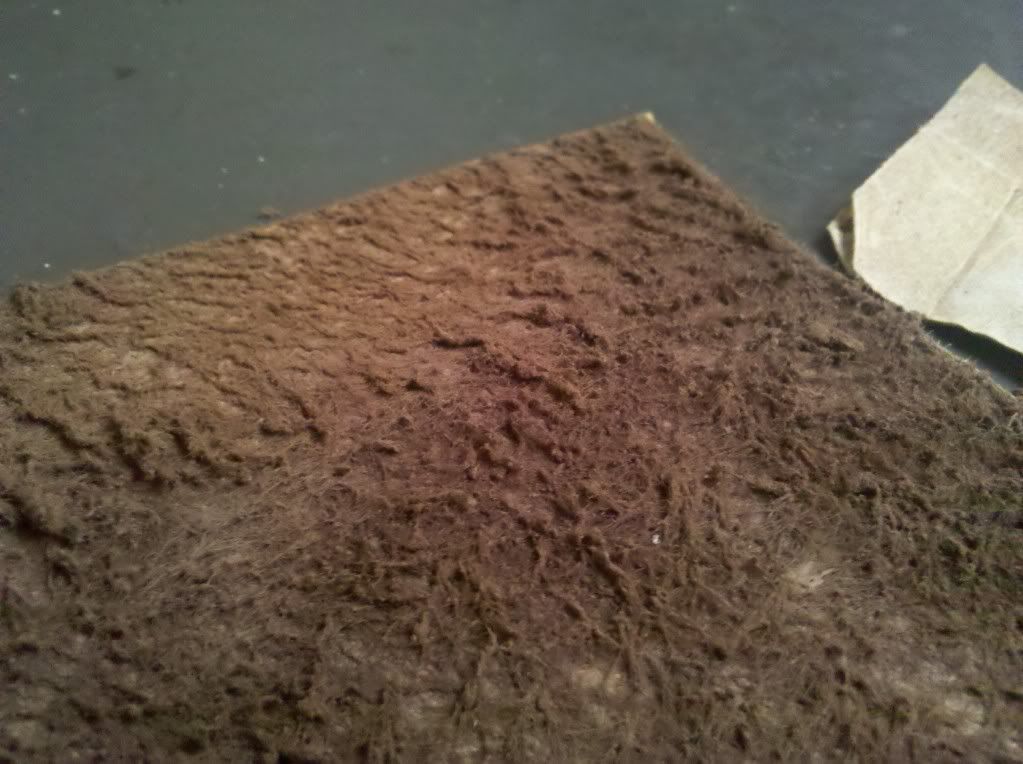
The leather I wanted to use was really "woolly" so I used sandpaper to smooth it out a bit.
 |
| All sheared |

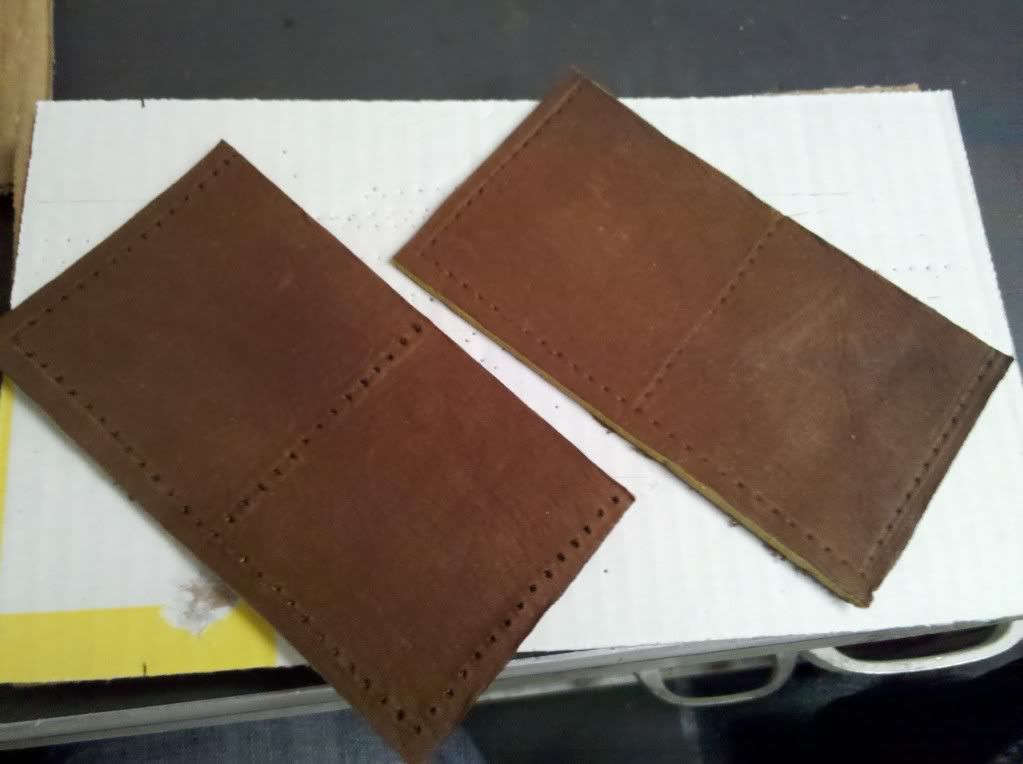
As you can see from the above pictures, once I had my pieces cut out and sanded down I pre-punched my holes for sewing. Check out my last leather project for the "finer" points of the process. Once my pieces were all ready I sewed them together. I planned out my stitching like a map so I wouldn't end up sewing over the same area twice. Sewing over it twice is hard because you're trying to fit twice as much thread in one area, plus the needle on my sewing awl is actually semi bladed to help go through the leather and if you run it through a hole that already has thread you risk cutting that thread. I know this because I did it once on my journal.
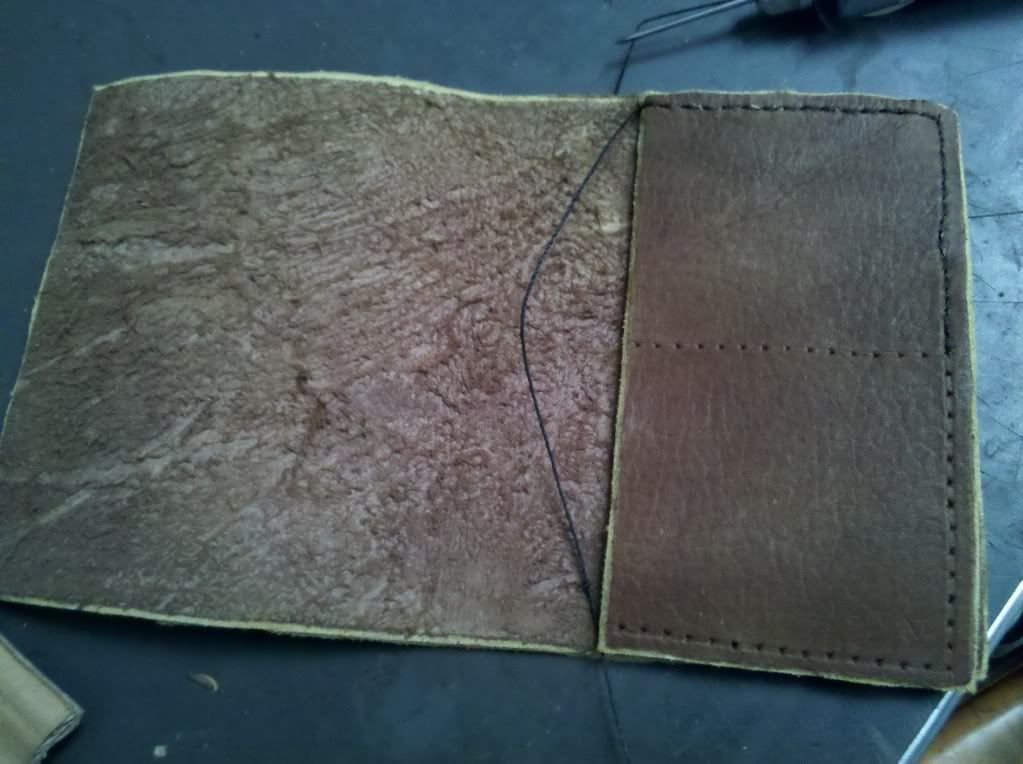


Once everything was stitched together I had to size it correctly for the cards. I used a template initially to make sure that it would be the right size, but I wanted it to be a tight fit so I only made it just big enough. To make up for this I needed to stretch the leather. I took pictures of this process, but I forgot they're on my camera, not my phone. It's alright though because they weren't anything special anyway. The process went like this:
Put the wallet in a container of water to soak for about ten minutes.
Divide the cards up into four roughly even stacks.
Seal them in ziplock bags and tape them up to reinforce and water proof the bags, or use plastic wrap.
When the wallet is done push the stacks of cards into the pockets. Be careful not to snap the cards in half.
Set it somewhere warm/hot. You don't want to put it somewhere that will damage your cards. I put mine in the back window of the car on a hot day.
After it's completely dry you can remove the cards from the plasticand put them back in the wallet. It's done! Well sort of. If you want to do any finishing to the edges feel free. I used an edge beveler like I used on my journal. Also, you can tool designs into it as well. It just depends how fancy you want it to be. Right now I'm going with a plain look.
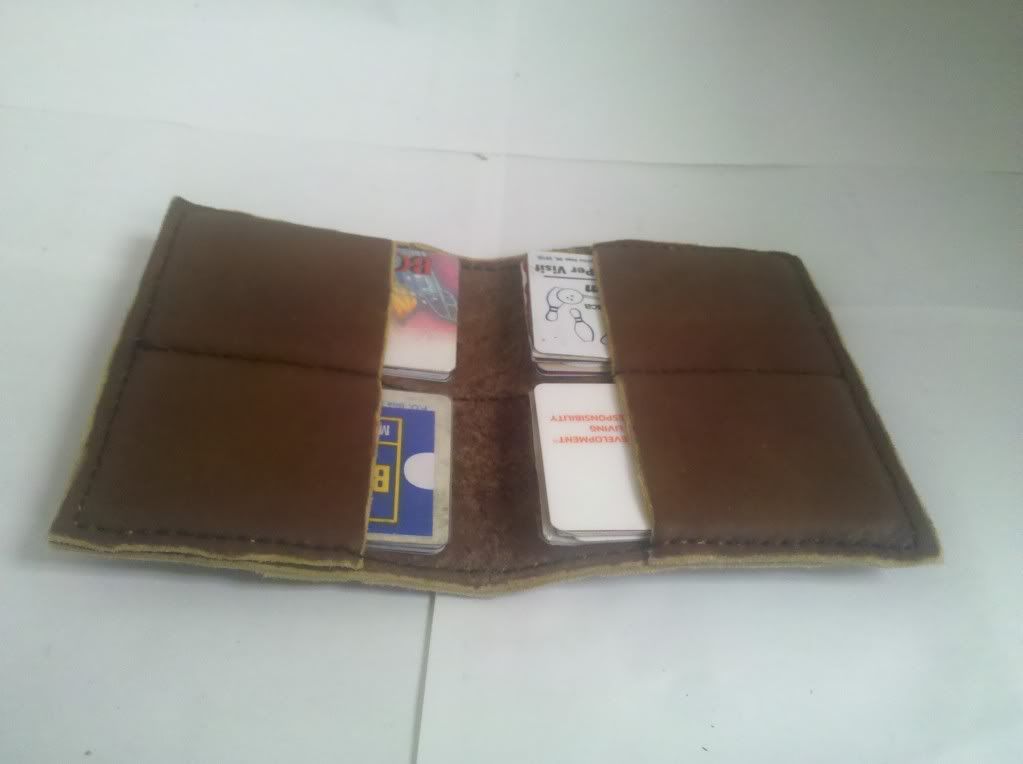 |
| With the cards in it. |
 |
| Measurements are 5 1/4" x 4 1/4" |
 |
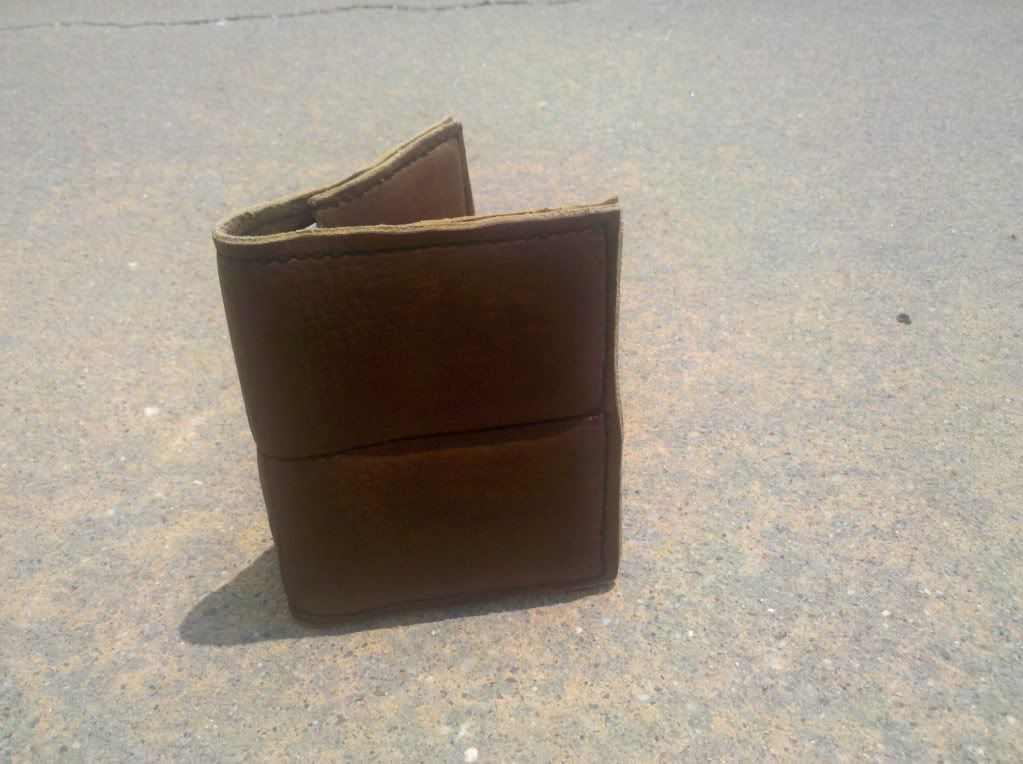
| Sooo prettty... |
 |
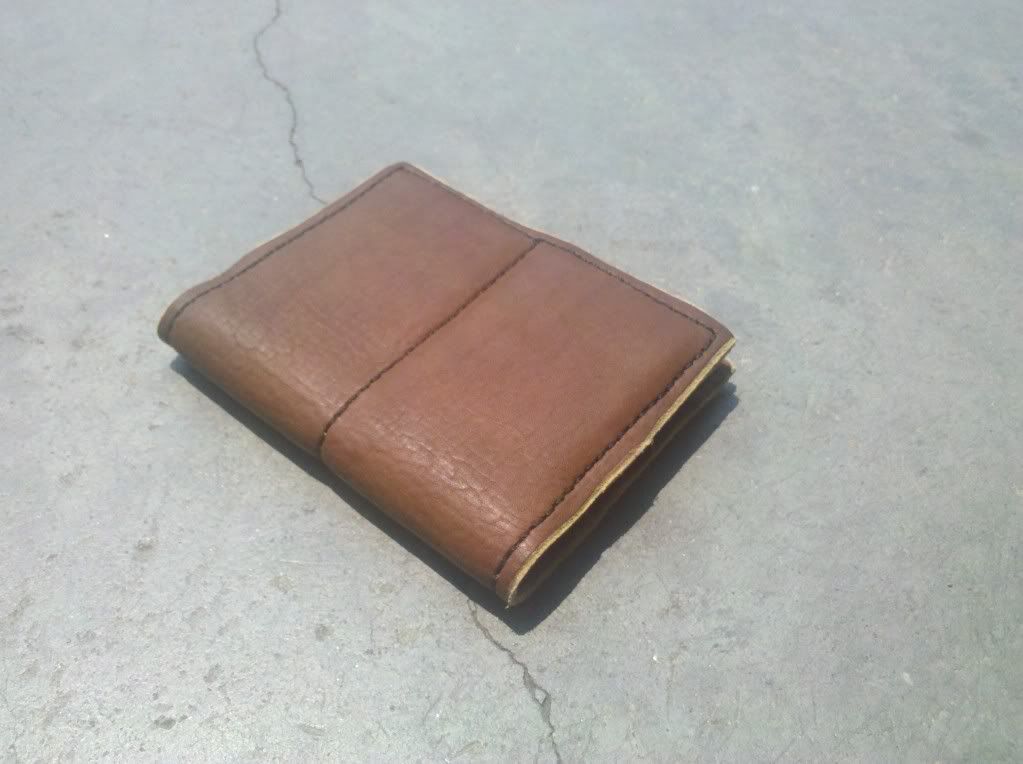
| So thin! |
Anyone need a tattered old store bought wallet?
This comment has been removed by a blog administrator.
ReplyDelete