Well, it doesn't have to stop there. At that point all you have is a paper model, but with the use of things like fiberglass resin you can harden it and make it strong, and then you can apply things like papier mache or Bondo (an auto body filler) and make it into, well, whatever! The thing that I'm primarily interested in is armor. Specifically in regards to all things Star Wars, like Stormtroopers, Mandalorians, Sith, etc.
I've been researching this forever but at some point you just have to jump in and get your hands dirty so that's what I'm doing. Let me note right here that this is by no means a "How-To" when it comes to Pepakura. This is more like a "Follow me as I stumble along trying to figure this thing out as I go" and will probably span several posts. That being said, I've started two projects almost simultaneously. The first one is for me and the second one is for my brother-in-law who I have the privilege of using as an excuse to make things that are fun.
Like I said, I have a particular interest in all things Star Wars so I wanted to start with something in that area. The Stormtrooper helmet looked a little complicated for my first build so I settled on the Sith Stalker helmet.
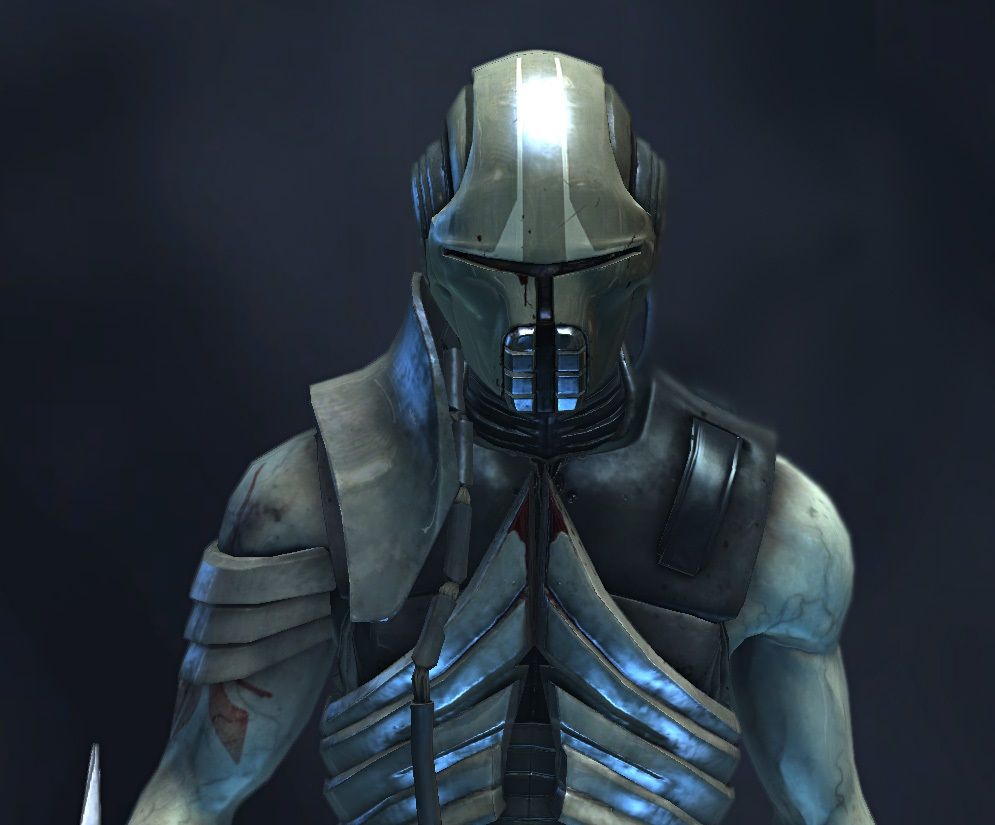
In retrospect there are far simpler helmets in the Star Wars universe but this one is so awesome that I don't regret my decision (yet, that is).
Cardstock is the recommended medium for this type of project but I didn't have any and didn't feel like buying any so I used some of the tons of waste paper that my office churns out on a daily basis. Hooray for nerdy recycling!

I tried to start at the simplest part (the back) and work my way towards the more difficult face section.

The mask part.
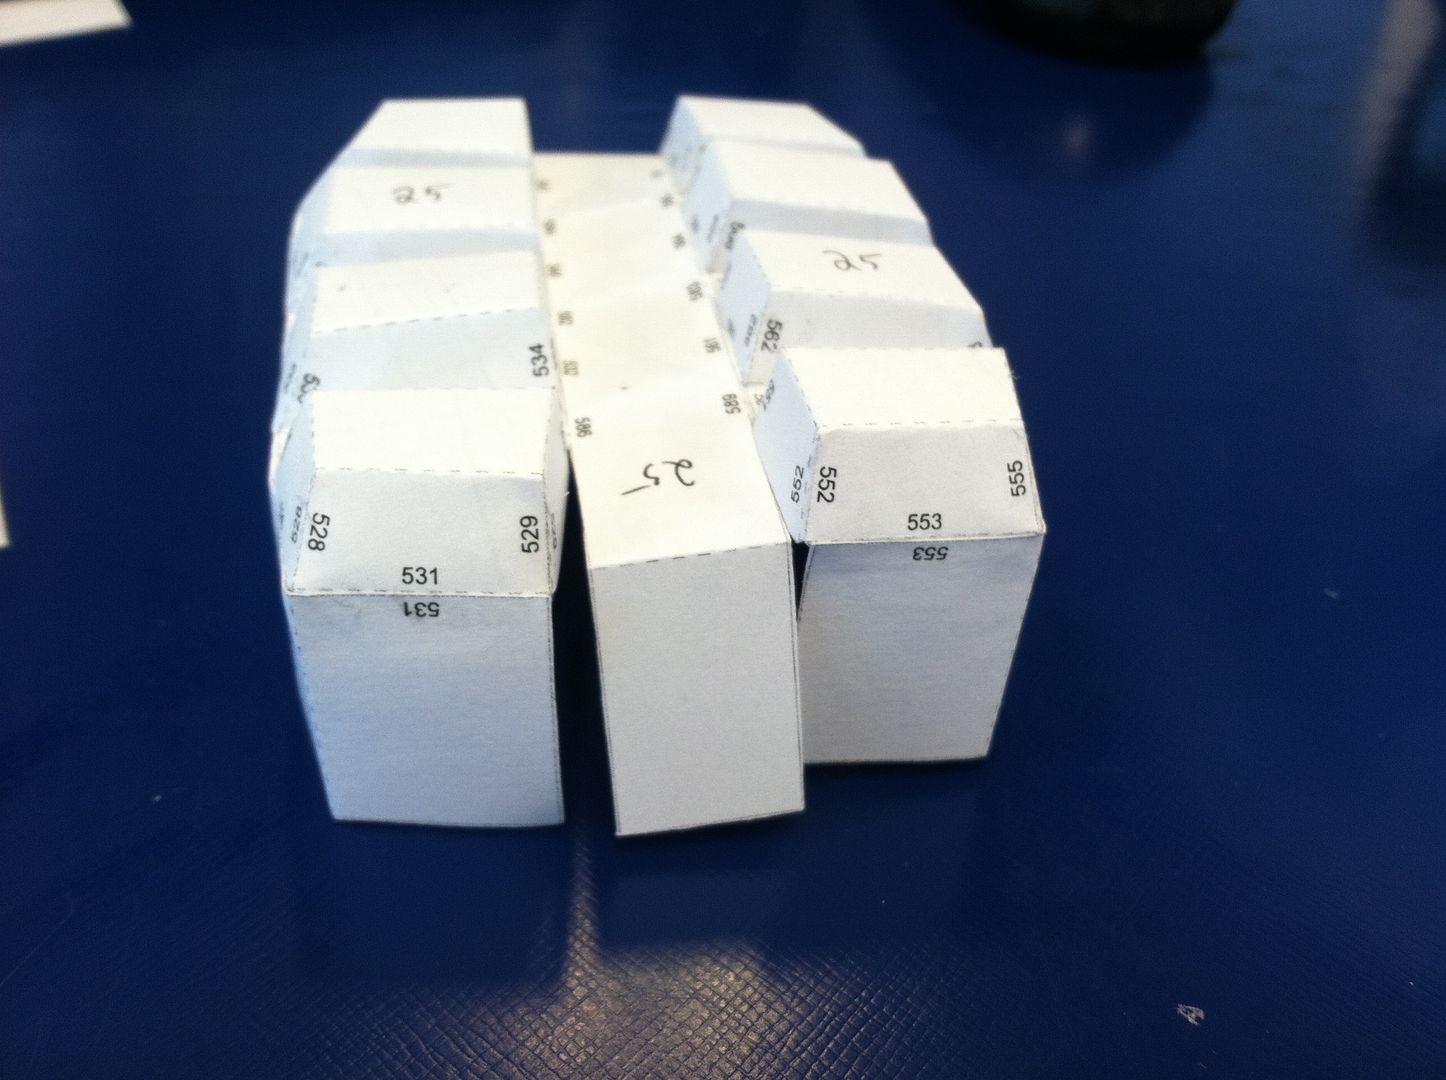
The mouth piece.
The helmet part.
All the components together.
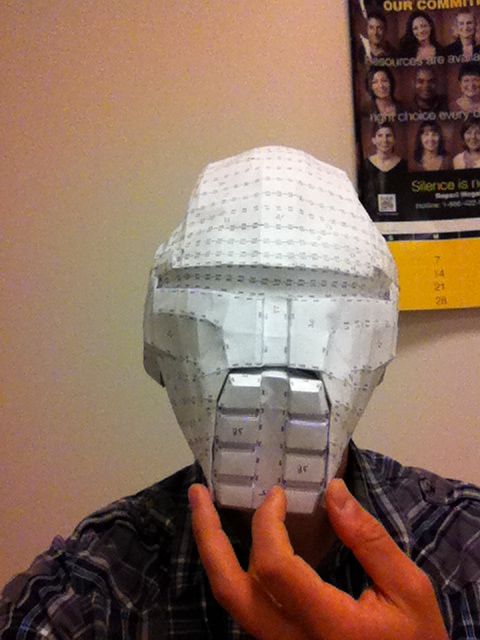
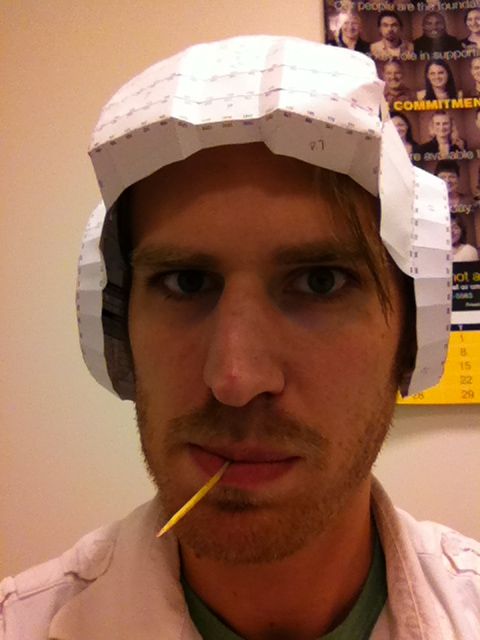
All the components together, on my head.
There is one unfortunate part about this helmet in particular. There are several different models of this helmet done by different people. Overall I liked this one the best but it's actually missing a couple pieces because the guy who designed this 3D model decided to make them differently and attach them after. So at this point I think I'm going to print off those parts from a different version of the helmet and see if I can adapt them to mine. Also, because I used paper it has buckled under it's own weight at the "cheek" parts. Now I have to figure out a way to reinforce it so it will stay straight for the hardening part or I'll have to do it over again.
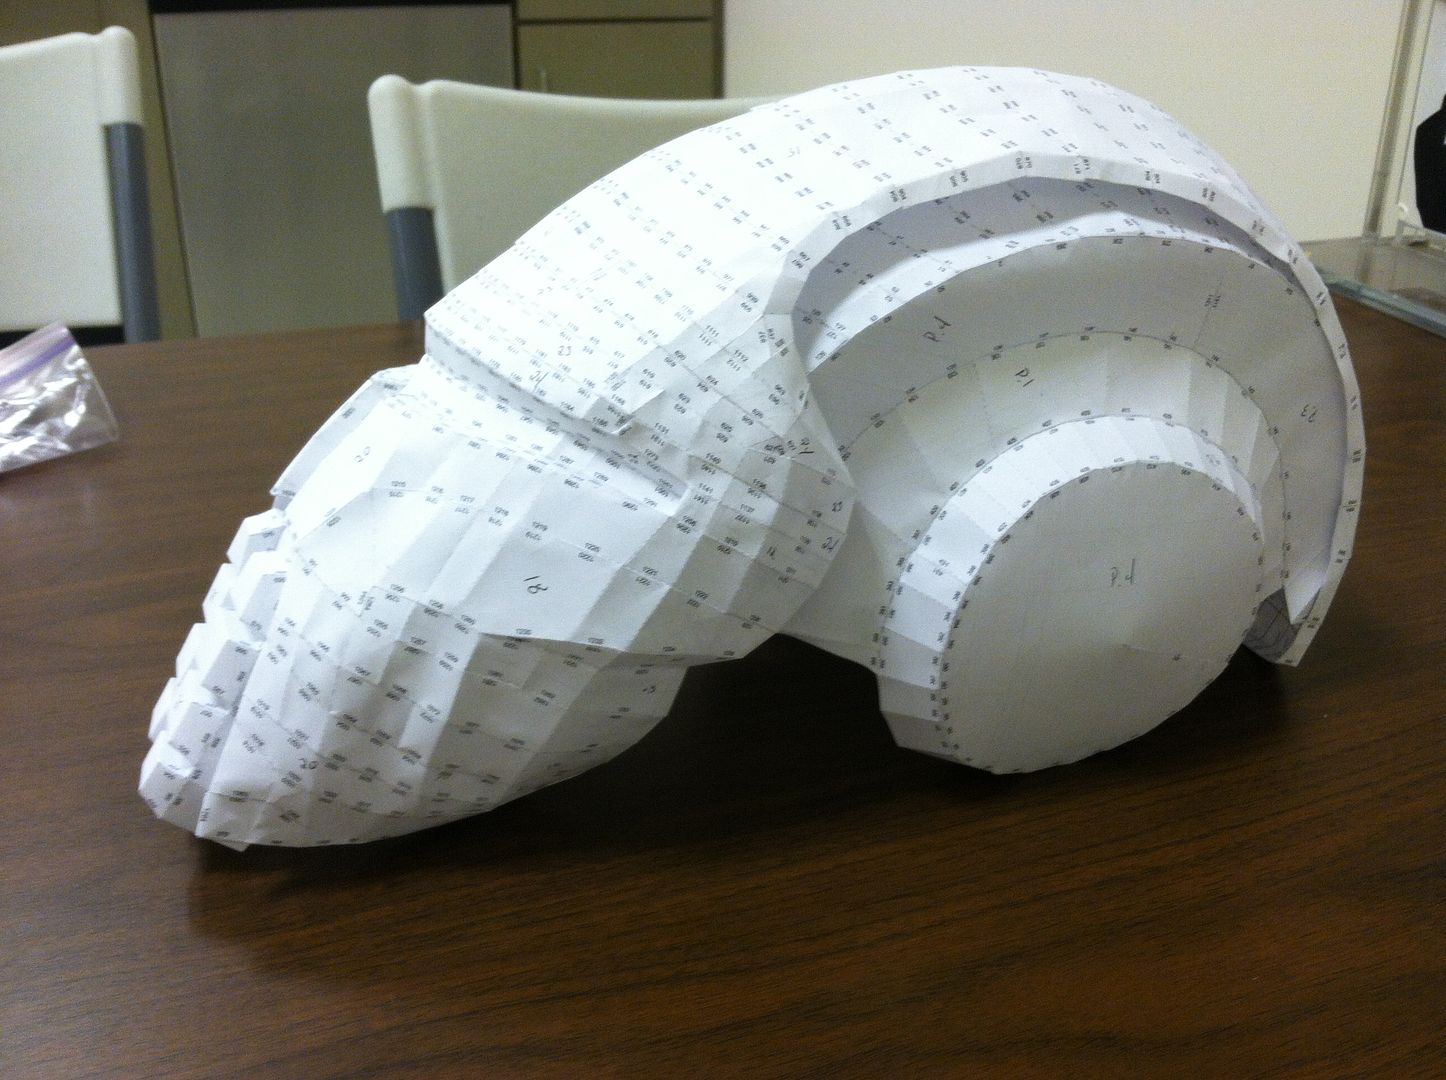
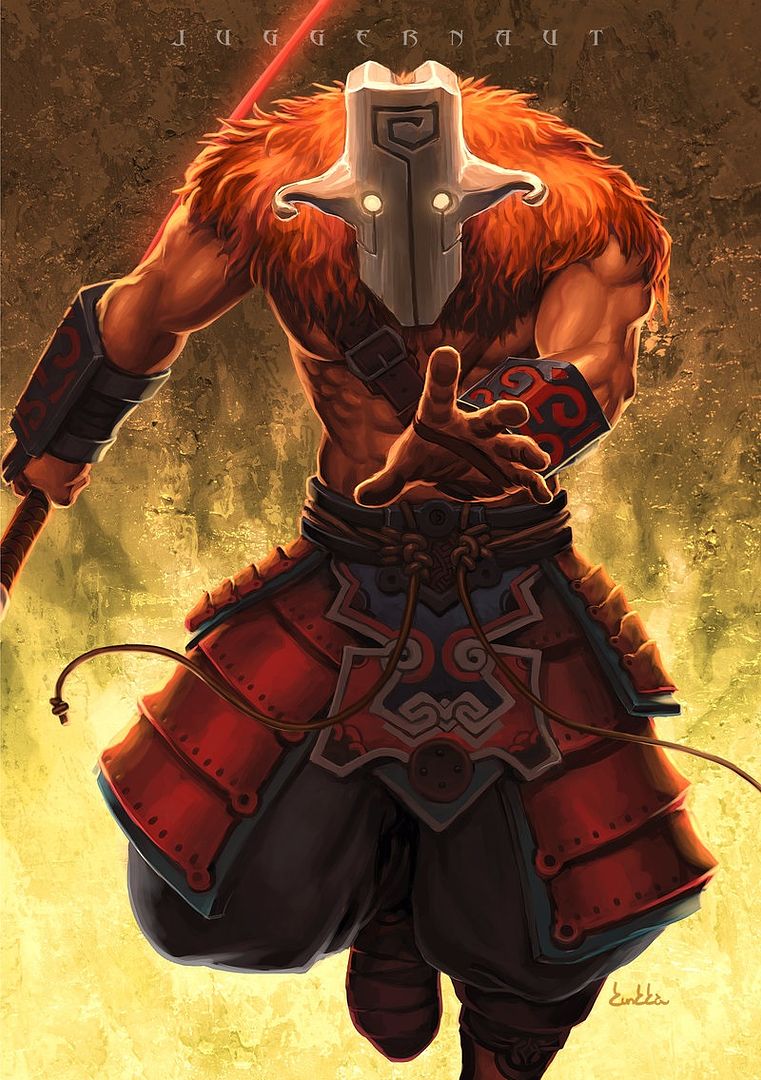
As for my brother-in-law, he's planning on cosplaying a character from Defense of the Ancients 2 known as Yurnero the Juggernaut.
I'd love to help with more than just the mask, but at this point I don't know how much help he needs for any of that or really how much time I have either. So right now I'm helping with the mask part. For this one I realized that I had a bunch of file folders that I wasn't using and thought I might try using them. I couldn't print on them so I printed the file on waste paper again and just put it on top of the folders when I cut it out. I also wrote the numbers that identify which edge matches which. Even with the extra work I much prefer working with the cardstock than with the regular paper.

At this point I have the front of the mask done but that's pretty much the easy part. As I add the horns it will get harder to glue each piece together and I might start wishing for that flimsy paper again. Once I'm done the assembly process I'll have to invest in some fiberglass resin and Bondo so I can really finish these off right.
So anyways, those are the projects I'm currently working on, as well as house related projects which will all get covered over here.
If you want to try out Pepakura for yourself head on over to Tamasoft and download the free viewer program. You can use it to view and print files. They also have links to where you can download the files. You'll need the paid version of the program if you want to unfold your own files. For more information on the process feel free to ask me anything or try perusing The Replica Prop Forum. They have exhaustive knowledge on the subject and tons of cool files. If you're more interested in toys and figures you might try Papercraft Paradise.